Unclog a GE Refrigerator Ice Maker Water Line Safely
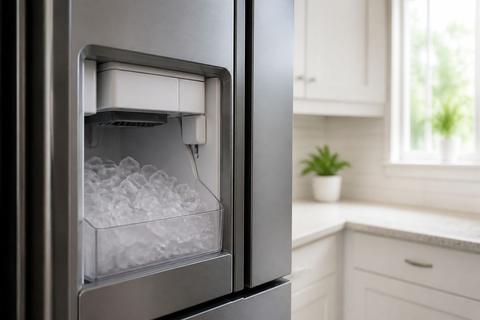
If you’re dealing with a ge refrigerator ice maker water line clogged, ice may stop, fill slowly, or come out as weirdly inconsistent cubes or crushed pieces. Before you start pulling parts, use a safe, methodical approach: power down, diagnose what’s actually blocked, then clear the line without cracking the plastic tubing. This prevents repeat clogs and helps you avoid unnecessary ice maker replacement.
For more help, see our Fix GE Ice Maker Water, Leak, and Clog Problems guide.
Start with Safety and a Quick Diagnosis
Unplug the refrigerator and protect the floor
Start by switching the refrigerator to a safe state before you work around water tubing and ice components.
- Unplug the refrigerator from the wall outlet.
- Move towels or a waterproof mat under the ice maker area to catch drips.
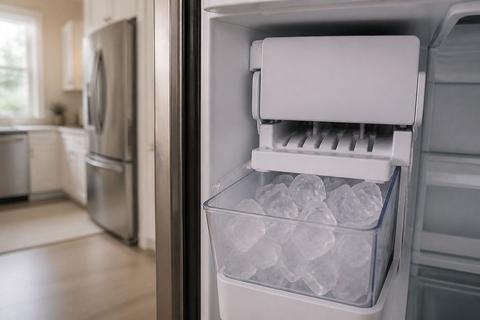
- If your model has an ice bucket, remove it so any melting ice doesn’t refreeze and reflood the work area.
- Give the freezer a few minutes to stop any active fill/harvest cycle before you inspect tubing.
Water line clogs often involve melted ice and mineral debris—keeping electricity off reduces shock risk and prevents accidental harvest cycles while you’re clearing the line.
Confirm the symptom: no ice, slow fill, or crushed ice only
Match your symptom to the likely failure point, so you don’t waste time on the wrong component.
- No ice at all: the ice maker may not be filling, the water path may be blocked, or the ice maker may not be cycling.
- Slow fill: the water path is restricted—commonly from a frozen fill tube, low water pressure, or a clogged filter.
- Crushed ice only: this is typically a dispenser setting/control issue, not a water line clog.
If you’re getting crushed ice only, focus next on the ice selection controls in the dispenser panel rather than aggressively thawing the line.
Check whether the issue is the water line, filter, or ice maker
Use behavior to decide what to address first.
- Listen during a harvest cycle: if the ice maker seems to attempt filling but water doesn’t arrive, the problem is often the water line, shutoff valve, or inlet/filter restriction.
- If the ice maker never cycles (no harvest activity), the ice maker assembly or its control/feeler circuit may be at fault.
- Locate and inspect the water filter (behind the grille or inside the fridge compartment, depending on your GE model) and plan to replace it if it’s past its service window.
A blocked line can also cause “ice making” activity without producing usable ice, so you’ll want to clear flow and re-check the fill path.
Clear a Frozen or Clogged Water Line
Thaw the line safely without damaging plastic tubing
Thaw the water line gently to remove ice plugs without stressing plastic.
- Keep the refrigerator unplugged.
- Use a hair dryer on low/mid heat held a safe distance from the tubing—work along the suspected frozen section.
- Avoid open flame and avoid boiling water anywhere near the line.
- Do not use sharp tools to “pick” ice from plastic tubing.
If you’re not sure where it’s frozen, start near the refrigerator connections and the section closest to the freezer where water transitions into the fill area. Plastic tubing cracks when overstressed; gentle heat protects it.
Flush the water path to remove debris and mineral buildup
Once the line loosens, flush out debris that restricts flow.
- Plug the refrigerator back in.
- If the dispenser is available, dispense water for a short period while watching for a steady flow.
- If there’s no dispenser access, you can run ice maker fill cycles by allowing the unit to return to normal operation.
- If flow is weak, stop and re-thaw the line before continuing—forcing the cycle can leave partially frozen sections.
This step clears both loose debris and mineral buildup that can cling after a thaw, which is a common cause of repeat clogs.
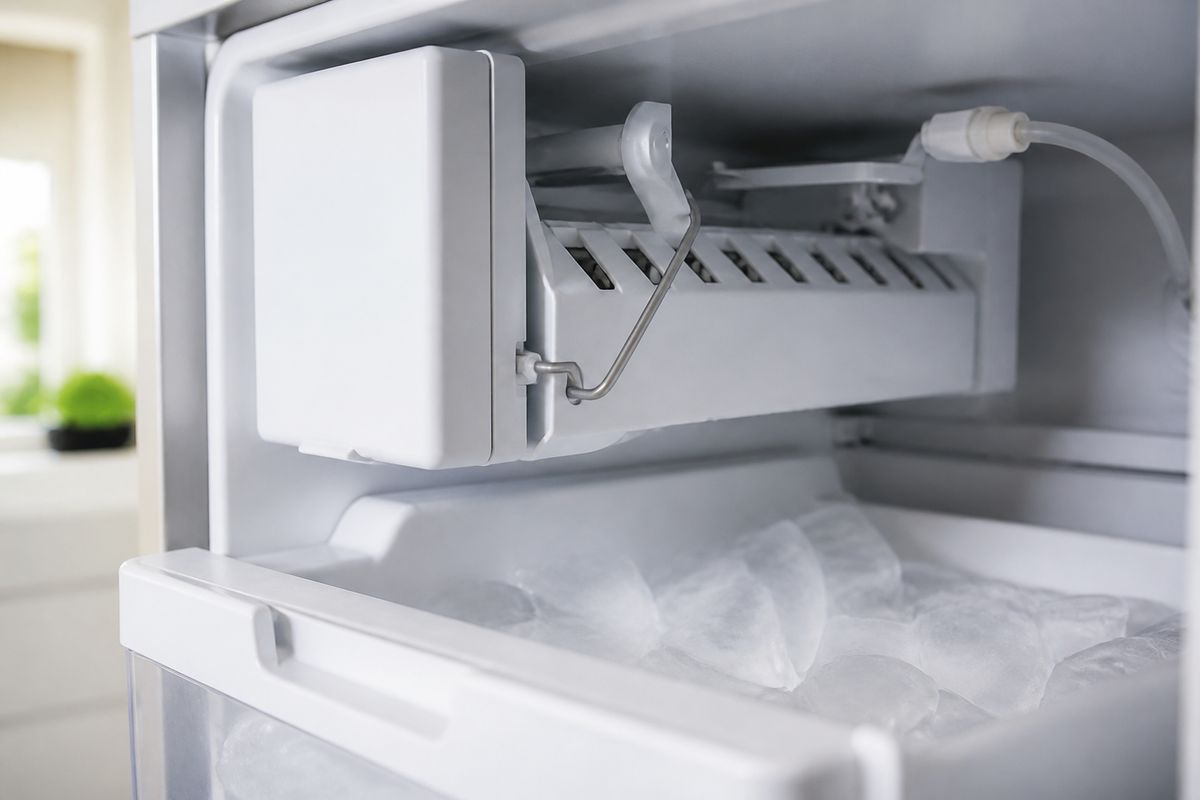
Inspect the fill tube for ice plugs and blockage
The fill tube is the most direct path into the ice maker area.
- Locate the fill tube inside the freezer compartment leading to the ice maker.
- Check for visible ice blockage at the tube entrance or around joints.
- Look for frost patterns that indicate a frozen section you may have missed.
- After thawing, ensure the path looks open and not re-frozen tightly around the inlet.
If you find hardened ice around the tube entrance, you must remove that blockage before you rely on the ice maker to refill.
Check the Ice Maker Settings and Controls
Verify the ice maker is turned on and not paused
A “no ice” complaint can be caused by the ice maker being disabled.
- Locate the ice maker feeler arm (wire bail). If it is raised or stuck, lower it to resume making ice.
- On many GE models, check for a small power switch or status indicator on the ice maker assembly cover.
- Set the ice maker to ON, not OFF.
- If your unit has a recessed test button next to the LED/status light, press it to start a manual harvest/fill cycle.
A paused ice maker won’t fill, and a stuck feeler arm will stop the ice maker from calling for water.
Understand why a GE ice maker may only make crushed ice
Crushed-only ice is usually a selection mode issue.
- Confirm you selected cubed (or the intended ice type) on the dispenser ice selector.
- Check that the dispenser switch isn’t stuck in “crushed” mode from old residue.
- If your model has separate buttons for “Cubed” and “Crushed,” press “Cubed” and observe the next dispensing behavior.
If the ice maker is producing ice but your dispenser only offers crushed, the water line is not the primary problem—the control selection is.
Reset the ice maker after clearing the blockage
After clearing a frozen or clogged line, reset so the unit restarts its cycle logic.
- Return power to the refrigerator if you had unplugged it.
- Allow the ice maker to initiate a harvest cycle after the thaw/flush.
- If your GE model supports it, use the ice maker test button to force a cycle.
- Keep the ice bin installed if your model requires it for proper sensing.
A reset prevents the ice maker from staying in an “unable to fill” state caused by the blockage you just removed.
Inspect the Tubing and Water Supply Path
Look for kinks, pinches, and crushed tubing
A physical restriction can keep the line from delivering enough water.
- Trace the line from the shutoff valve to the refrigerator and look for kinks or sharp bends.
- Inspect for areas where the tube is pinched behind the refrigerator or in a tight bend.
- Check for crushed spots where the tubing was likely compressed by installation or movement.
- If the tube is damaged, plan to replace the section rather than trying to “smooth” it.
Even a small kink can reduce flow enough to create slow fill or repeated freezing.
Check the shutoff valve, water pressure, and filter
Low flow triggers freezing in the fill area and limits ice output.
- Ensure the household shutoff valve is fully open.
- Replace the water filter if it’s been more than 6 months old or if you’ve had prior clog symptoms; clogged filters starve the ice maker.
- After installing a new filter, run a few dispense cycles to purge air from the system.
- If you have access to your model’s diagnostics, check for any water flow-related alerts.
Stable supply is critical: without adequate water flow, the ice maker can cycle but still fail to produce normal ice.
Know when the ice maker water line needs replacement
Replace the tubing when thawing and flushing can’t restore reliable flow.
- Replace the line if the tubing is cracked, brittle, or permanently kinked.
- Replace it if it repeatedly refreezes in the same spot despite proper water pressure and a fresh filter.
- Replace if fittings won’t stay sealed or show persistent leaks at connections.
- Replace the line instead of patching with improvised tubing or adapters that don’t match the original fittings.
Damaged tubing can create micro-leaks that chill the line and trigger future freeze-ups.
Reassemble, Test, and Prevent Future Clogs
Run a test cycle and confirm proper water fill
After reassembly, you need one focused validation.
- Make sure the ice maker cover and freezer components are returned to their correct positions.
- Start a manual test/harvest cycle using the ice maker test button or by allowing the next automatic cycle.
- Watch for water entering the fill tube during the cycle.
- Allow the unit to progress through harvest without interruptions.
If water never arrives in the fill tube during the forced cycle, the blockage is still in the water path or the valve/inlet assembly isn’t opening.
Watch for leaks and weak ice production
After the first successful cycle, check for two common failure outcomes.
- Look around the refrigerator connections and the ice maker area for moisture or dripping.
- If you see leaks, stop the cycle and re-check the tubing seating and fitting tightness.
- If ice production remains weak, revisit the filter age, shutoff valve position, and whether the line shows signs of freezing.
- Remove and discard any ice with unusual taste or visible debris after cleaning.
Leaky connections can keep a line cold and lead right back to clogging.
Prevent refreezing with routine filter and line care
Prevention focuses on stable flow and clean water.
- Replace the GE water filter on schedule (typically every 6 months) or sooner if flow weakens.
- Avoid repeatedly setting the freezer warmer than needed; GE ice makers require the freezer around 0 to 5°F to cycle properly.
- Keep the water line routed without tight bends when moving or reinstalling the refrigerator.
- If you’ve had a frozen line before, flush water after filter changes to clear air pockets that can contribute to inconsistent fill.
Stable temperatures and clean filtration reduce ice plugs that block the water path.
When to Call a Technician
Signs the valve, dispenser, or inlet assembly has failed
Some problems aren’t solved by clearing the line.
- If the ice maker cycles but never fills, the inlet valve or inlet assembly may have failed.
- If the dispenser doesn’t respond to ice selection changes, dispenser controls or the ice chute mechanism may be faulty.
- If you hear water-related valve sounds but water still doesn’t enter the fill tube, suspect a blocked internal inlet or a failed valve.
- If there are persistent leaks at the water connection that don’t resolve with correct seating, professional diagnosis is necessary.
When repeated clogs point to a deeper refrigerator issue
If you clear the line and it clogs again quickly, it’s time to escalate.
- Repeated freezing in the same location after filter changes and verified water pressure points to an internal flow/temperature problem.
- Consistent slow fill across multiple cycles indicates a restriction beyond the simple line clog.
- If multiple water components (filter, valve, and ice maker behavior) show conflicting symptoms, a technician can check internal routing, sensors, and the ice maker module.
- If you’ve replaced tubing but the problem returns, internal inlet components may be causing the restriction or rapid re-freezing.
Frequently Asked Questions
What causes a GE refrigerator ice maker water line to clog?
A GE refrigerator ice maker water line clogs due to frozen water in the fill tube, low water pressure, a dirty or overdue water filter, and mineral buildup in the water path. Kinked or damaged tubing can also restrict flow and create the conditions where water doesn’t move fast enough to prevent freezing. In other cases, debris from the household supply can accumulate at the inlet area and narrow the passage, leading to slow fill or no ice production.
Can I safely thaw a frozen GE ice maker water line myself?
Yes, you can safely thaw a frozen GE ice maker water line yourself if you use gentle heat and follow the refrigerator’s safety steps. Unplug the refrigerator first, then use a hair dryer on low or medium heat from a safe distance. Avoid sharp tools that can puncture or gouge plastic tubing, and do not pour boiling water anywhere near the line. Gentle thawing helps the line reopen without causing cracks or leaks that create more clog problems.
Why does my GE ice maker only make crushed ice?
Crushed ice only is usually a dispenser setting or control issue, not a clog in the water line. Check the ice selection controls and make sure the dispenser is set to cubed ice if you want cubes. Also inspect whether the dispenser ice type switch is stuck or obstructed by residue. If the ice maker is functioning and producing ice, the water line is typically not the limiting factor.
When should the ice maker water tube be replaced?
Replace the ice maker water tube if it is cracked, brittle, repeatedly freezing in the same spot despite proper freezer temperature and a clean filter, or permanently kinked from installation damage. If you see persistent leaks at the tubing connections, that also indicates the tube or fittings need replacement. Ongoing clogs after careful thawing and flushing suggest the tubing condition is contributing to restricted flow and should be replaced.
How do I know if the problem is the water line or the ice maker itself?
If the ice maker cycles but doesn’t fill, the issue is often the water line, water valve, or inlet path. If the ice maker won’t cycle at all—even when powered and set to ON—the ice maker assembly or its internal controls may be faulty. A stalled fill during a manual test cycle points to water delivery problems, while a failure to harvest at all points more toward the ice maker mechanism or control logic.