GE Refrigerator Not Making Enough Ice: Flow Fixes That Work
If your ge refrigerator not making enough ice, the problem is usually not the freezer fan—it’s water flow, freezing conditions, or an ice-maker cycle that’s getting interrupted. When the ice maker doesn’t get the right water pressure or can’t fill quickly enough, the bin stays low and cube size drops. Use the checks below in order to restore steady ice production.
For more help, see our Fix a GE Ice Maker Not Making Ice guide.
Start with the fastest ice-production checks
Start with the quickest items that can stop ice without any parts failing. These checks take minutes and catch the most common “no ice / low ice” interruptions.
Confirm the ice maker is turned on and not in test or off mode
- Locate the ice maker control on your model (common options are an ice maker ON/OFF switch, a wire feeler arm, or a control setting on the refrigerator UI).
- For models with a wire feeler arm (bail): confirm it is down. If the arm is raised or pushed up by something near the bin, the ice maker stops harvesting.
- For models with a recessed test button or status LED: ensure the ice maker is not left in test/off mode after maintenance.
- Leave the ice maker on and proceed to the freezer and bin checks so you don’t miss a cycle-stall cause.
Check the freezer temperature and food placement around the bin
- Set the freezer to 0 to 5°F. If the freezer is warmer, the ice maker may not freeze cubes fast enough to complete the cycle.
- Make sure the air vents inside the freezer aren’t blocked by food—restricted airflow raises temperatures around the ice mold.
- Check the area around the ice bucket and dispenser bin for items that can block the ice chute or sensor area.
- If the freezer recently warmed up (door open, new groceries, power flicker), wait for the freezer to recover before judging results—ice production depends on complete freeze cycles.
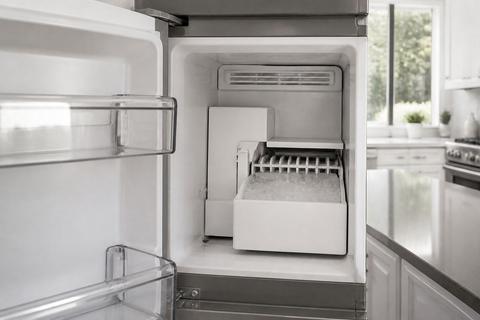
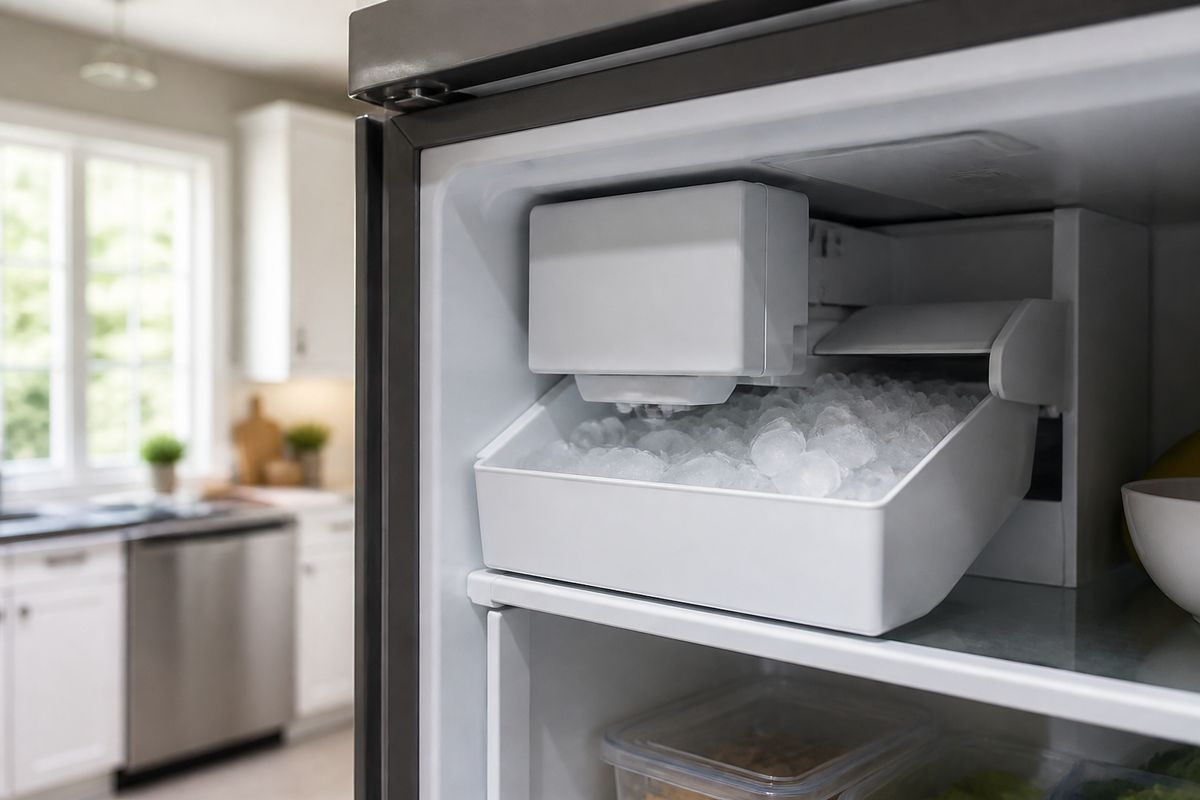
Look for a full ice bucket or a jammed shutoff arm
- Pull out the ice bucket and inspect it for ice buildup that can prevent normal movement.
- If cubes are packed tight, remove the bucket and let it settle; then return it fully seated so the shutoff mechanism reads correctly.
- Check the shutoff arm/feeler for obstruction. Bags or containers near the bin commonly push the arm up.
- Re-seat the bucket firmly and watch whether the ice maker harvests during the next cycle window.
Fix water flow to the ice maker
Low ice almost always traces back to restricted water reaching the ice maker. Fixing flow first prevents you from chasing parts that aren’t failing—your ice maker simply isn’t getting enough water.
Inspect the household water supply valve and shutoff position
- Find the water shutoff valve feeding the refrigerator (usually behind the fridge or in a nearby wall access).
- Make sure the valve is fully open. A partially closed valve reduces water pressure and reduces ice volume.
- Confirm the valve handle is aligned with the pipe flow when open (for quarter-turn valves, open is typically the lever pointing in line with the tubing).
- Once the valve is open, allow the ice maker to run through at least one harvest cycle before concluding it’s still low.
Straighten or replace a kinked or pinched supply line
- Pull the refrigerator slightly forward (enough to inspect the flexible water line).
- Look for kinks, sharp bends, or pinched sections near the back where the line flexes.
- If the line is kinked, straighten it fully—do not leave it bent sharply behind the fridge.
- If the line is damaged or repeatedly kinks when you move the fridge, replace the supply line so water flow remains consistent.
Flush the water filter and replace it if it is clogged
- Check the filter’s age. A common cause of weak ice production is a clogged or past-due filter (GE XWF/XWFE/MWF series filters are frequently due around 6 months).
- If your filter has a reset or replacement indicator, change the filter and reset the indicator.
- After replacing, run a few water dispenser cycles to purge air from the line before judging ice production.
- If your filter housing allows access, ensure the filter is seated correctly—an improper seal can restrict flow.
Solve low-fill and small-cube problems
If the ice maker does run but the bin stays low or cubes are small, focus on fill level, water pressure delivery, and freezing-blocked supply paths.
Adjust the ice maker fill level or cube-size setting
- Find the ice maker control that changes cube size or fill level (some GE models use a “ice size” option; others use a mechanical adjustment inside the ice maker).
- If cubes are consistently small, set cube size to Max or a larger setting as your model allows.
- If the bin is underfilled even when ice forms, adjust to increase fill volume so the unit completes harvest properly.
- After changing settings, allow ice to cycle through until you see a consistent fill rate for a full bin.
Verify the inlet valve is delivering enough water pressure
- Listen during harvest for a strong water fill sound. Weak, intermittent fill indicates the inlet valve may not be supplying enough water.
- If you have access to the inlet valve or supply connection, check for restricted flow upstream (kinks, clogged filter).
- If water reaches the valve but flow is still weak, the inlet valve can partially fail and limit water volume.
- When diagnosing inlet valves, also check for correct ice-maker power and cycle commands so the valve isn’t being asked at the wrong time.
Check for frozen fill tubes or a blocked water inlet
- Inspect visible fill tubing near the ice maker area for ice formation.
- If any section looks frosted or capped with ice, thaw it safely by waiting for the freezer to stabilize and warm slightly—do not force tools into tubing.
- Check the water inlet area for debris or scale buildup that restricts flow into the mold.
- Clear the restriction so water can refill the mold at full volume; low-fill problems often come from water that can enter the valve but can’t reach the mold.
Address common GE bottom freezer ice maker issues
Bottom freezer ice makers have a few frequent “cycle stopped” causes, especially after a stall, jam, or control confusion. Fix the mechanical and reset sequence first.
Reset a bottom freezer ice maker after a stall
- Locate the ice maker’s control (often an on/off switch or an access reset on the ice maker module).
- Turn the ice maker off, then back on using the model’s switch.
- If your model has an onboard control with a reset function, follow the sequence for that control rather than forcing the shutoff arm.
- After reset, the ice maker should return to normal harvesting and filling behavior.
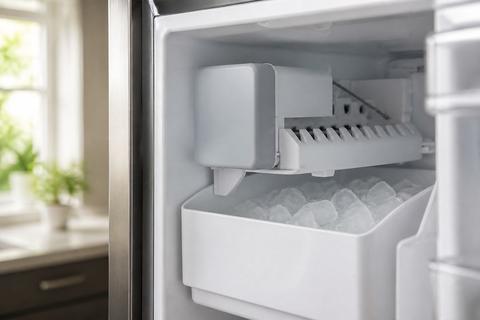
Clear ice jams and verify the ejector arm can move freely
- Remove the ice bucket.
- Look inside the ice maker area for clumps that block the ejector path.
- Gently clear packed ice and check that the ejector arm is not stuck due to jammed cubes.
- If the arm is obstructed, you’ll get repeated stalls and low output until the mechanism can complete the harvest cycle.
Use the correct shutoff switch or control sequence for your model
- Do not force the shutoff mechanism. If a wire arm is used, raising it manually stops production—return it to the normal position.
- If your model uses an ice maker switch or a control menu, use that method to enable ice production rather than moving parts by hand.
- Confirm the refrigerator is in an ice-capable mode for your configuration (some models have separate settings for ice type or ice enable).
- Using the wrong sequence can leave the ice maker inactive even when the freezer is cold.
When the refrigerator is making ice but not dispensing well
This is a different failure pattern: ice production may work, but flow from the bin/dispenser is blocked. Focus on clumps, mechanical obstruction, and frost that interrupts delivery.
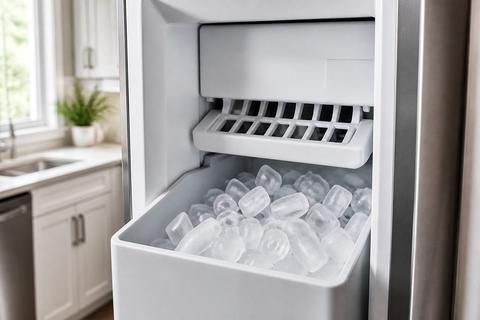
Remove ice clumps from the bucket and dispenser chute
- Turn off dispensing if your model has a control and remove the ice bucket.
- Break up and remove visible clumps that can bridge the bucket outlet.
- Inspect the dispenser chute area for packed ice that prevents cubes from dropping into the chute.
- After clearing, put the bucket back fully seated so the dispenser mechanism aligns with the outlet.
Test the auger motor and dispenser flap for obstructions
- Listen for normal dispenser actuation when you press the ice dispenser—no movement or grinding can indicate a jam.
- Check for ice around the auger path or flap mechanism that prevents normal rotation.
- If the flap does not move freely due to buildup, remove the obstruction and ensure it swings without sticking.
- If you still get ice clogs repeatedly after clearing, the flap/auger assembly may need service.
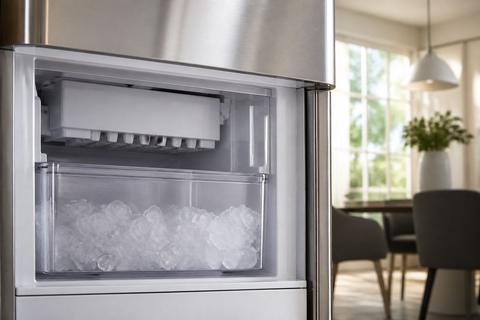
Check for freezer frost buildup that blocks ice delivery
- Inspect the freezer around the ice maker/dispenser area for abnormal frost.
- Excess frost can block moving parts and slow the drop of cubes from the bin into the chute.
- If frost buildup is heavy, correct the root cause (typically airflow or temperature issues) so it doesn’t return quickly.
- After clearing the obstruction and addressing frost causes, ice dispensing should improve as the chute stays open.
When to troubleshoot parts or call for repair
If the basics don’t resolve the issue, it’s time to focus on components that control water and ice cycles. The goal is to identify the likely failing part without unnecessary guesswork.
Recognize signs of a faulty inlet valve, filter head, or ice maker module
- If water flow remains weak after confirming the shutoff valve is open and the line isn’t kinked, the inlet valve can be the restriction.
- If the filter is new but flow still drops fast or the filter housing appears mis-seated, the filter head or connection sealing can be failing.
- If the ice maker shows repeated stalls, weak fills, or no harvest after reset and correct freezer temperature, the ice maker module may be malfunctioning.
- Part diagnosis is most accurate after you’ve ruled out flow restrictions and freezing conditions.
Know when control-board or sensor issues are preventing ice production
- If the ice maker runs through commands but never completes harvest, sensors could be detecting “ice full” incorrectly.
- If you see unusual behavior after power events—like cycling stopping or inconsistent harvest—control logic or sensors may be misreading conditions.
- Check for any stored error codes if your model provides them on the display.
- When sensor/control faults are suspected, professional diagnosis saves time because testing requires access to wiring and specific readings.
Decide whether repair or replacement makes more sense
- If the ice maker is failing after multiple flow checks and component checks, compare repair cost to replacement based on your model and parts availability.
- Consider replacing when the module and related components (like valve/sensor assembly) show multiple signs of failure.
- Repair can be the better choice when diagnostics isolate one component (for example, a clearly failed inlet valve) and the rest of the system is sound.
- If your refrigerator is older and issues extend beyond ice production, evaluating overall repair versus replacement becomes more cost-effective.
Frequently Asked Questions
Why is my GE refrigerator making very little ice instead of filling the bin?
The most common causes are restricted water flow, a dirty filter, low water pressure, a frozen fill tube, or an ice maker setting that limits production.
How do I turn off the ice maker on a GE bottom freezer refrigerator?
Most GE bottom freezer models use an on/off switch, wire arm, or control setting on the ice maker. Check the model-specific instructions before forcing any part.
Why is water not getting to my GE refrigerator ice maker?
A closed water valve, kinked line, clogged filter, frozen supply tube, or failed inlet valve can stop water from reaching the ice maker.
Can a dirty water filter cause low ice production?
Yes. A partially clogged filter can reduce fill volume, slow cube formation, and make the ice maker seem weak or inconsistent.
What should I try if my GE refrigerator stopped making ice after a power outage?
Reset the ice maker, check that it is turned on, confirm the freezer is cold enough, and inspect the water line for freezing or a stalled cycle.