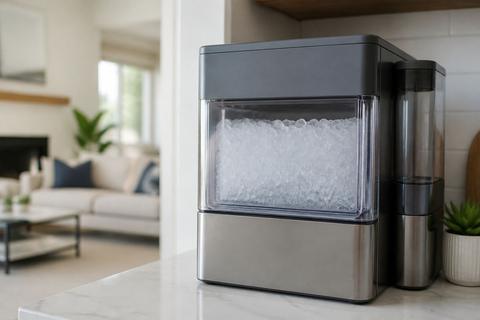
GE Countertop Ice Maker Not Working: Power, Water, Clean-Out
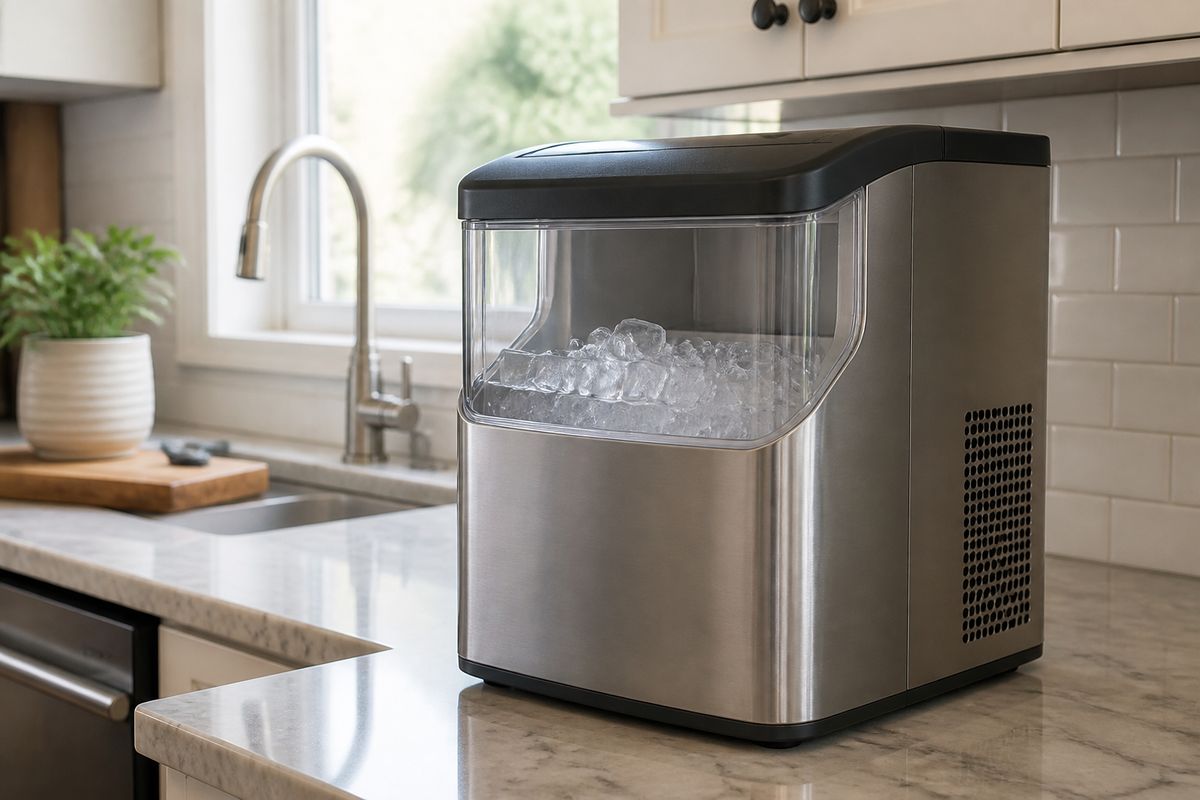
When your GE countertop ice maker is on but not producing ice, it’s usually something simple like power, water flow, or scale buildup. If your ge countertop ice maker not working situation feels stuck, start with the checks that confirm the unit can actually harvest and freeze.
For more help, see our Fix a GE Ice Maker Not Making Ice guide.
Start With the Basics
Confirm the unit has power
If the unit has power but won’t make ice, the control system may not be receiving the signals that start a harvest cycle.
- Plug the ice maker directly into a wall outlet (not a power strip).
- Check for a lit status indicator or display—look for “ICE,” “ON,” or any running/ready light.
- If the outlet works for other devices, power-cycle the ice maker: unplug for 5 minutes, then plug back in.
- If there’s still no indicator light or the display won’t wake, the issue is likely internal power control or a failed component—note the behavior for GE support.
Check the control panel and indicator lights
Indicator patterns tell you whether the ice maker is waiting on water, needs cleaning, or is stuck mid-cycle.
- Look for a flashing light pattern or a “Clean”/“Descale” message if your model has one.
- If the panel shows “Clean” or cleaning is overdue, run the clean-out routine before chasing other issues.
- If the light indicates “Ice Full” or “Basket Full,” empty the ice bin and ensure the basket isn’t obstructed.
- If your model includes a manual start/diagnostic button on the front cover, press the recessed test/start button to force a harvest cycle and confirm operation.
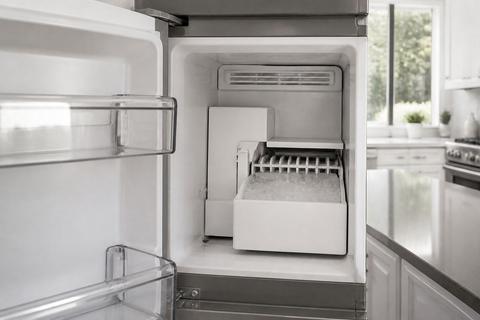
Make sure the ice basket and lid are seated correctly
Many GE countertop units stop producing ice if the bin or lid isn’t positioned properly (the sensor interprets it as “full” or blocked).
- Remove the basket and lid and re-seat them firmly.
- Ensure the ice basket sits level and fully engaged on its supports.
- Clear any ice chunks that could be preventing the lid from closing or the bin from moving.
- Close the lid completely and run a fresh cycle to see whether the unit now transitions from waiting to making ice.
Fix Water and Fill Problems
Verify the water reservoir level
No ice forms when the reservoir is empty or the float/sensor can’t detect water.
- Fill the reservoir to the MAX line (do not overfill past the marked limit).
- If your unit uses a removable tank, ensure it locks in place—an unlatched tank can leave the pump dry.
- If the unit has been running and water ran low, refill and allow it to complete a full cycle after the refill.
- Check for water in the bottom reservoir area (if visible on your model); it should not be dry when starting.
Use clean, cold water for better ice formation
Warm water slows freezing and encourages mineral buildup that can trigger shutdowns.
- Use cold drinking water straight from the tap and chill it if needed.
- If your tap water is warm, fill and cool the reservoir water first, then start the ice maker.
- Avoid using previously melted ice water that can carry minerals and contaminants.
- After switching to cold, clean water, run a new cycle long enough to harvest—don’t expect instant ice after one short moment.
Look for kinks, blocked inlets, or low flow
Even with a full reservoir, blocked inlets or restricted flow can prevent the unit from pushing water to the freezing plate.
- Inspect the water inlet path for debris or ice blockage.
- If your model uses a hose or external connection, check for kinks that stop flow.
- Ensure the inlet area is clear and the reservoir outlet isn’t obstructed.
- If scale is suspected (slow dispensing, residue, or recurring “clean” messages), run the clean-out routine to restore flow.
Solve Ice-Making Issues
Give the machine enough time to complete a cycle
Some GE countertop models won’t show results immediately; they need time to freeze, then harvest.
- Start the unit and allow a full cycle to run—countertop machines typically take longer than you expect for the first batch.
- Don’t repeatedly start/stop while it’s attempting to freeze; interrupting can leave it stuck mid-stage.
- Confirm the unit isn’t showing an “ice full” condition—empty and reseat the basket if it is.
- If ice output is delayed every time, proceed to temperature and jam checks.
Check ambient temperature and room conditions
The surrounding environment affects freezing performance—warm rooms reduce ice production.
- Place the ice maker in a space where room temperature stays within the unit’s intended range (commonly 50–90°F).
- Keep it away from ovens, direct sunlight, and heat sources.
- If your ice maker is near a drafty window or exterior door, stabilize it away from fluctuating temperatures.
- If the unit consistently makes small or hollow cubes, temperature conditions are a primary suspect along with scale.
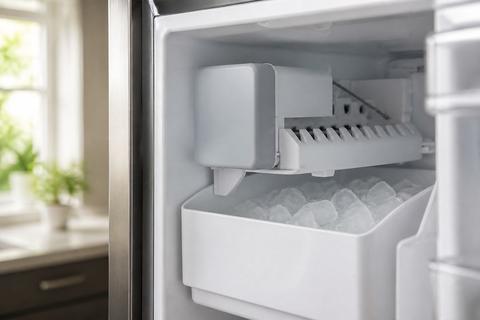
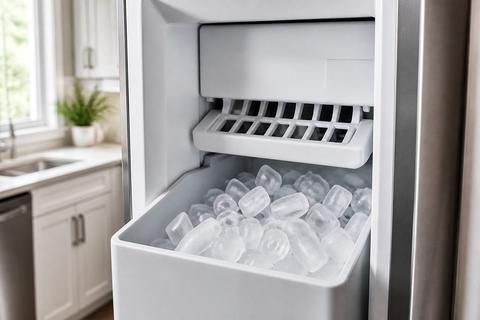
Inspect for ice jams or frozen components
An ice jam blocks the harvest blade or prevents cubes from clearing into the bin.
- Unplug the ice maker, then remove the basket.
- Check the ice chute/freezing area for visible ice buildup preventing cubes from dropping.
- If you see frozen water pooling or an ice bridge, allow the unit to sit unplugged briefly to melt (do not chip at components).
- After clearing debris, restart and watch for normal harvest movement during the next cycle.
Run a Proper Clean-Out
Descale the ice maker safely
Scale buildup can stop ice production or cause sensor trips.
- For GE Opal nugget ice makers, unplug for several minutes, then restart and run the Clean cycle (follow the unit’s on-screen prompts).
- Use the recommended cleaner (Opal Nugget Ice Maker Cleaner) or a vinegar-water solution if your model instructions allow it.
- Run the cleaner through the unit as directed so it contacts the internal surfaces where scale forms.
- After descaling, run a rinse cycle to remove residual cleaner and scale loosened from internal parts.
Clean the reservoir, scoop, and interior surfaces
Cleaning removes residue that can affect sensors and water distribution.
- Wash the reservoir with warm water and mild dish soap, then rinse thoroughly.
- Clean the scoop and interior surfaces where ice collects.
- Remove any visible white mineral film around the reservoir outlet or sensor areas.
- Dry all parts completely to prevent water from freezing incorrectly on restart.
Dry and restart after cleaning
Moisture left inside can interfere with sensor readings and restart behavior.
- Wipe the interior surfaces dry with a clean cloth.
- Reassemble the reservoir, basket, and lid exactly as they were.
- Plug the unit back in and start a fresh ice cycle.
- If your model has a reset state or cleaning indicator, ensure it clears after the rinse and restart.
When a GE Side-by-Side Ice Maker Has Similar Symptoms
Check the freezer temperature setting
A side-by-side freezer that’s too warm prevents the ice maker from cycling.
- Set the freezer to 0°F (or as close as your model allows).
- Wait 24 hours after adjusting settings for the temperature to stabilize.
- Avoid loading warm items that raise freezer temperature right after a reset.
- If the ice maker still won’t produce after stabilization, move to water supply and sensor checks.
Inspect the water filter and supply line
Restricted water flow starves the ice maker even if the unit powers on.
- If the water filter is clogged or past replacement, replace it (many GE filters need replacement around 6 months).
- Check the water supply line for kinks or freezing.
- After replacing a filter, dispense a few cups of water to purge air before expecting full ice output.
- If water appears low or sputtering from the dispenser, treat the filter/supply restriction as the core issue.
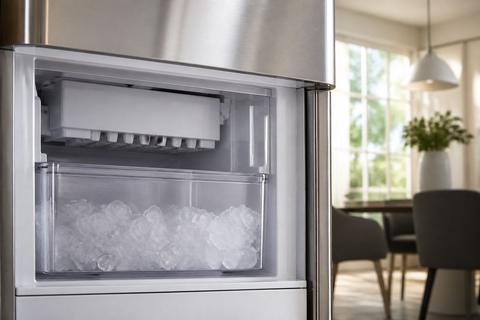
Test the ice maker shutoff arm or sensor
The shutoff mechanism can get stuck and halt ice production.
- For feeler-arm models: lower the wire bail/arm fully; if it is stuck up or blocked by ice or a container, the ice maker stops.
- For sensor-based models: check for obstruction in the ice path near the bin and ensure the sensor area is clean.
- Reset the ice maker per the manufacturer’s control method (often turning it off/on).
- If the arm moves freely but the ice maker still won’t harvest, the next likely causes are fill valve or ice maker module issues.
Know When It Is More Than a Simple Fix
Recognize signs of pump, motor, or sensor failure
Some failures prevent water delivery, harvest movement, or detection of ice formation.
- If the unit repeatedly shows a water-related fault but the reservoir is full and clean, the pump or water valve may be failing.
- If you hear running but no ice drops, suspect a harvest motor, jam, or failed drive.
- If cleaning doesn’t improve output and the unit continues to stop early, sensor contamination or sensor failure may be involved.
- If multiple indicator states occur without resolving through cleaning and reseating, internal component failure becomes likely.
Decide whether reset, repair, or replacement makes sense
Choose the path based on consistency and cost.
- Try one complete clean-out plus a restart (power-cycle and clean cycle) before assuming a hardware failure.
- If it still won’t make ice after power, water level, flow, and cleaning checks, plan for repair or replacement.
- For repeated pump/harvest failures or persistent control-board symptoms, repair may be the best option if parts and labor are reasonable.
- If the unit is older and fails multiple functions (water + harvest), replacement often becomes the most cost-effective approach.
Find the model number before contacting support
Support and parts ordering require the exact model.
- Locate the label inside the unit (often behind a panel or on the back/bottom).
- Write down the full model number and serial number.
- Note the symptoms: indicator behavior, whether any water flows, and whether ice jams occur.
- Provide that info to GE support so they can match your unit to the correct troubleshooting steps and parts.
Frequently Asked Questions
Why is my GE countertop ice maker powered on but not making ice?
The most common causes are low water, a dirty or scaled reservoir, a blocked sensor, or a cycle that has not finished yet. Start by checking power indicators, confirming the reservoir is filled to the MAX line, and making sure the ice basket and lid are seated correctly. Then run a clean-out if there’s any mineral buildup or if the unit shows a clean/descale signal. If the unit sounds like it runs but doesn’t harvest, inspect for ice jams in the freezing/ice drop area.
How often should I clean a GE countertop ice maker?
Clean it whenever ice tastes odd, output slows, mineral buildup appears, or the unit displays a clean/descale prompt. For frequent use, a regular descaling schedule helps prevent scale from insulating freezing surfaces and triggering sensor shutdowns. If your water is hard, clean more consistently because scale accumulates faster. Follow your model’s recommended cleaner for the safest and most effective descale routine.
Can hard water stop a GE countertop ice maker from working?
Yes. Hard water can leave scale on sensors, the reservoir outlet, and internal water pathways. That scale can reduce ice production, cause slow or blocked water flow, and trigger shutdowns until the unit is cleaned. If you suspect hard water, run the full clean-out/descale routine, then restart with fresh cold water so mineral residue doesn’t immediately interfere with the next cycle.
What should I do if my GE side-by-side ice maker stops making ice?
Check the freezer temperature setting first—ice makers require a sufficiently cold freezer (around 0°F) to freeze and cycle correctly. Next, inspect the water filter and supply line for clogs, kinks, or freezing; a clogged filter can starve the ice maker. Finally, check the ice maker shutoff arm or sensor for blockage or a stuck position. If those are normal, the fill valve or the ice maker module may be failing.
When should I replace the ice maker instead of repairing it?
Replacement may make more sense if the unit still fails after power, water level, flow, sensor-free placement, and a complete clean-out. It also makes sense if you suspect a failed motor/harvest component, pump, or control board and the expected repair cost approaches or exceeds the cost of a comparable new unit. If multiple functions stop working, replacement often provides the most reliable outcome.