Whirlpool Ice Maker Not Working: Causes and Step-by-Step Fixes
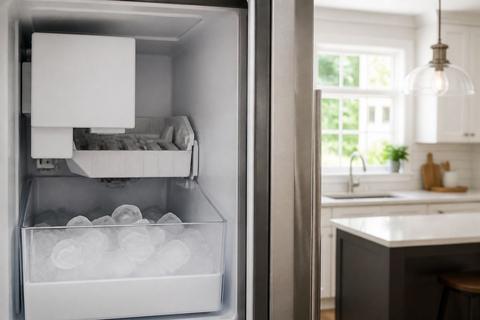
If your whirlpool ice maker not working, it’s usually not a mystery part failure—it’s a simple missed setting, water flow issue, or an ice jam blocking the harvest cycle. When the freezer is cold enough but the mold never fills, you’ll see either no cubes or partial, hollow, or small ice. Start with the checks below so you restore ice production in the fewest steps possible.
For more help, see our Whirlpool Ice Maker Not Working: Fixes and Diagnosis guide.
Start With the Fastest Checks
Confirm the ice maker is turned on
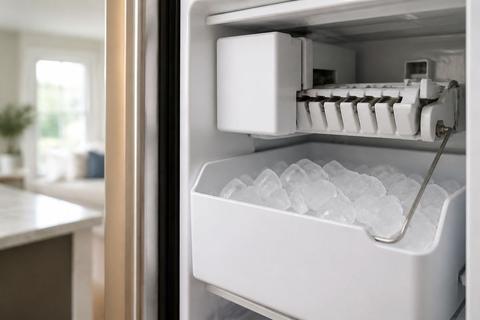
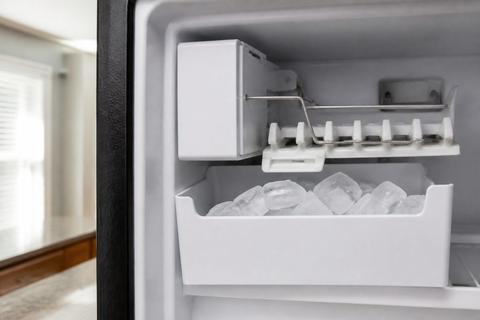
Start by confirming the ice maker is actually enabled. On many Whirlpool refrigerators with a manual ice maker shutoff arm, the arm must be in the down position to turn the ice maker ON. If the arm is up, the ice maker will stop harvesting and filling.
- Open the freezer and locate the ice maker shutoff lever/arm or feeler paddle.
- Move the arm to the down (ON) position.
- Close the door and wait for the next cycle; many models start a harvest after ice has cooled and water fill is called.
Check the freezer temperature and door seal
Ice makers need consistent freezing temperatures to trigger harvest and to keep cubes solid. If the freezer is warm, the ice maker may not harvest cleanly or may stop calling for proper fill.
- Set the freezer to 0°F (-18°C) (check the display panel or control).
- Inspect the door gasket for gaps, tears, or hard-to-close spots.
- Test for leaks: shut the door on a folded dollar bill; if it pulls out easily, replace or reseat the seal.
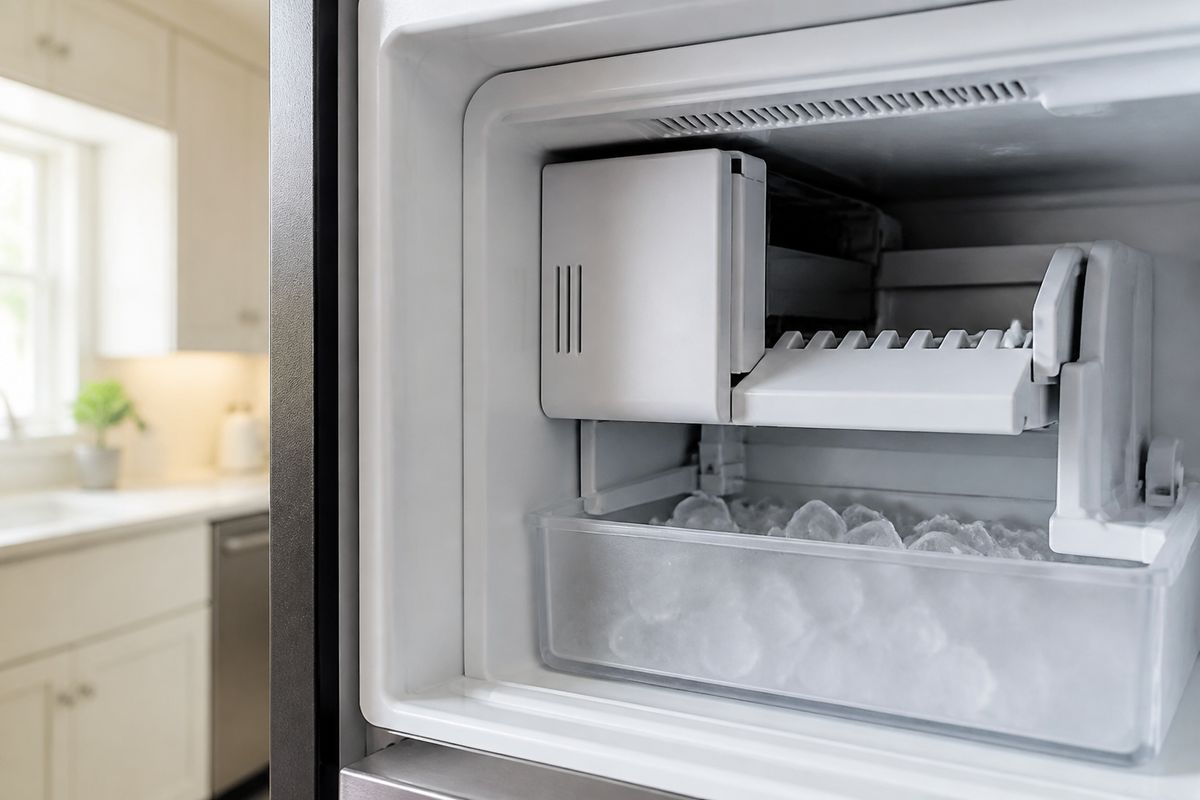
Look for an active ice bucket jam or bin blockage
A jamged bin or obstruction can prevent the ice maker from sensing that the bin is ready, stopping the next fill/harvest.
- Remove the ice bucket/bin and empty it into a sink.
- Look for stuck cubes along the auger, in the corners, or where ice bridges under the bin.
- Clear the blockage and remove any clumps that formed from melted/refrozen ice.
Fix Water Supply and Fill Problems
Make sure water is reaching the refrigerator
If water isn’t reaching the refrigerator, the ice maker can’t fill the mold. This is common after moving, maintenance, or accidental shutoff.
- Locate the household shutoff valve behind the refrigerator.
- Turn the valve fully on.
- Run a nearby dispenser water test for several seconds (if your model has a dispenser): if you get no water, you have a supply or line issue before the ice maker.
Inspect the water filter, line, and inlet valve
A clogged filter or restricted inlet path slows or prevents ice maker fill. Also check that the filter is installed correctly and seated fully.
- Check the water filter status: replace if it’s past its service interval (Whirlpool EveryDrop filters are rated ~6 months / 200 gallons).
- Inspect the water line for kinks, flattening, or loose connections at the back of the fridge.
- If water flows to the fridge but ice doesn’t fill, the inlet valve may not open—look for voltage/diagnostic trouble codes, or have the valve tested.
Check for low pressure, kinks, or a frozen fill tube
Low household pressure and frozen fill components are two of the most frequent “no ice” causes. Whirlpool’s supply spec is roughly 35–120 psi at the inlet.
- Confirm the water line is not kinked and isn’t pinched behind the fridge.
- If you suspect a freeze-up, examine the thin fill tube feeding the ice mold for ice blockage.
- Thaw a frozen fill tube: use a hair dryer on low/medium heat directed at the tube (keep it away from plastics), or pour warm water carefully on the area until water flow resumes.
Clear Ice Jams, Frost, and Overflow Issues
Remove stuck cubes and break up clumps safely
Ice bridges and clumps stop the harvest mechanism and can trigger overflow or incomplete cubes. Clear them without damaging plastic or sensors.
- Unplug the refrigerator (or switch off the ice maker) to prevent cycling while you clear ice.
- Remove the bin and break up clumps with a plastic utensil—avoid sharp metal tools that can crack parts.
- Clear ice around the ice chute and sensor/lever area, then reinstall the bin.
Defrost a frozen ice maker or fill tube
When the ice maker freezes solid, it may not harvest or it may never complete a full batch. A frozen fill tube is especially common.
- Power down the ice maker (unplug refrigerator or turn the ice maker OFF).
- Defrost using gentle heat: use a hair dryer on low and keep it moving across the ice maker area.
- Allow full thawing until you can see clear water pathways; then restart the ice maker and let it run.
Prevent overfilling and water overflow
Overflow usually comes from restricted fill, a stuck shutoff arm, incorrect bin placement, or repeated ice bridge formation. Fix the cause so water level returns to normal.
- Make sure the bin is seated correctly—misalignment can cause incorrect sensing.
- Check the shutoff arm/feeler for free movement; clear any ice that holds it up.
- After clearing jams or thawing, remove any excess ice from the bottom of the ice bucket area to stop re-overflow.
Reset, Test, and Diagnose the Ice Maker
Use the test cycle or reset button if your model has one
A reset helps when the control board has stalled mid-cycle. Many Whirlpool models include a reset switch or diagnostic behavior.
- Locate the ice maker’s reset button or power switch on the unit/control panel.
- If your model supports a manual reset, press and hold as instructed on the ice maker label (or turn the ice maker OFF then back ON).
- After reset, the ice maker may take hours to produce a full batch—prioritize water fill and freezer temperature first if you see no movement.
Interpret common Whirlpool ice maker error signs
Your symptoms often point to the right failure type without guessing. Use what you see to narrow the cause quickly.
- If the ice bin stays empty and you hear no fill sounds, focus on water supply, filter, and frozen fill tube first.
- If you get small, hollow, or missing cubes, focus on water restriction from a clogged filter or low water pressure.
- If the ice maker harvests but ice stops short, suspect a jam, a stuck shutoff arm/feeler, or a motor/harvest mechanism issue.
Know when the ice maker motor or sensor has failed
When water flow is confirmed and the freezer is cold enough, repeated no-harvest behavior points to internal parts. At that stage, a motor, sensor, or control problem may be the cause.
- Confirm the ice maker calls for harvest after thawing and clearing jams (based on error signs and observed movement).
- If the ice maker repeatedly won’t complete a cycle even with confirmed fill, schedule diagnosis of the module motor/harvest mechanism and related sensors.
- If you find consistent control-module faults, replacement may be the most efficient repair path.
Clean and Maintain the Ice Maker
Clean the bin, mold, and lever components
Old ice residue and mineral buildup can interfere with sensors and cause sticking. Cleaning improves harvest and reduces future jams.
- Remove the ice bin and wash it with warm water and mild dish soap; rinse and dry.
- Clean the area around the mold and any levers/feeler arms with a soft cloth to remove ice dust.
- Check for stuck fragments around the chute/sensor area and clear them before restarting.
Use the right ice maker cleaner and avoid damage
Use a cleaner intended for refrigerator ice systems—don’t improvise with harsh chemicals that can leave residue.
- Purchase an ice maker/refrigerator-safe descaling cleaner approved for ice machines.
- Follow the label instructions exactly for dilution and contact time.
- Avoid bleach, strong acids, and abrasive pads that can damage plastic components or leave harmful residue.
Replace the filter and follow a maintenance schedule
A new filter restores proper flow and reduces hollow cubes and “slow ice” complaints. Maintenance is a prevention step, not just a fix.
- Replace the water filter when overdue or after install/maintenance.
- After replacing the filter, discard the first 2–3 full batches of ice so the initial cubes taste and look normal.
- Keep the filter replacement on schedule (Whirlpool EveryDrop is ~6 months / 200 gallons) to keep fill consistent.
Access, Replace, or Upgrade the Ice Maker
How to remove the ice maker cover safely
Accessing the ice maker assembly requires careful power handling and correct removal of the cover/module components.
- Unplug the refrigerator (or switch off power at the breaker) before removing covers.
- Remove the ice maker cover using the correct fasteners for your model; keep screws organized.
- Disconnect any wiring harnesses carefully—release clips gently and don’t pull on the wires.
When a replacement ice maker makes more sense
Replacement is appropriate when multiple internal parts are failing or troubleshooting won’t restore a complete harvest cycle.
- Replace the ice maker assembly if water fill is correct, the freezer stays at 0°F, and the unit still won’t harvest or repeatedly errors after cleaning and thawing.
- Consider replacement sooner when diagnosing indicates failed motor/harvest components or internal sensor faults.
- If the fridge is new enough to be under warranty, check coverage before paying for parts and labor.
Verify the correct Whirlpool part before you buy
Using the wrong part wastes money and can leave you with an incompatible connection or control board.
- Locate your refrigerator model number and ice maker/parts identifier from the tech sheet or inside the door frame.
- Match the part number to Whirlpool’s listed ice maker assembly for your exact model and dispenser configuration.
- Confirm whether your refrigerator uses an inline icemaker, modular ice maker, or a different mechanism so the replacement matches your water connections and controls.
Special Whirlpool Refrigerator Configurations
Models with multiple ice makers or a craft ice maker
If your Whirlpool refrigerator has more than one ice maker (or a craft ice system), a single component can fail while the other still works. Troubleshoot the specific unit that isn’t producing.
- Identify which bin is affected (upper/lower, main vs secondary, or craft module).
- Check the shutoff arm and bin jam for only the non-working ice maker.
- Inspect the water feed and the fill components for that specific module, then run cleaning/defrost for the affected system.
French door, three-door, and water-and-ice dispenser models
Dispenser-equipped models share water flow but have different delivery pathways and ice storage layouts that can affect troubleshooting.
- If the water dispenser works but ice doesn’t, focus on the ice maker fill, filter restriction, and fill tube freeze.
- If both water and ice fail, prioritize the household shutoff, inlet plumbing, and filter housing.
- For multi-bin French-door layouts, ensure each bin is seated correctly so the ice maker’s sensing arm moves freely.
Mechanical lever styles and what changes in troubleshooting
Mechanical shutoff arms/feeler paddles change what you should check first. If the arm is stuck, the ice maker won’t run even if water is available.
- With lever-style icemakers, inspect the arm’s range of motion after clearing any ice bridges.
- Make sure the lever returns to its designed position after cleaning and after reinstalling the bin.
- Focus on the mechanical linkage/sensor area before deep internal diagnostics when the symptom is “no harvest” with normal freezer temperature.
Frequently Asked Questions
Why did my Whirlpool ice maker suddenly stop making ice?
The most common causes are a turned-off ice maker, frozen fill tube, clogged filter, low water pressure, or a jammed bin. Start with power, temperature, and water-supply checks before moving to parts replacement.
How long does a Whirlpool ice maker take to start working after a reset?
In many models, it can take several hours to a full day to produce a normal batch of ice after a reset or thaw. If nothing happens after 24 hours, inspect water flow and the test cycle.
Why are my ice cubes small, hollow, or missing?
That usually points to restricted water flow, a partially clogged filter, low supply pressure, or a freeze-up at the fill tube. If cubes are missing entirely, the ice maker may not be filling at all.
Can I fix a Whirlpool ice maker without replacing it?
Yes. Many problems are caused by ice jams, blocked water lines, dirty components, or a bad filter rather than a failed ice maker assembly. Replacement is usually the last step after basic troubleshooting.
Should I use a special cleaner for the ice maker?
Use a cleaner that is approved for refrigerator ice systems and follow the manufacturer’s instructions. Avoid harsh chemicals that can leave residue or damage plastic parts.