Whirlpool Freezer Freezing Up or Won't Stay Cold: How to Fix

If your whirlpool freezer freezing up has you scraping ice or finding food that won’t stay frozen, the problem is usually airflow, moisture/ice buildup, or a failed defrost component. If the freezer runs but warms up, the cause is often fan/coil/temperature control, or a weak sealed-system part. Work through the checks below in order so you fix the real bottleneck—not just the symptoms.
For more help, see our Whirlpool Ice Maker Frozen, Leaking, and Clog Repairs guide.
Start with the most common causes
Check the temperature settings and controls
Start with the simplest settings because a wrong control point can trigger long run times, icing, or poor freezing.
- Set the freezer control to 0°F (-18°C) (or the closest marked setting) using the digital panel or the dial.
- If your model has a separate freezer “cold control” dial, turn it one notch at a time toward colder and wait at least a few hours for stabilization.
- If the display shows an error code (common on some Whirlpool models), note it and use it to guide diagnosis before replacing parts.
If the control was bumped or a new setting was entered, returning it to the correct freezer target is the fastest fix.
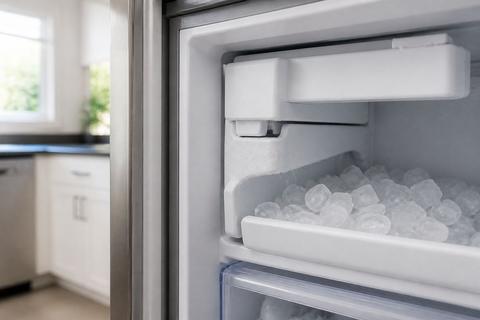
Look for a blocked air vent or overpacked freezer
Restricted airflow is one of the most common reasons a Whirlpool freezer forms ice where it shouldn’t and fails to keep a consistent temperature.
- Locate the freezer air vents (often along the back/side interior) and make sure nothing touches them.
- Remove items that are packed tightly against the vents or blocking the fan area.
- Confirm the internal fan intake area is not obstructed by paper, food packages, or ice chunks.
Then observe whether frost/ice patterns stop spreading. Blocked vents can also make the evaporator run unevenly, increasing ice buildup.
Inspect the door gasket for leaks or gaps
A weak door seal lets warm, humid air into the freezer. That humidity can freeze onto internal surfaces and overwhelm defrost performance.
- Close the freezer door on a strip of paper (or a thin dollar bill) along the perimeter.
- Try pulling the paper out—resistance should be consistent; repeat in multiple corners and the hinge side.
- Look for cracked, warped, dirty, or pinched gasket sections. Clean the gasket with warm water and a soft cloth, then dry fully.
If you find a leak spot, replace the gasket—adjusting a latch or cleaning alone can be enough if the gasket is intact.
Defrost and clear any ice buildup
Unplug the freezer and remove stored food safely
Before you melt ice, protect food and prevent water from turning into a mess.
- Unplug the freezer (or turn it off at the breaker if needed for safety).
- Transfer frozen food to a cooler with ice packs and keep the cooler closed.
- Leave the freezer door open and place towels around the base to catch meltwater.
- Move valuables away from the area so water doesn’t cause damage.
Work methodically so you fully clear frost instead of forcing ice to break loose and damage components.
Melt frost from the evaporator area and drain path
Ice blocks airflow and can stop defrost from draining, which leads to recurring freezing-up.
- Let frost melt completely with the door open, using towels to manage runoff.
- If the ice is heavy, use warm air (a hair dryer on a low/cool-to-warm setting from a safe distance) to speed melting—never point hot air at plastic vents.
- Check the drain path area behind/under the evaporator region and keep towels ready. Melt water must flow out cleanly.
Do not chip ice with sharp tools; you can puncture evaporator tubing or damage the drain outlet.
Clean away ice that is blocking fans or vents
Even after thawing, you may find small ice bridges that keep fans or vents from moving air.
- Once visible ice is melted, look at the fan shroud and vent channels for remaining chunks.
- Wipe surfaces with a dry cloth, then gently remove any loosened ice fragments by hand.
- Confirm the evaporator fan spins freely once the freezer is off (do not force it).
At the end of this step, the freezer interior should be free of ice that can immediately re-block airflow.
Find the reason it keeps freezing up
Test the defrost system components
A failed defrost system is a common reason a Whirlpool freezer repeatedly builds ice. The defrost system includes the defrost heater, defrost thermostat/thermal fuse (model-dependent), and the control logic.
- After the freezer is fully thawed, replug it and let it run through a full cycle long enough for defrost to occur.
- If ice returns quickly at the same evaporator location, focus on defrost parts rather than door or airflow.
- Use the model’s service diagram and check the defrost heater and thermostat continuity with a multimeter if you’re comfortable doing electrical diagnostics.
If you don’t have a multimeter or experience working around sealed components and wiring, professional diagnosis saves time and avoids unsafe repairs.
Check the evaporator fan and condenser fan
When fans fail, airflow drops and ice forms on the evaporator while the rest of the freezer can’t hold temperature.
- Open the freezer and listen for the evaporator fan running after the compressor starts.
- If your model has a visible fan behind the rear panel, check for ice that prevents blade movement.
- If you observe the fan not spinning (or running intermittently), inspect the fan connector and confirm power reaches the fan using safe diagnostics.
Fan issues can also cause the freezer to “freeze up” unevenly because some areas get too cold while others warm.
Clean dusty condenser coils and improve airflow
Dirty condenser coils force the refrigeration system to work harder and can create temperature instability that contributes to icing and long run times.
- Unplug the freezer and pull it slightly away from the wall for access.
- Locate the condenser coil area (front base grill or rear compartment depending on model).
- Use a vacuum brush attachment to remove dust from the coils and the fan area.
- Ensure the rear/bottom vents have clearance from the wall and that the condenser fan can spin freely.
After cleaning, the system should stabilize more efficiently, reducing abnormal frost behavior.
When the freezer is cold but not cold enough
Confirm the refrigerator is level and the doors close fully
Poor door closure or uneven leveling can prevent the gasket from sealing, letting warm air leak in while the freezer control runs continuously.
- Check that the freezer and refrigerator are level—use a level tool on the top front edge.
- Confirm the doors close smoothly without rubbing or sagging.
- Inspect the gasket contact points: look for gaps at the hinge side and corners.
Even small misalignment can cause ice/condensation on interior surfaces and reduce effective freezing.
Verify the thermostat, cold control, or thermistor
If the thermostat or thermistor reports the wrong temperature, the freezer can run but never reach the correct target.
- Locate the freezer temperature sensor area (often behind a panel in the control/air channel).
- Check for loose connectors or visible damage to wiring near the sensor.
- If you have a multimeter, test sensor resistance according to the Whirlpool service specifications for your model number.
Correct readings mean the control can cycle cooling and defrost accurately; incorrect readings can cause persistent under-freezing.
Check for sealed system or compressor issues
When fans run, coils are clean, and controls are correct yet the freezer stays warm, the sealed system may be failing. Symptoms include weak cooling, long compressor run times, and inconsistent temperatures.
- Note whether the compressor runs continuously and whether frost forms normally on the evaporator area.
- If you find little-to-no frost where there should be evaporator freezing, sealed-system problems become more likely.
- Watch for abnormal noise patterns (louder than usual or rapid cycling).
Sealed-system repairs require specialized equipment and evacuation procedures—diagnosis is best done by a qualified technician.
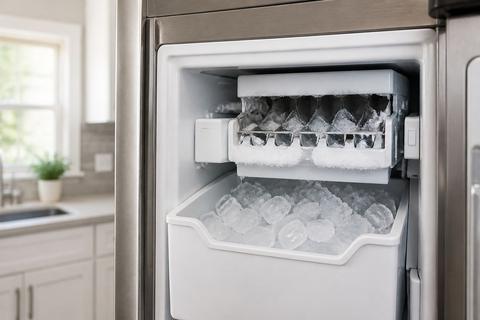
If the ice maker is the part freezing up
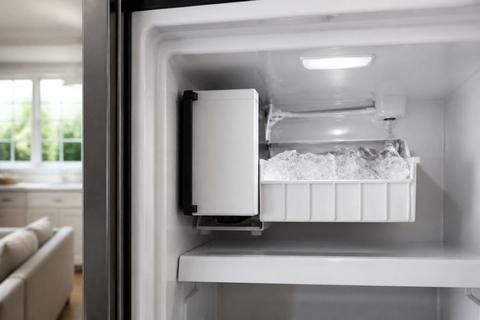
Clear ice from the fill tube and ice maker assembly
A frozen fill tube restricts water flow, causing partial ice and frost that can look like a freezer failure.
- Pull the ice maker out (if accessible) and inspect the thin fill tube that feeds water to the mold.
- Thaw the frozen tube using warm water or a hair dryer on low with safe distance.
- Reassemble and let the unit resume operation.
After thawing, check the water line for clogs that can refreeze.
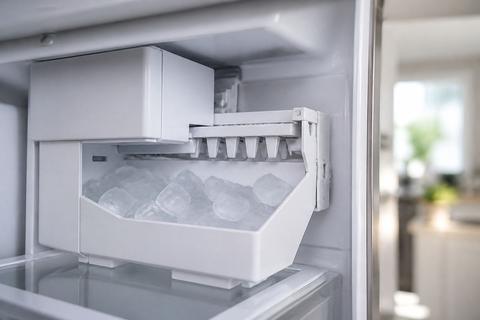
Set the freezer to the right temperature for ice production
If the freezer is too warm, the ice maker can behave erratically and create messy frost.
- Set the freezer temperature to 0°F (-18°C).
- Ensure the ice maker is ON using the model’s control arm: on many Whirlpool units, the wire feeler/sliding paddle must be in the down position to turn the ice maker ON.
- After adjustments or thawing, allow about 24 hours to return to normal production.
Ice production depends on proper freezer temperature and unrestricted water flow.
Replace a faulty water inlet valve or ice maker control
If the fill tube isn’t freezing and water still doesn’t feed correctly, the water inlet valve or ice maker control can be defective.
- Inspect for dripping or no water fill during an ice harvest cycle.
- If water doesn’t enter the mold when the ice maker should cycle, test or replace the water inlet valve based on your model’s valve location and wiring.
- If water reaches the mold but ice production remains inconsistent, the ice maker control/module may be failing.
Replacing the correct part restores proper harvest timing and reduces ice-related frost buildup.
Whirlpool top freezer problems that need extra attention
Separate freezer airflow issues from fresh-food cooling problems
Top-freezer units often have shared refrigeration behavior, but freezer airflow problems can still look like “freezer freezing up.”
- If the fresh-food section is cooling normally while the freezer forms heavy ice, focus on freezer vents, evaporator airflow, and defrost performance.
- If both sections struggle, the issue is more likely a broader refrigeration problem (coils, airflow across the system, or control/thermistor).
- Watch the frost pattern behind the freezer rear panel to determine whether ice is localized or widespread.
This separation prevents chasing the wrong component.
Check for frost behind the rear panel
Frost behind the rear panel indicates evaporator icing and defrost drainage issues.
- Pull the freezer’s rear cover panel (if your model uses a removable cover) carefully.
- Look for thick frost on the evaporator area and assess whether it melts during defrost cycles.
- Confirm the drain path is clear so melted water can exit instead of refreezing.
If frost persists in the same location after thawing, you’re likely dealing with defrost heater/thermostat or a blocked drain.
Watch for recurring defrost failures after thawing
If the freezer thaws once and then quickly refreezes with the same pattern, the defrost system is the likely root.
- Thaw the freezer fully and clear vents, fans, and drain paths as needed.
- Note how soon the frost returns—fast recurrence points to a defrost component that isn’t activating.
- Inspect the defrost circuit logic and heater/thermal protection components for correct operation.
Recurring failures are also a sign the underlying problem hasn’t been corrected, not just a one-time ice event.
When to repair or replace the appliance
Know which fixes are safe to do yourself
Some checks are straightforward and safe, while others require tools or electrical work you shouldn’t guess on.
- Safe DIY: clean condenser coils, inspect/clean gasket surfaces, clear vents, thaw and clean the drain area, and check fan obstructions.
- Moderately DIY: verify temperature settings, inspect wiring connectors, and do basic continuity checks with a multimeter if you understand the wiring.
- Not recommended DIY: sealed-system repairs, compressor work, and replacing refrigeration components without proper recovery equipment.
When you match the repair type to your comfort level, you avoid unnecessary damage.
Spot signs of a compressor or sealed-system failure
When ice and temperature behavior point beyond the defrost system, sealed refrigeration components may be failing.
- Look for weak cooling that doesn’t improve after clearing airflow and after a full defrost cycle.
- Watch for long compressor run times with little temperature drop in the freezer.
- Note if frost behavior is abnormal—such as minimal evaporator frosting when the compressor runs.
If these signs align, replacement may become the most cost-effective outcome depending on age and repair estimates.
Decide when a service call is worth it
A technician can quickly identify whether the cause is defrost electronics, a sensor mismatch, fan/control boards, or a sealed-system problem.
- Call for service if the freezer repeatedly freezes up right after thorough thawing or if the freezer won’t reach target temperature despite correct settings.
- Call if you see electrical symptoms (burning smell, tripped breaker, intermittent fan/compressor operation).
- Ask for a diagnosis based on model number and measured tests before authorizing parts.
Getting the right diagnosis prevents paying for multiple incorrect repairs.
Frequently Asked Questions
Why does my Whirlpool freezer keep freezing up with ice inside?
The most common reasons are poor door sealing, blocked airflow, a failed defrost system, or a drain issue that lets moisture refreeze inside the cabinet.
Why is my Whirlpool freezer running but not getting cold enough?
A freezer can run continuously and still warm up if the evaporator fan fails, the condenser coils are dirty, the door seal leaks, or the sealed system is weak.
Can a bad ice maker make my Whirlpool freezer look like it is freezing up?
Yes. A stuck fill tube, leaking water valve, or overproducing ice maker can create frost or ice buildup that looks like a freezer failure.
How long should I unplug a Whirlpool freezer to defrost it?
Long enough for all visible ice to melt and for hidden frost around vents, fans, and the drain path to clear, which can take several hours depending on buildup.
What temperature should a Whirlpool freezer be set to?
A freezer should generally be set around 0°F (-18°C) for safe food storage and reliable ice production.