How to Replace Whirlpool Water Filter 1 and Reset It
Your Whirlpool refrigerator’s water tastes off or your ice has slowed down—and you suspect it’s time for a whirlpool water filter 1 replacement. When the filter gets old, the flow and taste change, and the built-in indicator light may not always tell the whole story. The good news: replacing Filter 1 and resetting the indicator is a quick repair that restores clean water and normal ice production.
For more help, see our Whirlpool Ice Maker Cleaning and Maintenance guide.
What Whirlpool Water Filter 1 Does
How the filter helps your water and ice taste better
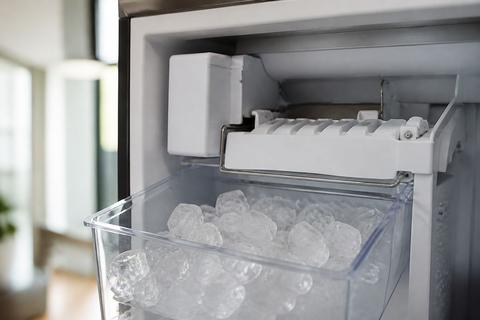
Whirlpool Water Filter 1 reduces contaminants and improves the flavor of both dispenser water and ice. By trapping particles inside the filter cartridge, it helps prevent “stale” tastes and odors from showing up in your drinks and ice cubes. When the cartridge is fresh and properly seated, water flows through the media at the intended rate so your ice maker receives clean supply water for consistent cube size and clarity.
When to replace it instead of waiting for a warning light
Replace Filter 1 on schedule to avoid loss of flow and quality. Many Whirlpool refrigerators recommend changing the filter about every 6 months. Also replace sooner if you notice slower water dispense, a change in taste or odor, or the filter light hasn’t come on but performance clearly dropped—those symptoms mean the filter is no longer doing its job efficiently.
Signs your ice maker or dispenser may be overdue
Watch for dispenser water that trickles instead of streams, ice that forms slowly, or smaller-than-usual cubes. You may also see air bursts when dispensing, which can happen when the filter is restricted. If the ice maker has been producing less ice while the freezer temperature is correct, an overdue water filter is one of the first causes to address.
Find the Right Replacement Filter
Confirm the exact filter model for your refrigerator
Start with your refrigerator’s exact filter identification. Check the label inside the refrigerator compartment (often near the filter housing) or in your owner’s manual for the filter name/number. Use Filter 1 in the model number only if your documentation explicitly lists Water Filter 1; cartridge shapes and fittings differ between Whirlpool models, even when they look similar.
Check compatibility before you buy
Before purchasing, confirm the replacement’s compatibility with your specific Whirlpool refrigerator model and filter housing type. Look for packaging that states it is for Whirlpool Water Filter 1 and matches your filter style (twist-in, push-in, or housing location). Mismatched cartridges can leave gaps that cause leaks, poor sealing, and reduced or inconsistent ice production.
What to do if your filter looks different from the old one
If the new cartridge shape differs, do not force it into the housing. First compare the connector style and locking mechanism—twist tabs and outlet positioning must match. If the physical differences are more than minor variations, identify your refrigerator model and re-check the filter listing in the store or from the manual, because an incorrect cartridge is a common cause of water flow problems after replacement.
Remove the Old Filter Safely
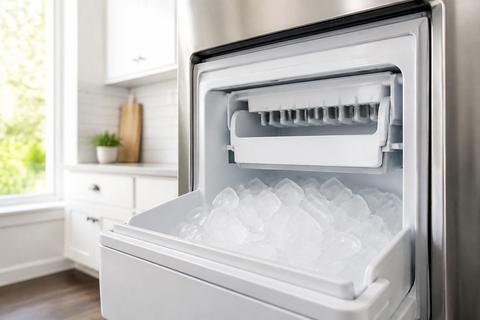
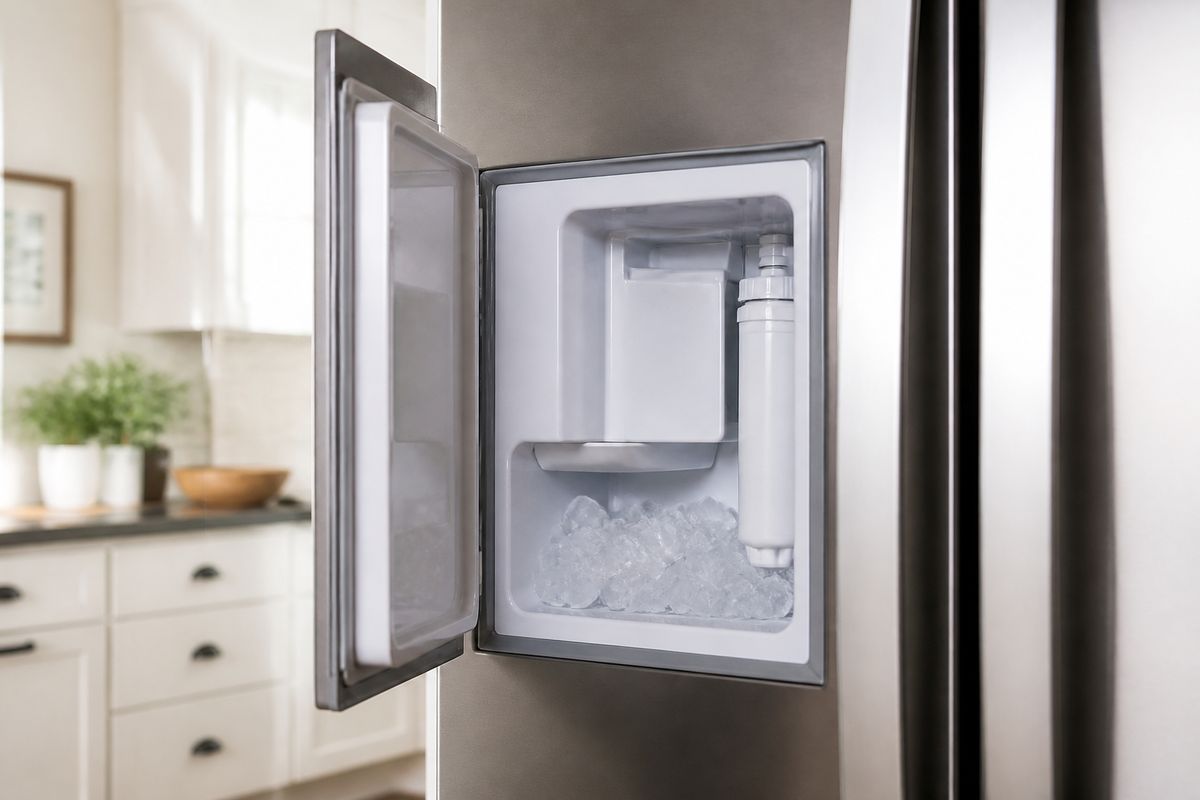
Locate the filter in the refrigerator or grille
Find the filter housing location before you begin. Some Whirlpool models place the filter inside the refrigerator compartment, while others mount it in the base grille. Clear space around the area and keep a towel ready because removing the cartridge can release trapped water.
Turn or press to release the cartridge
Use the release method that matches your housing. For many twist-and-lock housings, rotate the filter cartridge counterclockwise until it releases, then pull it out. For press-to-release housings, press the cartridge trigger/locking tab and pull. If you feel resistance, stop and re-check alignment—forcing it can damage the housing.
Expect a small amount of water during removal
It’s normal for a small amount of water to drip when the seal breaks. Place the towel under the cartridge opening and move slowly when pulling it free. Wipe up drips immediately to prevent them from freezing in cold areas or making a mess inside the fridge. If your filter housing has a cap or bypass plug, set it aside only as directed by your model’s instructions.
Install the New Whirlpool Filter 1
Align the cartridge correctly before inserting
Before you insert the new cartridge, line up the tabs or connector with the housing outlet. The filter should seat straight without pushing at an angle. If it doesn’t go in smoothly, remove it and realign—cross-threading or misalignment can prevent a proper seal and lead to leaks or reduced flow.
Push or twist until it locks into place
Insert the cartridge fully and use the correct locking motion for your housing. For twist models, rotate clockwise until it stops and locks. For push models, press firmly until the lock engages. A properly seated Filter 1 should sit flush and not wobble when lightly touched.
Flush the filter so water and ice taste normal
After installation, flush the system before using the water for drinking or ice. Dispense water through the dispenser for several minutes, or until the flow is steady and taste clears. Whirlpool recommends discarding the first 2–3 full batches of ice after replacing the filter so any trapped air or initial carbon fines are cleared from the system.
Reset the Filter Indicator Light
Use the control panel reset button or sequence
Reset the filter indicator using your refrigerator’s control panel instructions. On many Whirlpool models, press and hold the “Filter Reset” or “Water Filter” button for about 3 seconds until the light changes or beeps. If your model uses a menu, open Settings, select Filter, then choose Reset. Use the exact button/sequence for your display to match the indicator type.
What to do if the light does not clear right away
If the light stays on after you reset, try again using the full hold time. Some models require turning off the water filter alert and completing a confirmation step. Also check that the new filter is fully locked into place—an incorrectly seated cartridge can keep the indicator from behaving normally even after a reset attempt.
How to tell whether the reset actually worked
Look for a change in the indicator behavior after the reset: the filter light turns off, changes from red to green, or shows a “filter status” of Fresh/Good depending on your model. If your fridge has a countdown display, it should start a new interval from zero after a successful reset.
Fix Common Ice and Water Issues After Replacement
No water or weak flow after installing the filter
Start with the simplest causes: verify the filter is locked into the housing and seated flush. Then run water through the dispenser until flow returns and any air clears—new installations can trap air. If flow remains weak, check the household supply valve and make sure the water line isn’t kinked.
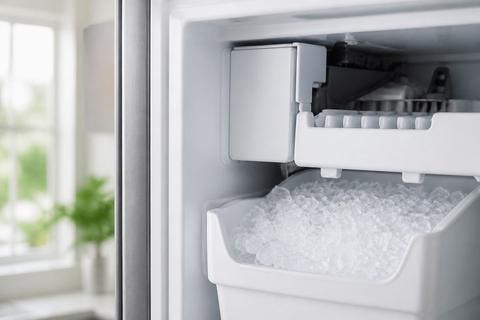
Ice maker stops making ice or makes small cubes
A frequent cause is a filter that isn’t fully seated or a filter compatibility mismatch. Also check the ice maker control: on many models, lifting the wire feeler/shutoff arm (or sliding feeler paddle) turns the ice maker OFF—lower it to turn it ON. If you replaced the filter and ice is slow, discard the first 2–3 full batches and allow about 24 hours for normal production as temperatures recover.
Leaks, odd taste, or air in the water line
Leaks usually come from a poor seal at the cartridge or housing; remove and reinstall if you see dripping around the filter area. For odd taste, run additional water through the dispenser and discard the initial ice batches produced right after replacement. Air in the line often appears as sputtering when dispensing; continue flushing until the stream is smooth and consistent.
Helpful Maintenance and Replacement Tips
How often to replace Whirlpool Filter 1
Replace Whirlpool Filter 1 about every 6 months, which aligns with typical Whirlpool guidance and filtration capacity. Change sooner if you notice slower water flow, persistent taste/odor issues, or the filter indicator and performance don’t match. If your household uses lots of ice and water, you may reach the effective lifespan earlier than expected.
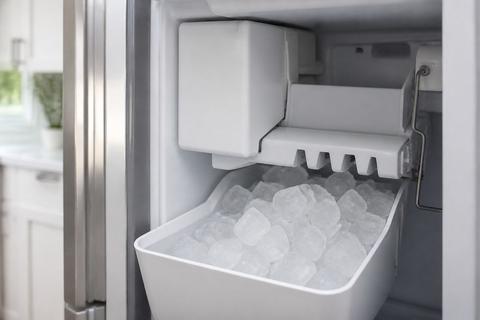
How to keep the dispenser and ice maker working well
Keep freezer temperature at about 0–5 degrees F so the ice maker freezes properly. Maintain the water supply line—no kinks, no loose connections, and adequate pressure. If you have recurring “small cubes” or slow harvest after filter replacement, inspect for a clogged or frozen feed component; a frozen fill tube can restrict ice-making by preventing steady water flow.
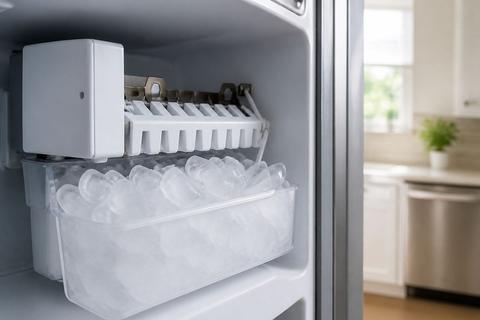
When a fridge water issue means something beyond the filter
If replacing the filter doesn’t restore performance, look beyond the cartridge. Low household water pressure (Whirlpool spec is roughly 35–120 psi) can cause weak dispense and slow ice. A frozen fill tube—the thin tube feeding water into the ice mold—is a frequent cause of partial ice; thaw it with a hair dryer on low (or warm water around the area), then wait for the line to clear and resume normal filling.
Frequently Asked Questions
How often should Whirlpool Water Filter 1 be replaced?
Most Whirlpool refrigerators recommend replacing the filter about every 6 months, but you should change it sooner if water flow slows, taste changes, or the filter light comes on. Performance issues are a strong indicator the cartridge is no longer filtering effectively.
Do I need to turn off the water supply before replacing the filter?
Usually no. In most Whirlpool models, you can replace the filter without shutting off the water supply, but it is smart to follow your refrigerator’s manual and keep a towel nearby. If your home has a shutoff valve and you prefer extra caution, turn it off to minimize dripping.
Why does my filter light stay on after replacement?
The indicator often needs to be reset manually from the control panel. If it still stays on, the reset sequence may not have been completed correctly or the model may use a different reset method. Re-check that the new filter is fully locked into place, then repeat the reset using your model’s exact button/sequence.
Why is my ice maker not working after the filter change?
Common causes include a filter that is not fully seated, air trapped in the line, or a filter model that is not fully compatible. Run several gallons of water through the dispenser and recheck the installation. Also make sure the ice maker shutoff arm/paddle is in the ON position and give the unit up to 24 hours to resume normal production.
Can I run the refrigerator without the filter installed?
Some Whirlpool models allow bypass operation with a bypass plug, but you should not leave the filter housing empty unless your refrigerator is designed for it. Running without the correct bypass setup can lead to leaks or reduced/erratic water delivery and can defeat filtration entirely.