Samsung RF28T5001 Manual: Settings, Parts & Service Info
When your Samsung refrigerator stops making ice, won’t get cold, or shows confusing settings, you need the exact instructions—not guesswork. If you’re searching for the samsung rf28t5001 manual, you’re probably trying to fix a setup or performance issue quickly. This guide walks you through setup, controls, maintenance, troubleshooting, and what to gather for parts or service.
For more help, see our Samsung Ice Maker Models: Manuals, Parts, and Fixes by Model guide.
Start Here: What This Manual Covers
Find the right manual for RF28T5001, RF28T5001SR, and RF28T5021SR
Start by locating your refrigerator’s exact model number and matching it to the correct Samsung document. The RF28T5001, RF28T5001SR, and RF28T5021SR belong to the same overall refrigerator family, but feature details can vary by trim and options. Use the model number, not just the product name, to avoid applying the wrong steps—especially for ice maker, water filter, and control panel functions.
What you can learn from the owner’s guide and model label
The owner’s guide tells you how to set temperatures, use cooling modes, manage the ice maker, replace and reset the water filter indicator, and perform routine cleaning. Your model label provides critical electrical and water-system details used for parts ordering and service troubleshooting. Together, these two sources help you follow the exact sequence Samsung designed for your refrigerator, including what buttons to press and which warnings to address first.
When to use the manual versus Samsung support
Use this manual first for setup issues (leveling, water line connection), normal control changes (temperature adjustments, ice maker on/off), maintenance (filter replacement/reset), and common troubleshooting (warm temps, frost, dispenser/ice maker faults). Contact Samsung support or schedule service when you see repeated error codes, water leaks that persist after tightening/reconnecting, or cooling failures that don’t resolve after applying the manual’s specific reset/defrost steps.
Set Up the Refrigerator Correctly
Installation checklist before first use
Before you power on, confirm the refrigerator is correctly installed for stable cooling and reliable ice/water performance.
- Place the refrigerator on a firm, level surface.
- Leave the required clearance around the unit for airflow (follow the manual’s clearance diagram).
- Remove all packaging materials, shipping tape, and interior protective covers.
- Run a quick visual check: water line routing, inside obstructions, and door seals.
- Plug into the correct outlet type recommended in the manual—avoid extension cords.
Leveling, clearances, and door swing basics
A properly leveled refrigerator prevents door sealing problems, inconsistent cooling, and ice maker issues caused by airflow and temperature swings.
- Use a level on top of the refrigerator (and adjust front feet as needed).
- Ensure the unit is stable—no rocking when you open drawers or close doors.
- Confirm clearances around the sides and back so vents aren’t blocked.
- Check door swing path so doors open fully without hitting nearby walls/cabinets.
- After leveling, close both doors and verify the seals sit evenly along the entire perimeter.
Connecting the water line and checking for leaks
If water isn’t flowing correctly, ice production and the dispenser will fail—even when the refrigerator is cold.
- Connect the water supply line to the refrigerator inlet using the correct fitting and tubing type.
- Turn on the water shutoff valve fully.
- Check every connection point for leaks (inlet connection, tubing joints, and valve).
- Prime the system by running water through the dispenser until flow is steady.
- Inspect for drips for several minutes after priming; fix any leaks before continuing.
Use the Controls and Cooling Features
Understand the control panel and temperature settings
Your refrigerator’s temperature settings control both ice production and food preservation. Set freezer temperature to 0°F (-18°C) for proper ice formation.
- Locate the control panel and select Freezer and Fridge temperature controls.
- Adjust Freezer to 0°F (-18°C) and set the Fridge to your preferred target temperature (commonly mid-to-upper 30s°F).
- Allow the refrigerator time to reach the new setpoints after changes—cooling is not instantaneous.
- Avoid frequent temperature changes; adjust once and wait for stabilization.
- If you loaded many groceries at once, set to a slightly colder temperature temporarily only if the manual recommends it.
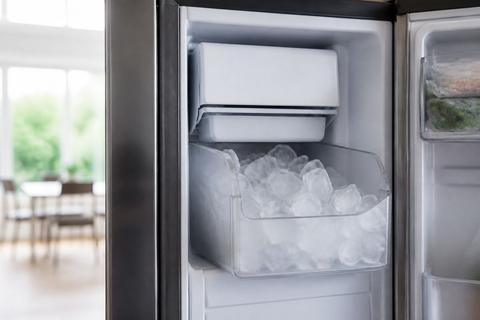
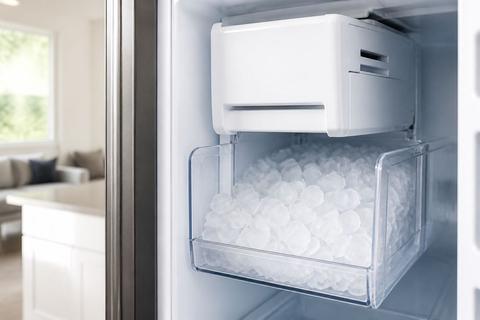
Turn the ice maker on or off
To stop ice production or restart after a service-related interruption, use the ice maker control on the panel.
- Open the control panel and locate the Ice Off / Ice option.
- To disable, select Ice Off.
- To enable, switch back to Ice On (wording varies by model).
- After turning ice back on, allow up to 24 hours for the first batch of ice to be harvested.
- Discard the first one or two batches after long power-offs or filter changes if your manual instructs so.
Adjust cooling after loading groceries or power loss
After loading groceries or losing power, your refrigerator may take longer to recover. Use manual guidance to restore performance without overcorrecting.
- After power returns, check that both compartments display normal temperatures.
- Set Freezer to 0°F (-18°C) if it drifted from your preferred setting.
- Avoid changing settings repeatedly during recovery; let temperatures stabilize.
- If you added large amounts of warm food, organize items to keep air vents unobstructed.
- If ice production was interrupted during outage, wait for the ice maker to complete the next harvest cycle—ice availability returns gradually.
Care, Cleaning, and Routine Maintenance
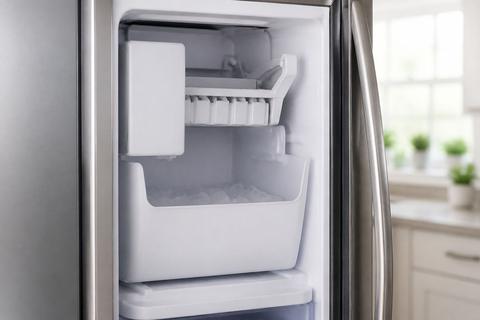
Replace the water filter and reset the filter indicator
A clogged or overdue filter reduces water flow to the dispenser and can restrict ice production.
- Locate the water filter housing inside the fresh food compartment (or grille area—follow your manual’s location).
- Replace the filter with the correct Samsung-compatible model.
- Reset the filter indicator using the control panel’s Filter Reset function (press and hold the filter reset button per the manual’s timing).
- Run water through the dispenser for the amount of time stated in the guide to remove air.
- Discard the first water/ice batch if the manual instructs it after installation.
Clean shelves, drawers, and door seals safely
Cleaning keeps performance consistent by maintaining good airflow and fully sealed doors.
- Unplug the refrigerator or switch off the ice maker before deep cleaning.
- Remove shelves and drawers carefully; wash with warm water and mild dish soap.
- Wipe door seals with a damp cloth to remove food residue.
- Do not use abrasive cleaners or harsh chemicals on plastic or seals.
- Dry surfaces before reinstalling to prevent moisture buildup and odors.
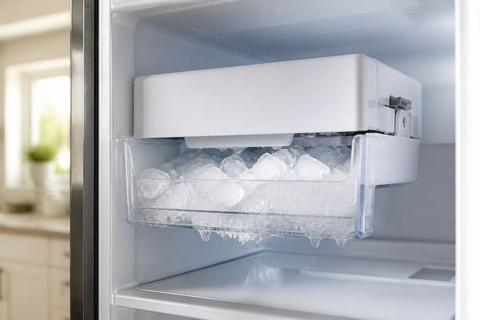
Defrost, deodorize, and prevent common odor issues
Odors usually come from trapped moisture, spilled food, or airflow disruptions—cleaning and targeted thawing solve most cases.
- Remove spoiled food and wipe interior surfaces with a baking-soda solution (baking soda in warm water).
- For persistent freezer frost buildup, perform the manual’s defrost procedure rather than chipping ice.
- If ice formation is irregular, clear any ice obstructions in the ice chute using warm water as instructed by the manual.
- Deodorize with an open box of baking soda placed in the refrigerator compartment.
- Keep door closed and avoid overpacking so cold air can circulate and prevent moisture pockets.
Troubleshoot Common Problems
Fix warm temperatures, noisy operation, and frost buildup
Warm compartments, loud operation, and abnormal frost point to airflow issues, sensor problems, or blocked vents.
- Ensure vents inside the unit are not blocked by food packages.
- Confirm the freezer is set to 0°F (-18°C) and the fridge is set to your target.
- Check that both doors close fully and seals are clean and seated correctly.
- Clean condenser access area according to the manual if the fridge runs too loudly or struggles to cool.
- If frost buildup is present, follow the manual’s defrost steps and remove the cause of airflow restriction before continuing use.
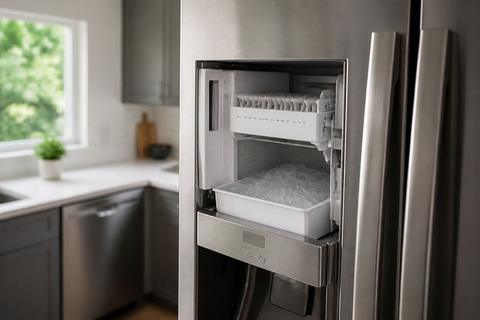
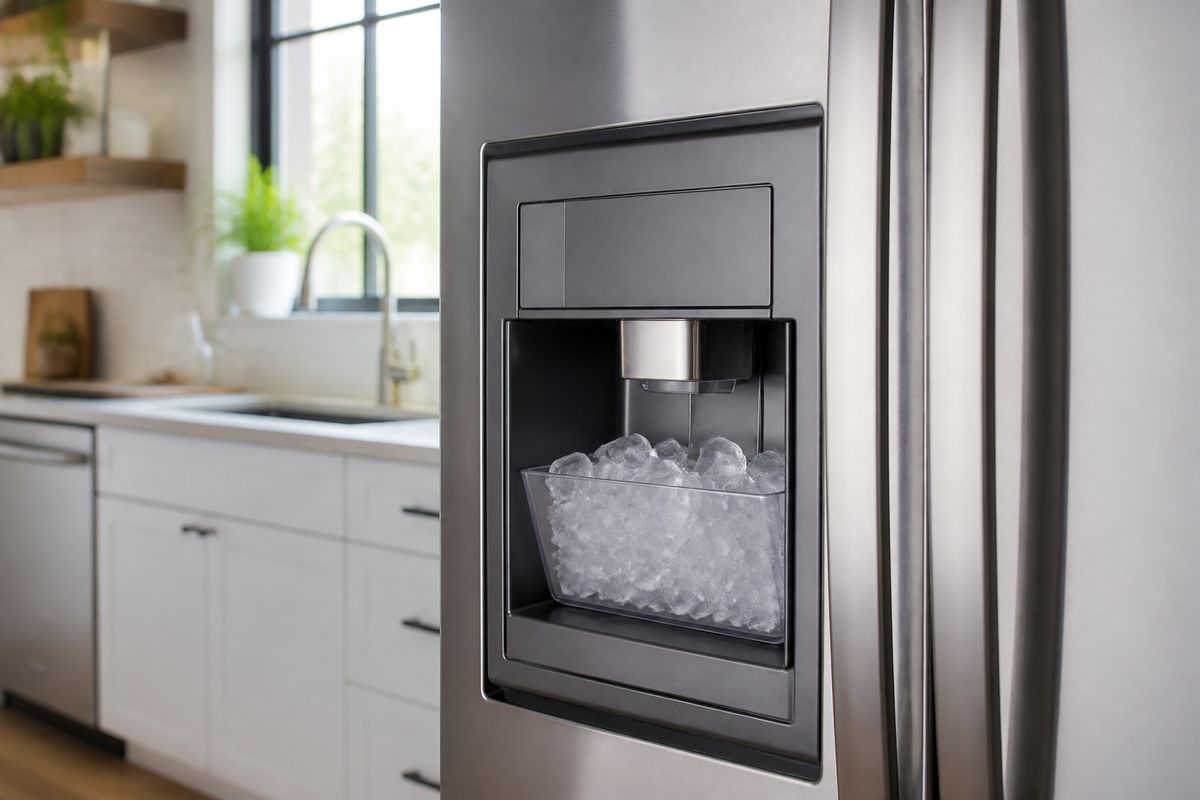
Resolve ice maker and water dispenser issues
If ice doesn’t dispense or water dribbles, the cause is often water supply, filter, or a jam in the ice path.
- Check the water shutoff valve is fully open and the supply line isn’t kinked.
- Confirm the water filter is installed correctly and isn’t overdue; replace it if necessary.
- Make sure the ice maker is switched Ice On.
- Remove and inspect the ice bucket for ice bridges; clear jammed ice with warm water.
- After you fix a jam or replace the filter, allow up to 24 hours for normal ice production.
Check error codes and basic resets
Error codes help pinpoint where the system is failing. Start with the manual’s defined resets before deeper service.
- Locate the error code on the display and look it up in the owner’s guide troubleshooting chart.
- For ice-maker-related faults, a 5E or SE (ice maker sensor) fault and flashing ice-maker light often indicate a frost-clogged sensor or stuck harvest; run the manual’s defrost/reset procedure.
- Powering down can help if the unit needs a thaw: switch off, leave the unit to thaw per the manual guidance, then restart.
- If the display shows a general alert, perform the basic reset steps listed in the guide (button sequence timing matters).
- If the same code returns after the manual steps, record the code and schedule service rather than repeating resets.
Find Parts and Service Information
Locate the model and serial number on the refrigerator
You need your exact model number to order correct parts and confirm compatibility.
- Open the fresh food compartment and look on the inside wall near the crisper area.
- Check the product label inside the unit for the model (RF28T#####) and serial number.
- Write down both numbers exactly as printed.
- Keep a photo of the label for faster ordering or support.
- Use the exact suffix (such as SR or SR/related variants) to match trims and parts.
Identify replacement parts, accessories, and compatible filters
Once you have the model number, you can identify the right filter and components without guessing.
- Order the Samsung water filter specified for your model family and connection type.
- Use your label’s model number to choose the correct ice maker components (bucket, chute parts, and ice maker assembly).
- Match accessory styles to your refrigerator trim (front panel design and dispenser configuration can differ).
- If you’re replacing shelves or bins, ensure the part number matches the cabinet’s interior layout for your model.
- Keep packaging notes so you can return incorrect parts if a mismatch occurs.
Know when to contact Samsung or schedule a technician
Schedule service when manual steps don’t resolve the fault or when water/ice issues indicate a deeper mechanical problem.
- Contact support when you see persistent error codes after following the manual’s reset/defrost steps.
- Schedule service if you find recurring leaks that return after re-seating connections.
- Get technician help if the condenser area requires repairs, or if cooling fails despite correct temperature settings and airflow clearance.
- If the ice maker repeatedly fails to harvest (after jam clearing and defrost), the sensor or motor may need replacement.
- Have your model/serial numbers ready to speed up diagnostics.
Helpful References for Owners
Download the manual and quick start guide
Use Samsung’s official documentation to ensure you’re using the exact steps for your RF28T5001 variant. Download the owner’s manual and quick start guide so you can reference water filter reset timing, temperature control operation, and specific troubleshooting sequences. Keep the files accessible on your phone or computer so you can follow button sequences without searching during a breakdown.
Use the spec sheet for dimensions and utility requirements
The spec sheet helps you plan placement and confirm the refrigerator can safely operate where it’s installed. Look for dimensions, clearance requirements, electrical specifications, and any water system requirements referenced for ice and dispenser performance. Use this information to verify your installation matches the manufacturer’s requirements before assuming a performance problem is “malfunction.”
Keep warranty and service records in one place
Keeping paperwork organized prevents delays when you need parts or warranty service. Save proof of purchase, model/serial numbers, and any service tickets or replacement receipts. Record filter change dates and major troubleshooting actions so you can tell support exactly what you attempted. This also helps you identify patterns—like recurring sensor/ice harvest faults—before they worsen.
Frequently Asked Questions
Is the RF28T5001 manual the same as the RF28T5001SR manual?
In many cases, yes, because the base model family is the same. Still, confirm the exact model number on the product label before using any manual or ordering parts. Trim and feature differences can affect ice maker controls, filter reset steps, and how certain error messages display.
Can I use the RF28T5021SR manual for the RF28T5001?
Often the core operating instructions are similar, but details can differ by trim, finish, or feature set. Match the manual to your exact model when possible. If you can’t, use the RF28T5021SR manual only for general guidance and rely on your label for settings and compatible filter/part numbers.
Where is the model number on a Samsung refrigerator?
Check the inside wall of the fresh food compartment, near the crisper area, or on the product label inside the unit. The serial number is usually printed on the same sticker. Use the label to copy the RF28T##### model accurately, including any SR suffix.
How do I reset the filter light on this Samsung refrigerator?
After replacing the filter, use the control panel’s filter reset function if your model has one. The exact button sequence is listed in the owner’s manual. If you don’t see a dedicated reset button, the manual will show which control/menu option resets the indicator.
Why is my Samsung RF28T5001 not cooling properly?
Common causes include incorrect temperature settings, blocked air vents, a dirty condenser area, or a door not sealing fully. The manual’s troubleshooting section should help narrow it down. Start by checking the freezer set to 0°F (-18°C), inspecting door seals, and ensuring airflow inside the compartments isn’t obstructed.