Samsung RF28HMEDBSR Ice Maker Removal: Step-by-Step Guide
If you’re dealing with a Samsung RF28HMEDBSR ice maker that won’t harvest ice, is making odd sounds, or has ice jammed in the chute, you’ll need to get inside the freezer to free the assembly safely. This samsung rf28hmedbsr ice maker removal process focuses on access, disconnection, and preventing cracked plastic or damaged wiring. With the right tools and a cautious thaw-first approach, you can remove the unit cleanly and decide on repair versus replacement.
For more help, see our Samsung Ice Maker Models: Manuals, Parts, and Fixes by Model guide.
Before You Start: Safety, Tools, and Model Notes
Unplug the refrigerator and empty the ice bucket
- Switch off ice production on the display (if your panel has an Ice Off option), then remove the ice bucket from the freezer.
- Unplug the refrigerator from the wall outlet so you can work around the ice maker harness safely.
- Let the freezer stabilize for a few minutes with the doors closed so you don’t flood the area with meltwater while you open panels.
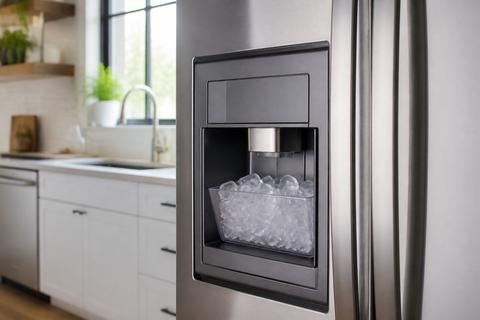
- If ice is stuck in the chute, place towels around the opening so any thawed water stays contained.
Gather the right tools and protective supplies
You’ll need basic, non-scratching tools plus protection for sharp edges and brittle plastics:
- A Phillips screwdriver (commonly PH2 for appliance panels).
- A flat plastic pry tool or plastic spudger for releasing clips without gouging housings.
- Nitrile gloves and absorbent towels.
- A flashlight/headlamp to see retaining tabs and screw locations.
- A small bowl or container for screws so they don’t disappear into the freezer channel.
Confirm this guide matches the RF28HMEDBSR layout
The RF28HMEDBSR is a Samsung side-by-side with an ice maker assembly located inside the freezer behind an access cover. Confirm these match before you pull anything:
- Your ice bucket is removable and the ice maker sits above/behind where the bucket slides in.
- You can see an internal harness leading to the ice maker module.
- The freezer access cover uses screws and/or snap tabs—so you’ll remove a cover/panel first, then disconnect the harness.
How the RF28HMEDBSR Ice Maker Is Secured
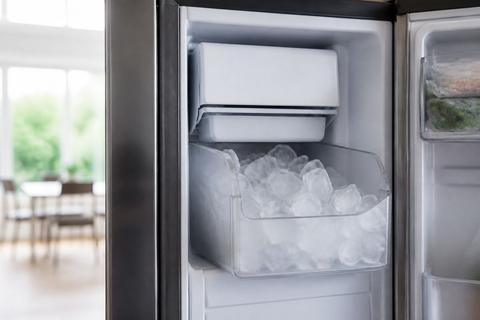
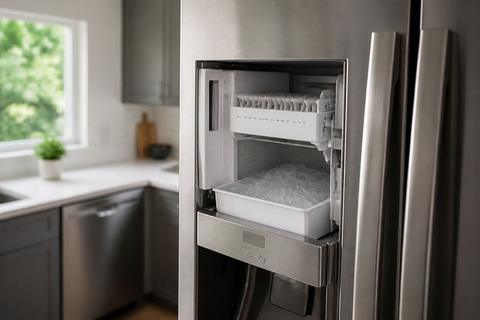
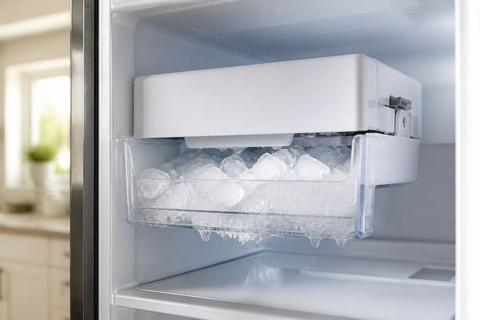
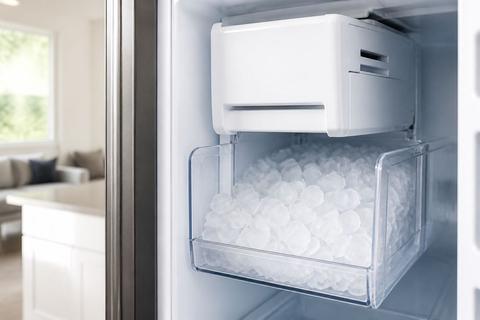
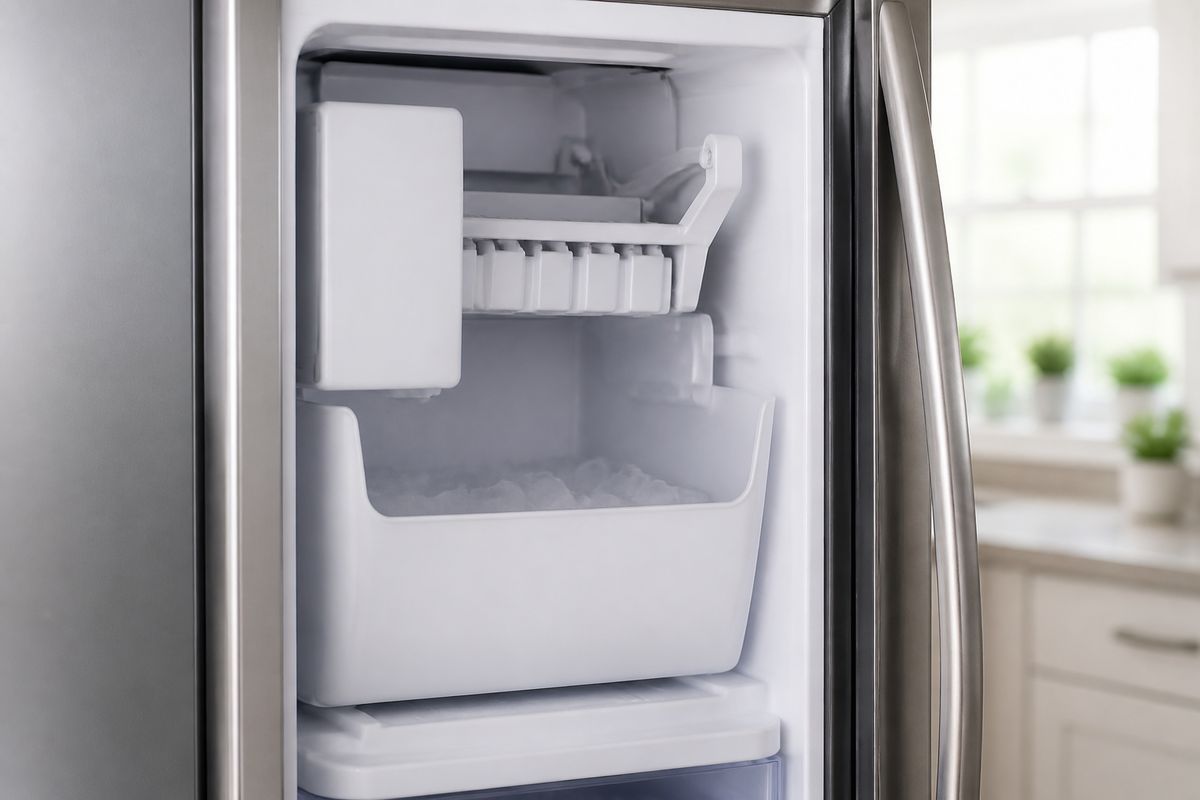
Locate the ice maker assembly inside the freezer
Open the freezer door and remove the ice bucket first. Look for the ice maker unit mounted in a plastic housing with a small chute directing ice down into the bucket area. The assembly is typically secured behind a freezer cover so the manufacturer can route wiring and control airflow. Once you remove the freezer cover, the ice maker module, its mounting bracket, and the connection points become visible.
Identify the clips, screws, and wiring connections
Inside the freezer access area, the ice maker is held by a combination of:
- Screws that anchor the housing or mounting bracket to the freezer wall.
- Retaining tabs/clips that lock the module or bracket in place.
- A wiring harness connector plugged into the ice maker.
Before removing anything, visually trace the harness so you know how much slack you have and which direction the connector releases.
Understand what can and cannot be removed separately
You’re usually able to remove the ice maker module without removing the entire freezer liner. However, the freezer cover/panel must come off first to reach the connector and tabs. Also, treat the auger/harvest area as part of the module—don’t separate internal parts unless you’re doing full disassembly for a specific motor/gear repair. If the housing is cracked or brittle, plan to replace the assembly instead of continuing to disassemble.
Step-by-Step Ice Maker Removal
Take off the freezer cover and access panel
- With the refrigerator unplugged, remove the ice bucket.
- Remove the freezer cover screws (if present) and set them aside.
- Release snap tabs gently with a plastic pry tool, starting at the edge closest to the harness route.
- Lift off the access panel carefully; keep pressure even so you don’t flex the plastic.
Disconnect the harness and release retaining tabs
- Unplug the ice maker harness connector from the ice maker module (pull the connector body, not the wires).
- Look for retaining tabs around the mounting points and press/release them using a plastic tool.
- If the module is screwed to a bracket, remove those screws next—save them for reassembly.
- Keep the harness out of the way so it won’t catch on the housing when you lift the ice maker free.
Lift the ice maker free without cracking the housing
- Grasp the ice maker housing where it’s reinforced—not the thin chute edges.
- Lift straight up and slightly toward the center to disengage from any locating pins.
- If resistance is felt, stop and check for a missed screw or an engaged tab.
- Place the removed unit on a towel so you don’t scratch or stress the outlet chute.
If the Ice Maker Is Frozen or Stuck
Soften ice buildup safely before pulling on parts
- Stop attempting removal and let the ice maker area thaw first using towels to catch meltwater.
- Apply gentle warmth with a hair dryer on low at a safe distance, focusing on the exterior/frosted housing—not direct heat onto wiring.
- Let the assembly sit 10–20 minutes between short warm sessions so you don’t overheat plastic.
- Once the ice bridge loosens, remove only after you can see the chute path cleared.
Avoid forcing the assembly or breaking the fan area
Forced pulling is the quickest way to crack the plastic housing or damage nearby components.
- Do not yank the module if it feels “rock solid.”
- Keep your hands clear of the fan/air channel area around the freezer access; tools can slip and break tabs.
- Use a plastic pry tool only to release tabs—never to pry the housing edge.
- If you can’t free it with controlled thaw and tab checks, proceed to a full defrost approach below.
Clear drain issues that may be causing repeat freezing
If ice keeps freezing in place, the cause is often excess moisture or a blocked drain.
- After thawing, inspect the area around the ice maker chute and any visible drain channel for clogs.
- Pour warm water into the drain area (small amounts) to clear residue, then wipe up immediately with towels.
- Check that the drain line path isn’t kinked or obstructed by debris.
- If you see frequent frost returning quickly, remove the ice maker again later only after you address the moisture source.
Disassembly, Motor Access, and Replacement Decisions
Separate the ice maker module from the mounting bracket
- With the ice maker removed, remove the bracket screws that hold the module to the bracket.
- Press released tabs carefully and slide the module out of alignment pins.
- Keep orientation the same—take a quick photo so harness and chute orientation match later.
- Lay the module flat so you can inspect the motor side without stressing the gears.
Inspect the drive motor, gears, and fill components
Before ordering parts, inspect the likely failure points:
- Check the gear train for stripping or cracked plastic teeth.
- Look for friction points—darkened or melted areas can indicate a motor that’s overworking.
- Inspect the water fill components for blockage or scale buildup.
- If the motor shaft won’t turn smoothly by hand (with power disconnected), plan for motor replacement or full assembly replacement.
Decide whether to replace the full assembly or one part
Choose based on what’s damaged and how many components show wear.
- Replace the full ice maker assembly if you see stripped gears, multiple failing areas, or cracked mounting/housing.
- Swap only the motor if the housing is intact and the gears and fill components show no damage.
- Replace a single part when it’s clearly the failure point and it’s accessible without damaging brittle plastic.
- For RF28HMEDBSR-specific reliability, full assembly replacement is often the most dependable when a jam has caused repeated strain.
Reinstalling or Replacing the Ice Maker
Align the new or repaired unit and reconnect wiring
- Place the ice maker back into the mounting location, aligning the locating pins and chute opening.
- Secure the module/bottom mounting points with the correct screws.
- Reconnect the harness connector until it clicks/locks in place.
- Route the harness so it won’t pinch against the panel when you reinstall the cover.
Secure the housing and restore the freezer cover
- Reinstall the freezer access panel, pressing snap tabs evenly into place.
- Tighten cover screws so the panel sits flush against the freezer liner.
- Refit the ice bucket, ensuring it seats fully.
- Plug the refrigerator back in and switch ice production back on.
Run a test cycle and check for leaks or odd noises
- On many Samsung models, use the ice maker Test function (often a small blue test button on/near the underside or right side of the bucket/ice maker area). Press and hold about 10 seconds until you hear a chime; the unit runs a fill/harvest test.
- Watch for abnormal sounds (grinding, repeated clicking) and ensure the chute delivers ice cleanly.
- Check around the access area for water leaks or standing meltwater.
- Expect the first batch after a change to take roughly 24 hours to fully refill and start normal production; discard the first one or two batches.
When Removal Does Not Go Smoothly
What to do if the ice maker will not come out
- Stop pulling and re-check for a missed screw and locked retaining tab.
- Perform a thaw-first approach: soften frost around the chute and mounting area with towels and gentle low-heat warming.
- If ice won’t release after thawing, power the refrigerator down and allow a longer melt (a 24–48 hour thaw after power-off often clears ice that’s bridged inside the housing).
- Avoid using metal tools as wedges; brittle plastic breaks quickly and is hard to repair.
How to handle stripped screws, brittle plastic, or broken tabs
- For stripped screws: stop turning once resistance spikes, then use a rubber band grip, a properly sized driver, or an extraction method suited for appliance plastics.
- For brittle plastic: don’t pry aggressively—use a plastic spudger and apply steady pressure at the tab hinge points.
- For broken tabs: stop and plan replacement of the affected housing section or full assembly so the unit doesn’t sit misaligned.
- If the housing is damaged enough to affect stability, replace the assembly instead of attempting patch repairs.
When to stop and call for appliance service
- Stop if you find a pinched or damaged harness wire after disconnecting.
- Stop if the ice maker housing is cracked at the mounting points or the chute interface.
- Stop if defrosting and inspection don’t reveal the obstruction and the unit still won’t release.
- Stop if you see repeated frost return that suggests a sensor, control, or drain heater issue beyond removal—service prevents further component damage.
Frequently Asked Questions
Do I need to unplug the refrigerator before removing the ice maker?
Yes. Unplugging the refrigerator is the safest way to prevent electrical damage or injury while you remove the ice maker.
Can I remove the Samsung RF28HMEDBSR ice maker without taking apart the whole freezer?
Usually, yes. In most cases you only need to remove the freezer cover or access panel, then disconnect the harness and release the mounting tabs or screws.
What if the ice maker is frozen in place?
Let it thaw safely first. Use gentle warming and towels to catch water, then remove only after the ice buildup has cleared so you do not crack the housing.
Should I replace just the motor or the entire ice maker assembly?
If the motor is worn, the gears are stripped, or multiple ice maker parts are failing, replacing the full assembly is often more reliable than swapping one component.
Can I find a video for this repair?
A video can help you visualize the steps, but make sure it matches the RF28HMEDBSR or a closely related Samsung side-by-side/french-door ice maker design before following it.