GE Ice Maker Replacement WR30X10093: Install & Troubleshoot
If your GE refrigerator has stopped producing ice, the fix is usually more than “wait a day.” A failed ice maker module is a common cause, and the right path forward for many models is ge ice maker replacement wr30x10093. This article walks you through picking the correct assembly, replacing it safely, and troubleshooting the most common “no ice” and water-flow problems.
For more help, see our Install, Replace, and Maintain a GE Ice Maker guide.
Know Which GE Ice Maker You Need
Confirm the WR30X10093 cross-references
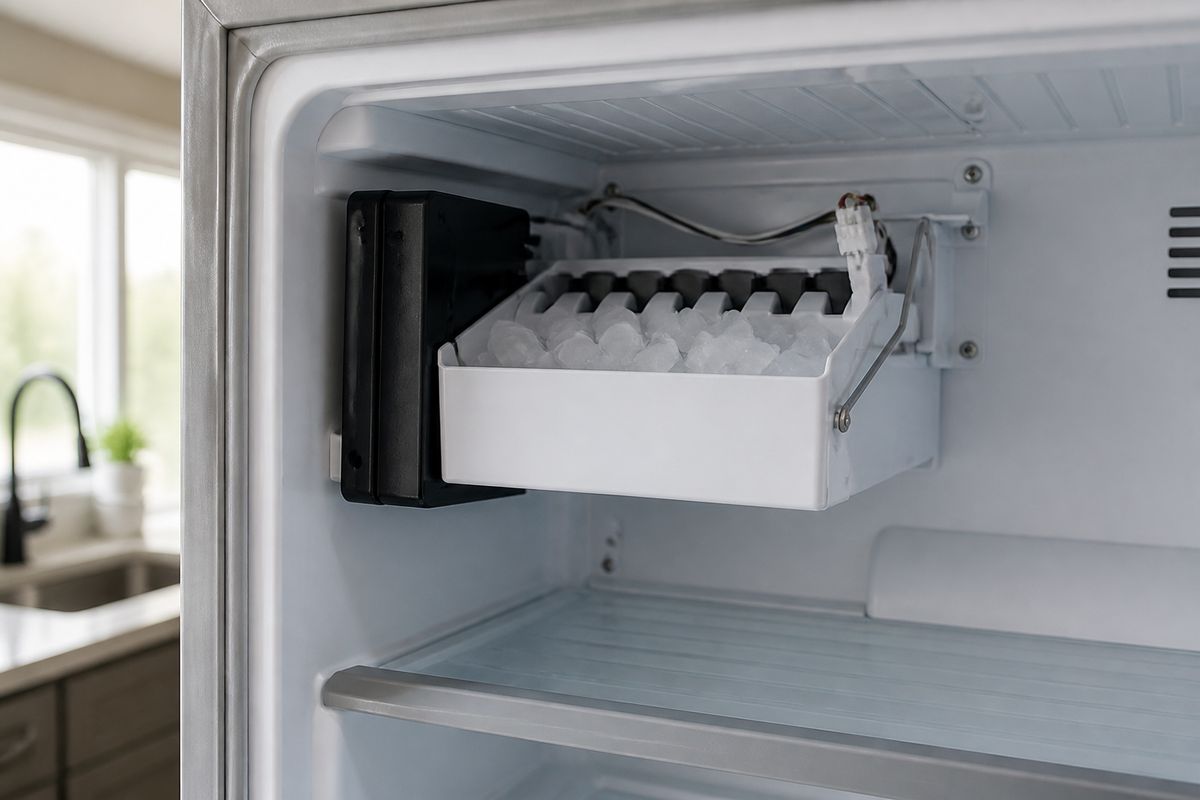
Start with what’s already in your fridge. Pull the ice maker access panel (or remove the ice bin so you can see the module) and locate the printed label on the ice maker assembly itself. Match the listed part number to WR30X10093 or the exact manufacturer supersession stamped on the label—cross-references can change by refrigerator model year.
If you’re comparing from an online listing, verify the connector style and mounting style too. Two ice makers can look similar but use different plug harnesses or mounting brackets, so the wrong “compatible” part can fit loosely, fail to seat, or misconnect and produce no ice.
Check compatibility by model number
Compatibility is determined by your refrigerator’s model number, not just the ice maker part number. Find the GE model number inside the refrigerator compartment (commonly on the side wall near the shelf rails) or on the door frame area.
Once you have the full model number, confirm the replacement recommendation for that exact model. Even if WR30X10093 appears in a “fits” list, the final requirement is that it matches your refrigerator’s documented ice maker assembly for that model—especially if you have a through-the-door ice system versus an internal bin system.
Spot signs that the ice maker module failed
Look for symptoms that point to the ice maker assembly rather than general water/temperature issues:
- No harvest cycle action: the unit doesn’t seem to eject ice or the mechanism never moves.
- Repeated “frozen up” behavior: water freezes in the wrong places, and ice formation stops.
- Electrical failure signs: a dead motor feel, broken ejector action, or failure after resets.
- Physical damage: cracked housing, burned contacts, or a broken fill/drain area cover.
If power is stable and water supply is present, a module failure is a strong indicator—WR30X10093 replacement is the correct next step when the assembly itself is the problem.
Prepare for a Safe Replacement
Turn off power and water before starting
Do the two shutoffs before you touch the ice maker wiring or water line connections:
- Unplug the refrigerator or switch it off at the breaker.
- Turn off the household water supply feeding the refrigerator (shutoff valve behind the fridge or the nearest dedicated valve).
- After shutoff, open the freezer door and let the ice bin area settle—avoiding sudden water release while you remove the assembly.
This prevents shocks and prevents leaks when the fill line or internal fittings are disturbed.
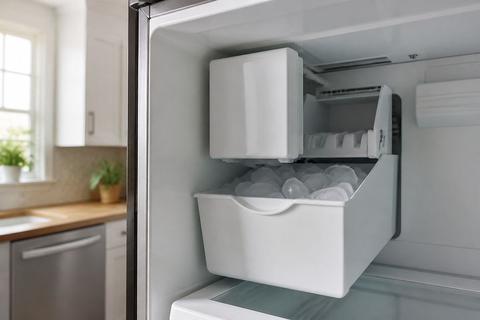
Remove the ice bin and clear access
Give yourself full access to the ice maker module and wiring harness:
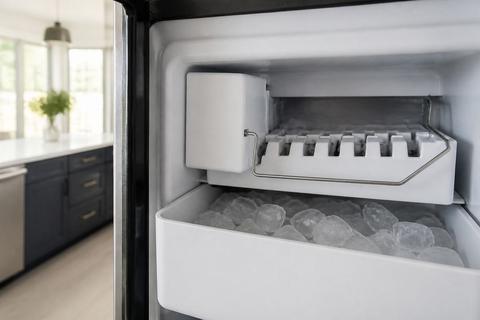
- Pull out the ice bin carefully.
- If your ice maker uses a feeler arm (wire bail), lower it to the “down/off” position so the unit doesn’t cycle while you’re working.
- Remove any shelf or panel blocking access to the ice maker cover, wiring, or mounting screws.
Keep the work area dry. A towel placed under the module catches drips and makes it easier to spot a loose connection later.
Gather the basic tools and parts
Before you start, gather what you need so the job doesn’t stall mid-disassembly:
- Replacement ice maker assembly WR30X10093 (and any required mounting hardware if your unit doesn’t reuse it).
- Screwdriver set (typically Phillips and/or Torx depending on GE model).
- Socket/bit set for mounting screws.
- Work gloves and a towel.
- Optional: flashlight and a small container to hold screws.
Have the wiring harness plug ready to inspect so you can confirm it matches the new assembly before reassembling.
Install the New GE Ice Maker
Remove the old ice maker assembly
Remove the failed assembly without stressing the wiring:
- Disconnect the ice maker electrical connector by pressing the latch and pulling straight—never yank the wires.
- If a water line fitting is attached to the module, relieve any pressure and disconnect the line according to the fitting type on your model.
- Remove the mounting screws and lift the ice maker assembly out carefully, guiding the wiring and fill tube so nothing snags.
Set the old unit aside. If it shows damage or burned contacts, that supports the replacement decision.
Transfer mounting hardware and wiring
Compare the old and new modules before final placement:
- Transfer any reusable mounting brackets, spacers, or gaskets to match the exact orientation from the old unit.
- Confirm the fill tube connection point on the new assembly is clean and unobstructed.
- If your model includes a specific shield/cover piece, transfer it so the new unit sits square and seals correctly.
Keep track of any small pieces—missing one spacer or misaligned gasket can lead to leaks or a module that doesn’t harvest properly.
Attach the replacement and restore connections
Install the new assembly in the same position as the old one:
- Set the replacement module into the mounting location, aligning the screw holes.
- Tighten mounting screws snugly (do not over-torque plastic components).
- Reconnect the electrical plug until it clicks/locks.
- Reconnect the water line fitting securely, ensuring the tube seats fully and the connection is not cross-threaded.
Route the wiring exactly as it was so it doesn’t contact moving parts.
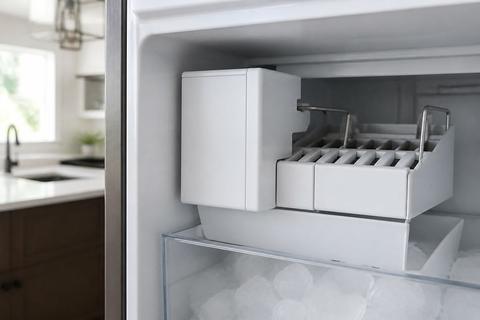
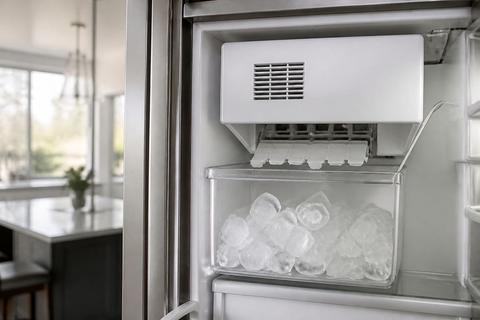
Verify the fill tube and drain area
Correct flow depends on the fill tube and drain path being clear:
- Inspect the fill tube to ensure it’s properly seated and not kinked.
- Check the area under and around the ice maker for ice buildup or debris left from the failure.
- Make sure the water flows toward the intended reservoir/drain path and that no obstruction blocks the drain.
If you see scale or compact ice, clear it before reassembly so water can cycle normally.
Test Ice Production After Installation
Run an initial cycle and watch for fills
Start the first harvest cycle so the unit can fill and begin freezing:
- Turn the water supply back on.
- Restore power (plug in or switch breaker back on).
- Initiate the ice maker’s manual cycle if your model provides a test/harvest control (look for a recessed test button or an ice maker power switch on the module cover).
During the first cycle, confirm water reaches the fill area and the module goes through its harvest movement.
Check for leaks, overfills, and loose fittings
Watch closely at the connections and around the module:
- Look under the module for dripping at the water line connection.
- Check the fill area for steady, controlled water—not overflowing.
- Inspect the drain area for pooling where it shouldn’t be.
If you see leaks, shut off water immediately and re-seat the fitting. A minor misalignment can cause slow leaks that later freeze and block ice-making.
Allow enough time before expecting a full batch
Ice production depends on freezer and freezing time:
- Confirm your freezer temperature is around 0 to 5°F—if it’s warmer, ice may not form even if the water fills.
- Allow time for the first batch to freeze before judging performance.
- Expect the initial output to be smaller until the unit completes a couple of harvest cycles and the mold area stabilizes.
A correct installation should produce ice in a consistent pattern once freezing conditions are right.
Troubleshoot Common Problems
No ice after replacement
If the unit is installed but producing no ice, check the most common blockers in order:
- Freezer temperature: set the freezer to about 0 to 5°F and wait for stabilization.
- Water supply flow: check the shutoff valve is fully open.
- Water filter restriction: if your GE water filter is clogged or older than ~6 months, replace it and run a few dispense cycles to purge air.
- Fill tube/drain blockage: clear ice buildup in the fill and drain areas.
- Ice maker feeler arm: if your model uses a wire bail, make sure it sits in the correct down position for operation (stuck up can stop production).
If water fills the mold but it never completes harvest, the module or connected control wiring is likely the issue.
Ice maker works but cubes are small or hollow
Small or hollow cubes usually point to insufficient water volume or freezing conditions:
- Water flow restriction: a clogged filter or kinked water line reduces fill volume—replace the filter and inspect the line for kinks.
- Inlet water issues: confirm household water pressure is adequate and the water saddle/inlet isn’t restricted or partially frozen.
- Freezer warmth: if the freezer runs too warm, cubes can freeze unevenly and appear hollow—correct the freezer temperature.
- Drain and blockage: excess ice buildup can interfere with how the unit cycles and refills.
Fix the flow and temperature first; those are the fastest routes to restoring cube size and density.
Water is dripping, freezing, or not draining properly
Leaking or freezing in the wrong places often means a blocked drain, improper seating, or flow imbalance:
- Inspect the drain area for trapped ice or debris; remove obstruction so water can move through its intended path.
- Check the water line connection for a secure seat—loose fittings drip and then freeze.
- Confirm the fill tube is seated correctly and not off-center, which can cause pooling instead of proper filling.
- Look for repeated water backup: if water backs up and spills, ice production can stop even with power.
After correcting the physical flow path, run one harvest cycle and observe how water behaves during filling and draining.
When to suspect the valve, water line, or control board
If basic checks don’t resolve the issue, isolate the likely component:
- Water valve: suspect it when the unit has power but doesn’t deliver water during the harvest/fill portion.
- Water line: suspect it when water delivery is weak, intermittent, or pressure fluctuates—check for kinks, frozen sections, or partially closed shutoffs.
- Control board/ice maker module: suspect it when water fills but the mechanism fails to harvest or repeatedly stops mid-cycle.
If you hear water attempt sounds but ice never forms, focus on freezer temperature and freezing behavior next, then return to valve/controls if needed.
Parts, Manuals, and Replacement Options
How WR30X0306 and WR30X0327 relate to WR30X10093
WR30X0306 and WR30X0327 are commonly listed alongside WR30X10093 as compatible or superseding ice maker assemblies. However, the relationship depends on your exact refrigerator model and the ice maker system layout, which determines connector type, mounting points, and harness compatibility.
To avoid mismatches, verify your refrigerator model number against the manufacturer’s replacement mapping. Also compare the connector and mounting shape between your existing unit and the replacement option before purchasing.
What to know about WR30X10077 and other lookalikes
Lookalike part numbers may share similar ice maker form factors but differ in internal wiring, motor assembly configuration, or water routing. That can lead to incorrect operation even if the module “sort of” mounts.
For WR30X10077 and similar candidates, use the refrigerator model number check first, then confirm the connector type and the specific mounting bracket/gasket style. If your existing unit’s label lists WR30X10093 or a clearly stated supersession, follow that chain instead of guessing based on appearances.
Choosing OEM versus third-party options
OEM parts are designed to match the exact electrical and mechanical requirements of your GE ice maker assembly. That reduces the risk of connector mismatch, fitment issues, and inconsistent harvest behavior.
Third-party replacements can work, but only if they are explicitly cross-referenced for your refrigerator model and have the correct connector/harness compatibility. When performance matters—like consistent cube size and reliable harvest—OEM is the safer choice.
Where buyers often compare price and availability
Many homeowners compare price between OEM and third-party suppliers and look at shipping speed because ice maker failure usually happens suddenly. The key is to compare parts using your refrigerator model mapping, not just the part number alone.
When comparing listings, prioritize: (1) confirmed fit for your specific GE model number, (2) correct connector/mounting design, and (3) clear return policy if installation reveals a mismatch.
Frequently Asked Questions
Is WR30X10093 the same as WR30X0306 or WR30X0327?
Often, these part numbers are used as replacements or supersessions for similar GE ice maker assemblies, but compatibility depends on the refrigerator model. Always verify by model number and connector style before ordering.
How do I know if my GE ice maker needs replacement instead of repair?
If the unit has a dead motor, broken ejector gears, damaged contacts, or repeated failures after resets and basic water-supply checks, replacement is usually more practical than repair.
Do I need to shut off the water line to replace the ice maker?
Yes. Turn off both power and the water supply before removing the assembly to prevent leaks, shocks, or accidental cycling.
Why is my new ice maker not making ice right away?
Most ice makers need time to freeze the first batch. Also confirm the freezer temperature, water supply, fill tube, and freezer-door switch are all working correctly.
Can a clogged drain affect ice maker performance?
Yes. If water backs up, freezes, or spills into the wrong area, the ice maker may stop producing properly or create ice blockages that look like a failed unit.