How to Reset a GE Ice Maker: Model-Specific Steps
If you just realized your GE fridge isn’t making ice, you’re not alone—ice makers can stall from a jam, a minor control glitch, or a water-flow problem. Learning how to reset ge ice maker controls is often the fastest way to restore normal harvest and refill. Start with the safest checks first, then use the reset method that matches your model.
For more help, see our GE Ice Maker Resets, Lights, and Error Codes guide.
Before You Reset the Ice Maker
Check the freezer temperature and water supply
Before you touch any reset procedure, confirm the two inputs an ice maker needs: cold air and steady water. Set the freezer to 0 to 5°F so the ice maker can freeze water during the harvest cycle. Next, verify water supply is actually reaching the refrigerator—check that the shutoff valve behind the fridge is open and the line isn’t kinked. If you recently replaced the filter, allow a few minutes for the system to fully purge air, then run the ice maker through a manual cycle (when available).
- Set freezer temperature to 0–5°F.
- Ensure the water shutoff valve is open (not partially closed).
- If you changed the filter, allow purge time and plan a manual cycle after resetting.
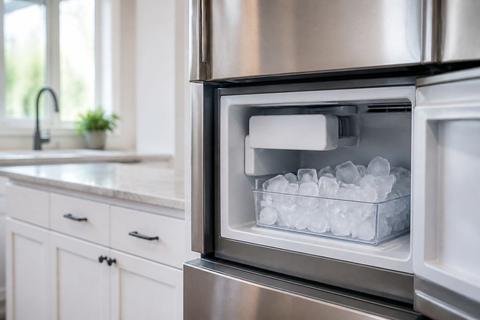
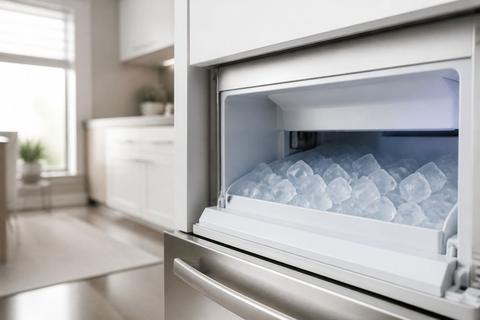
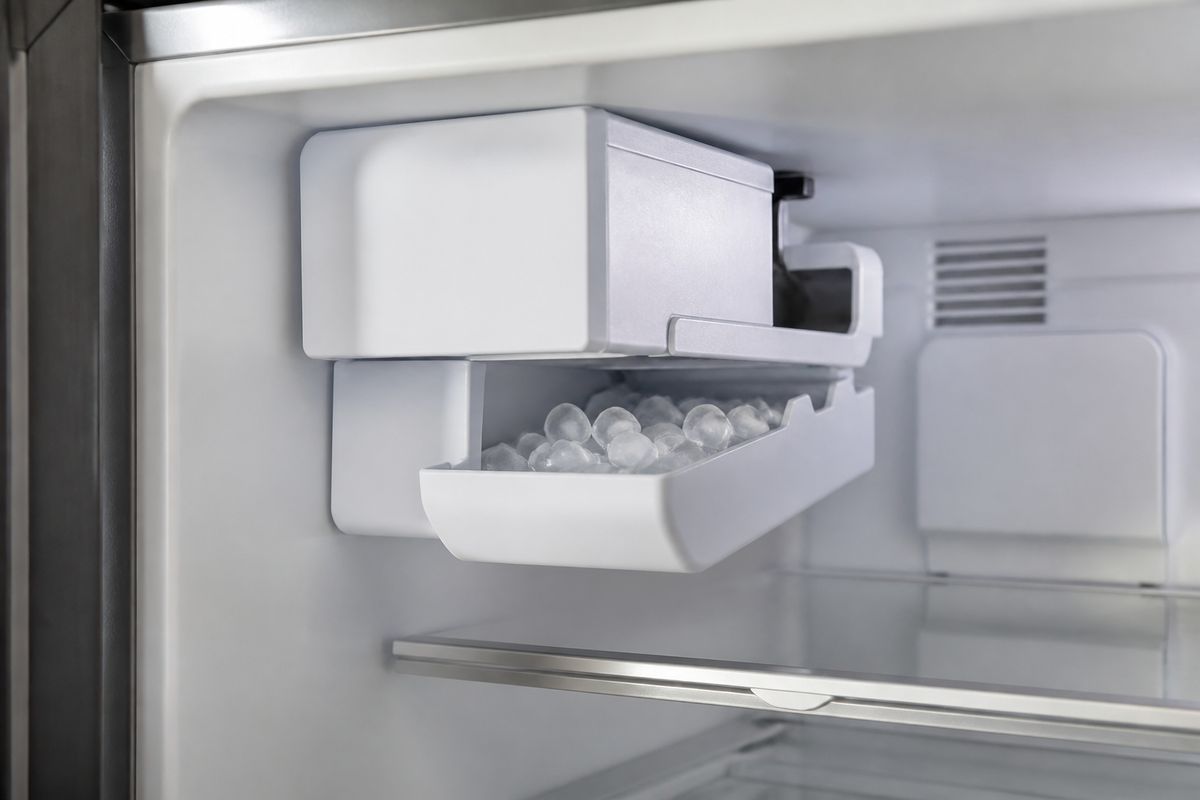
Look for stuck ice, a jammed arm, or a full bin
A “reset” won’t fix a mechanical blockage. Inspect the ice bin and the ice-making mechanism for the most common stall causes: a full bin cutting off ice production, cubes stuck in the chute, or the feeler arm (wire bail) stuck in the “off” position. If the arm is stuck up, the ice maker stops harvesting. If the chute is blocked, the next cycle won’t dispense ice correctly and the unit can appear dead even though power is on.
- Pull out the ice bin and check for ice buildup or a packed bin.
- Look for cubes jammed near the dispenser chute.
- If your model has a feeler arm, lower it to the normal position.
Identify your GE model before trying any reset
GE ice maker reset steps depend on the design—some use a visible switch or a recessed test button, while others rely on a control sequence or power cycle only. Locate your model number (usually on a label inside the fresh food compartment or near the control panel area) and write it down. Identify whether you have a bottom-freezer or French door model, and whether your ice maker is modular behind a front panel or part of the door assembly. With the correct model in hand, you can use the exact reset method and avoid unnecessary power cycling.
- Find the model number on the refrigerator’s interior label.
- Note whether it’s bottom-freezer or French door.
- Determine whether you see a switch, LED, or any test/reset button.
Reset Methods That Work on Most GE Refrigerators
Use the ice maker power switch or arm
Many GE refrigerator ice makers include a dedicated on/off control. The most common setup is a feeler arm (wire bail) or a small ice maker power switch with a status LED. If the ice maker is turned off, raising the arm stops ice production. To reset, move the control back to the “on” state so the ice maker can begin the next harvest cycle. Then watch for the unit to start the cycle and make ice within the normal production window.
- If your model has a feeler arm, lower it to the “on” position.
- If there’s an ice maker power switch, slide it to ON.
- If there’s an LED, ensure the ice maker status shows enabled (not turned off).
Press and hold the test or reset button
Some GE models include a recessed button labeled TEST or RESET, often located behind a small access cover on the ice maker assembly. Pressing and holding it triggers a manual harvest cycle, which clears minor faults and restarts timing for ice production. Use a firm press and hold for the button’s specified duration from your model instructions. After the cycle begins, the ice maker will harvest and fill based on its internal controls.
- Open the ice maker access cover if present.
- Locate the TEST/RESET button and press firmly.
- Hold the button for the model’s specified seconds to start a manual cycle.
Cycle power to clear minor control glitches
A full power cycle can clear temporary control errors that block ice production without showing an obvious mechanical jam. This method helps when the refrigerator control board logic has stalled and the ice maker won’t respond to arm/switch commands. To do it safely, unplug the refrigerator or turn off power at the breaker for long enough for the electronics to fully reset, then restore power. Once restarted, the ice maker can resume normal timing.
- Unplug the refrigerator (or switch off the breaker).
- Leave it powered off for several minutes.
- Restore power and allow the ice maker to attempt the next harvest cycle.
Model-Specific Reset Steps for Common GE Units
Steps for GE bottom-freezer and French door models
Bottom-freezer and French door GE refrigerators follow the same core idea—enable the ice maker, clear mechanical blocks, then use the correct control method for your unit. First, ensure the freezer is cold enough and that the bin and chute are not obstructed. Then locate your ice maker control: if your model has a feeler arm, lower it; if it has a switch or button, use that control to force a manual harvest. If your unit is behind a front panel, remove the panel carefully and access the ice maker’s onboard controls before pressing any reset/test button.
- Set freezer to 0–5°F and remove the ice bin for inspection.
- Lower the feeler arm if present and clear any ice in the chute.
- Use the ice maker switch/test button if your model has one; otherwise perform a power cycle.
How to reset the ice maker on GE PYE22KSKFSS
For the GE PYE22KSKFSS, follow the standard GE ice maker enable-and-test approach used on many modular units. Start by checking that the freezer is at 0–5°F and that the ice bin isn’t full or obstructed. Next, locate the ice maker control on the modular ice maker assembly behind the front access area—use the ice maker switch/arm to ensure it’s set to ON and not blocking harvest. If the unit provides a test/reset function on the ice maker assembly, press and hold the test/reset button to trigger a manual harvest cycle. This forces the system to run the motor and water fill sequence.
- Confirm freezer is 0–5°F and the ice bin/chute is clear.
- Set the ice maker to ON using the ice maker switch/arm on the assembly.
- Press and hold the ice maker test/reset control to start a manual harvest.
What to do if your model has no visible reset button
If you don’t see a reset/test button, treat the ice maker like a “switch-and-power-cycle” system rather than relying on a button you can’t access. Many GE models use a front switch or LED on the ice maker cover; others require only the arm position and a controlled power reset. Start with the mechanical controls: lower the feeler arm and set the ice maker switch to ON if available. Then perform a power cycle long enough to clear control glitches, restore power, and let the ice maker attempt harvest. If it still doesn’t cycle, stop repeating resets and move to water supply and inlet causes.
- Lower the feeler arm and set any visible ice maker switch to ON.
- Perform a full unplug/power-off cycle for several minutes.
- After power returns, focus on water flow issues if there’s still no harvest attempt.
What Flashing Lights or Error Codes May Mean
Decode flashing zeros and indicator lights
Flashing zeros on a GE refrigerator display point to a control or communication issue rather than a simple “empty bin” situation. Indicator light patterns on the ice maker assembly (LED status) can also mean the ice maker is waiting for a condition it can’t satisfy, such as proper water flow or a completed cycle. Because the exact meaning varies by model, use the model number to interpret the pattern in the unit’s manual—but the key action is the same: confirm the ice maker is enabled, check temperature, and then address water supply if the ice maker is not harvesting.
- If the display shows flashing zeros, treat it as a control-related fault.
- Check that the ice maker switch/arm is enabled.
- Proceed to water flow checks if the ice maker won’t produce ice.
Know when the problem is the ice maker versus the refrigerator control board
A jam or blocked chute is a mechanical ice maker issue; weak water flow is an inlet/system issue; persistent diagnostic signals can involve the refrigerator control board. If resetting the ice maker controls (arm/switch/test button or a clean power cycle) does not change behavior and the refrigerator display shows fault-like patterns, the control board or wiring between components may be involved. If the ice maker starts harvesting after you clear a jam or restore water flow, the issue was likely localized to the ice maker mechanism or supply path.
- If clearing a jam restores ice, the ice maker hardware was the limiting factor.
- If errors persist despite power cycling and enabling the ice maker, the control system may be involved.
- If you see inconsistent behavior with multiple resets, avoid repeated cycles and focus on diagnostics.
When a reset will not clear the error
A reset should clear minor glitches, but it won’t fix faults that are fundamentally mechanical or electrical. If the ice maker motor never starts, the fill doesn’t happen, or the unit repeatedly shows the same error indication without producing ice, the problem is more likely a failing motor, sensor, wiring issue, or frozen water supply. Continued resetting can waste time and potentially stress components if water flow is blocked. At that point, switch from reset attempts to direct checks—especially water filter, inlet valve operation, and the fill tube path.
- If the ice maker never attempts harvest after a manual test cycle, don’t keep resetting.
- If the same indicator pattern returns after power cycling, treat it as a persistent fault.
- Move to water inlet checks and component inspection instead of repeated reset cycles.
If the Ice Maker Still Will Not Work
Check the water filter and inlet valve
No-reset-needed “failure” is commonly water starvation. A clogged or overdue filter restricts flow so the ice maker can’t fill and freeze. Replace household water filters appropriate for GE models (common series include GE XWF, XWFE, or MWF). After replacing the filter, run a few dispense cycles or let the system purge air, then try the ice maker again. If flow still seems weak, the inlet valve may not open properly when the ice maker calls for water—this requires inspection and, in many cases, service if the valve fails.
- Replace a clogged or past-its-life water filter.
- Purge air by running a few dispense cycles after filter replacement.
- If water fill is still weak or absent during harvest, inspect/diagnose the inlet valve.
Inspect the fill tube for freezing or blockage
A frozen or blocked fill tube prevents water from reaching the ice maker mold, resulting in “no ice” even when the unit seems powered. During harvest, the ice maker needs unobstructed water to enter the mold area. Check the fill tube and adjacent pathways for ice buildup, kinks, or obstructions. If you find ice on the line, thawing the line is necessary before the ice maker can produce again.
- Check the fill tube and line path for kinks, cracks, or visible blockage.
- Look for ice buildup along the tube or at the entry point.
- If frozen, thaw the line before attempting another harvest cycle.
Replace worn components after repeated reset failures
When the ice maker fails to produce ice after you’ve confirmed temperature, cleared jams, restored water flow, and performed the correct reset/test sequence, it’s likely a worn or failed component. Common candidates include the ice maker motor assembly, the fill valve path, or sensors that determine cycle completion. If you repeatedly trigger harvest and the unit cannot fill, rotate, or harvest properly, component replacement (or technician diagnosis) is the practical next step rather than repeating resets.
- If harvest never progresses beyond “attempt” repeatedly, motor/sensor issues are likely.
- If the unit fills inconsistently despite a good water filter and clear tube, replace the failing component.
- Use model-specific parts and instructions to match your exact GE ice maker assembly.
When to Call for Service
Symptoms that point to a failed motor or sensor
Call for service when the ice maker shows clear signs of component failure—especially after you’ve addressed jams and water flow. If you activate a manual test cycle and the motor doesn’t run, if the unit stops mid-cycle repeatedly, or if sensors appear to misread conditions, service is the safest route. Also call if you notice unusual noises (grinding, repeated clicking without progression) that suggest stalled moving parts. A technician can verify motor function, sensor readings, and control signals quickly.
- Manual test cycle runs but there’s no motor movement or harvest progression.
- The ice maker cycles repeatedly then stops without filling or ejecting ice.
- Unusual noises indicate mechanical failure inside the ice maker assembly.
Signs of a dispenser, wiring, or control board issue
If ice problems involve the dispenser as well—like the dispenser refusing to operate, inconsistent ice feed, or frequent indicator faults—wiring and control board issues may be involved. Flashing diagnostic patterns that persist after power cycling often point to electronics or communication faults rather than a simple reset. Additionally, if the ice maker behaves differently across resets (sometimes attempting harvest, sometimes not) and water fill seems intermittent, wiring harnesses or board connections can be the root cause.
- Dispenser behavior fails alongside ice production issues.
- Display/LED fault patterns persist after correct resets and water checks.
- Intermittent operation suggests wiring or control board problems.
When GE support or a technician is the safer choice
If you cannot confidently identify your model-specific ice maker reset method, or if diagnostics persist after basic checks, GE support or a qualified technician is the safer choice. Service is especially recommended if you must access wiring, replace parts inside the ice maker assembly, or work near electrical components. A technician can confirm whether the issue is ice maker hardware, inlet systems, or the refrigerator control board, preventing unnecessary part swapping.
- You can’t locate the correct test/reset procedure for your exact model.
- Reset and water/inlet checks do not change the error pattern or ice output.
- You need electrical access or replacement inside the control/ice maker assembly.
Frequently Asked Questions
How do I reset a GE ice maker without a reset button?
Many GE ice makers can be reset without a visible reset button by switching the ice maker off and back on, cycling power to the refrigerator, or using the ice maker’s arm/switch to start a harvest cycle. If you don’t see a button, locate the ice maker enable control (feeler arm or ice maker switch/LED). Then perform a controlled power reset by unplugging the refrigerator for several minutes before restoring power. If the ice maker still won’t cycle, use your model number in the owner’s manual to find the exact diagnostic or test sequence for your specific unit.
What does it mean when my GE fridge is flashing zeros?
Flashing zeros usually indicate a control or communication problem, not just an empty ice bin. This means a simple ice bin refill or arm adjustment may not be enough, because the refrigerator control isn’t behaving normally. A power reset can clear temporary glitches, but if the flashing zeros return and the ice maker never harvests, the cause can be a sensor, wiring, or refrigerator control board issue. Pair the display behavior with what the ice maker does during a manual cycle.
Why is my GE ice maker not working after I reset it?
A reset can fail if the freezer is too warm, the water supply is blocked, the filter is clogged, or the fill tube is frozen. Start by confirming freezer temperature is 0–5°F, then check that the water shutoff is open and the filter isn’t restricted. Inspect the fill tube for ice or kinks so water can reach the mold. If water flow and temperature are correct and the unit still won’t harvest, a mechanical failure in the motor, valve, or sensor may be preventing production.
Can I use the same reset steps for LG and GE ice makers?
No. LG and GE ice makers use different mechanisms and diagnostic sequences, so the reset/test steps are not interchangeable. GE may rely on an arm position, an ice maker switch/LED, a recessed test/reset button, or a model-specific control method. LG models can require different button presses or maintenance/clean cycles. Always use the steps for your exact brand and model number to avoid repeated power cycling or incorrect button sequences.