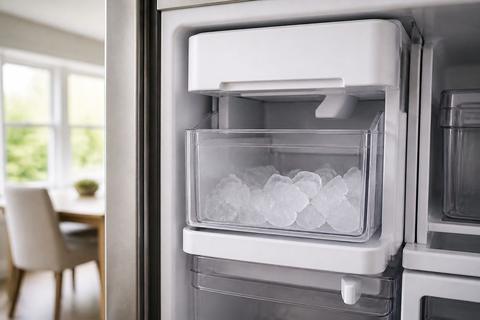
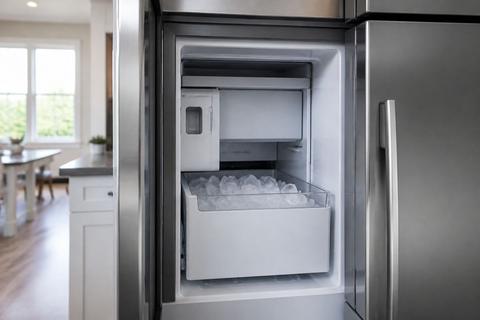
How to Remove a Frozen Ice Bucket From a Samsung Fridge
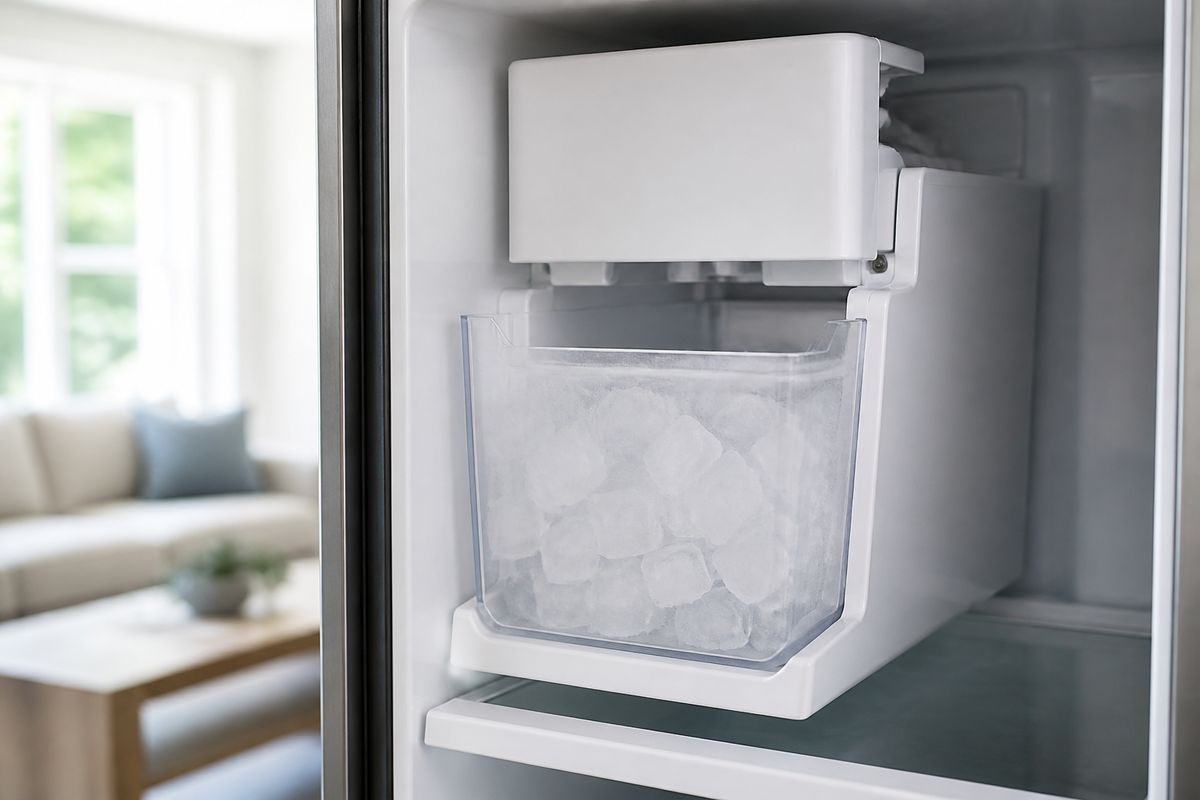
If you’re dealing with a Samsung ice bucket that won’t move, you’re not alone—ice bridges can lock the bin to the rails overnight. The moment you try to pull it, you risk cracking the plastic or bending the auger chute. This is the practical way to samsung remove frozen ice bucket safely, without turning a simple jam into a bigger repair.
For more help, see our Samsung Ice Bin and Bucket: Remove, Free, and Unstick guide.
What causes the ice bucket to freeze in place?
Ice freezes in the bucket when cold airflow plus moisture turns into frost that hardens into an ice bridge. Once that bridge forms around the rails or the auger chute area, the bin can feel “stuck” even when the ice maker is off.
Common reasons the bin gets stuck
The most common causes are excess moisture in the freezer and frost forming where the bin seats. Check for:
- A door seal that lets warm, humid air leak in.
- Temperature settings that are too low, increasing condensation.
- Spilled water or repeated melting/refreezing near the ice bucket opening.
- A minor ice maker harvest jam that leaves water in the wrong spot, then freezes solid next cycle.
Signs the freezer is the real problem
If multiple spots show frost or heavy ice buildup (not just around the bin), the freezer itself is driving the freeze. Look for a thick frost layer along the back wall, the ice dispenser area, or around the bucket rails. Also notice if the freezer temperature fluctuates—an unstable temperature usually creates a cycle of condensation and re-freezing, which locks the bin over time.
When to suspect the ice maker assembly
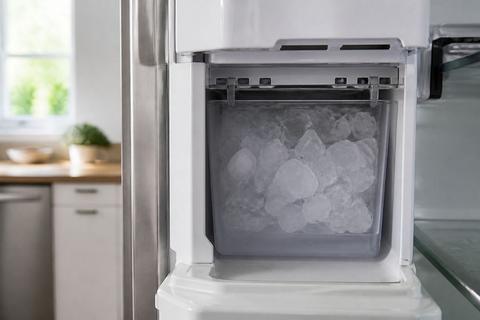
Suspect the ice maker assembly when the bucket consistently jams even after thawing. Signs include ice that forms in unusual places (like a solid chunk at the auger chute opening), ice cubes that look misshapen, or the ice maker light flashing with no bin movement. If you see the bucket not aligning correctly on the rails during insertion, the auger/housing area may be misaligned or partially blocked.
How to remove the ice bucket safely
Don’t force a frozen ice bucket out. The bucket and its seating surfaces are plastic, and forcing it can crack the bin or damage the freezer liner. Safe removal is all about melting the ice bridge first, then lifting in the correct motion.
Unplug the fridge and protect the freezer floor
Start with power and mess control.
- Turn off the ice maker from the panel if your model has Ice Off.
- Unplug the refrigerator (or switch it off at the outlet) to stop the ice maker from trying a harvest while you’re melting ice.
- Pull the shelf/loose items away from the area and place towels on the freezer floor to catch meltwater.
Soften ice without cracking the bucket
Use gentle, controlled heat—nothing sharp and nothing boiling.
- Empty the bin if you can reach any loose ice.
- Let the ice thaw naturally for 10–30 minutes, then resume gentle softening.
- Aim warm air from a hair dryer on low at the edges of the bin and around the rails/chute opening for short bursts (30–60 seconds at a time).
- Stop as soon as you see the ice loosen and the bin shifts slightly.
Lift, tilt, and release the bin correctly
Once the edges loosen, remove it using the intended motion.
- Grip the bucket firmly, front and back.
- Lift straight up just enough to disengage it from the rails.
- Tilt the bin slightly to clear the auger/chute area, then pull it out smoothly.
- If it resists after the tilt, pause—apply more gentle heat to the stubborn edge rather than forcing it.
If the bucket still will not come out
If it still won’t budge, there’s usually hidden ice along the seating rails, underneath the bucket, or at the auger chute connection. The goal is to find and clear the specific blockage without prying against the liner.
Check for hidden ice around the rails and auger
Open space can hide a solid ice bridge.
- Shine a flashlight around both sides of the rails where the bucket slides in.
- Look at the chute opening where ice drops into the bin area.
- Melt any visible ice with warm air from a hair dryer on low, or use a small amount of warm water poured onto a towel (not directly into controls).
- Wipe up meltwater so you can see where the ice remains.
Look for bent parts, jammed gears, or misalignment
Physical issues can keep the bin locked even after thawing.
- Check whether the bucket sits flush when you re-seat it lightly; it should align straight on the rails.
- Inspect for signs of misalignment at the chute area—ice maker parts may look shifted after a jam.
- If you notice the bucket housing or mounting points are bent, stop and plan for repair; forcing can break the housing or gears.
Avoid tools that can damage the liner or dispenser
Tools are how many bins get cracked. Don’t do this:
- Don’t use knives, screwdrivers, or metal picks to “cut” ice.
- Don’t pour boiling water into the freezer, which can crack plastic and damage components.
- Don’t hammer or pry against the freezer liner.
Instead, clear the ice with gentle heat and controlled thawing until the bin releases naturally.
Fix the freezer so the bucket does not freeze again
Once you remove the frozen bin, you need to stop the conditions that created the ice bridge. The fix is mainly defrosting, stabilizing temperature, and ensuring the freezer keeps humidity out.
Defrost the compartment thoroughly
A partial thaw can leave a frozen core that re-locks the bin quickly.
- Leave the freezer door open while you remove the ice bucket and clear obvious ice.
- Allow the interior to fully thaw until no new frost flakes appear.
- Use towels to manage meltwater and keep the area clean.
- After thawing, power the refrigerator back on and wait for airflow to stabilize before re-enabling ice making.
Inspect the door seal and temperature settings
Humidity is the enemy of ice maker bins.
- Check the door gasket for tears, gaps, or warping.
- Close the door on a strip of paper; it should hold with light resistance when you pull it out.
- Set freezer temperature to 0°F (-18°C), the correct range for proper ice formation without excess condensation.
Reset the ice maker after clearing the jam
Many Samsung ice makers need a reset after a blockage clears.
- After cleanup, turn the ice maker back on (or switch Ice Off back to Ice On).
- On many models, there’s a small blue Test button on the underside/right side of the ice maker/bucket assembly—press and hold for about 10 seconds until you hear a chime.
- The unit runs a cycle so you can confirm it is harvesting and filling normally.
- Discard the first one or two batches after reset; they may contain water left during the jam.
When the ice maker or bucket may need replacement
If freezing jams return after thorough defrosting and reset, parts may be worn or damaged. At that point, replacement prevents repeated lockups and reduces the chance of hardware breakage.
How to tell if the bucket is cracked or warped
A cracked or warped bucket can’t seat correctly on the rails, which lets ice build and lock it in place. Check for:
- Hairline cracks near the corners or where the bin clips into the rails.
- Warping that leaves uneven gaps when you try to insert the bin.
- Loose fit—if the bucket drops or slides differently than before, the mounting points may be damaged.
If you see these signs, replacement is the reliable fix.
When the ice maker bin, auger, or assembly is worn out
Replace when you keep getting the same symptoms after defrosting:
- Ice production stops or restarts repeatedly after clearing.
- Jams return within days because the auger/chute keeps freezing solid.
- The auger rotates sluggishly or is blocked by recurring buildup.
Wear in the auger, motor coupling, or ice maker housing can create repeated harvest failures that lead back to a frozen bin.
Choosing the right Samsung replacement part
Use the exact part that matches your refrigerator model number.
- Find the model number inside the fridge compartment or on the rating plate.
- Match the replacement to the ice bucket type and ice maker assembly style used on that model.
- When ordering, confirm compatibility for your specific year/series to avoid receiving a bin that seats differently.
This prevents the “looks similar but won’t align” problem that causes new jams.
When to call Samsung or a repair technician
Call for help when troubleshooting stops working or when the problem points to electrical/water faults. Repair technicians can safely test sensors, valves, and the ice maker motor assembly without damaging components.
Repeated freezing after cleanup
If you defrost, reset, and clear the jam, but the bucket freezes in place again quickly, something deeper is wrong—like persistent moisture intrusion or a recurring harvest issue. Repeated failure after correct thawing indicates you need professional diagnosis.
Electrical or water valve issues
Look for these indicators:
- Ice maker fault behavior (for example, flashing ice-maker light) or persistent non-production.
- Evidence that water isn’t entering correctly or is leaking into the wrong area.
Electrical and water valve issues require testing—turning parts by force can cause further damage.
Damage that could void the warranty
If the unit is under warranty, stop if you see broken rails, a cracked ice maker housing, or damage near the dispenser/ice chute from improper prying. A technician can replace parts properly and document findings, helping protect warranty coverage where applicable.
Frequently Asked Questions
How do I remove a Samsung ice bucket that is frozen in place?
Unplug the refrigerator, empty the bin if possible, and let the ice melt naturally or with gentle warm air. Once the ice around the edges loosens, lift and tilt the bucket out without forcing it.
Can I use hot water or a knife to free the ice bucket?
Avoid boiling water, open flames, and metal tools. They can crack the bin, warp plastic parts, or damage the freezer liner. Use gentle heat and patience instead.
Why does my Samsung refrigerator ice bucket keep freezing?
The most common causes are excess moisture entering the freezer, a poor door seal, temperature settings that are too low, or a defrost issue that allows ice to build up around the bin.
Do I need to reset the Samsung ice maker after removing the bucket?
Often yes. After clearing ice buildup, resetting the ice maker can help it resume normal operation, especially if the bucket was jammed or the system stopped mid-cycle.
When should the ice bucket or ice maker be replaced?
Replace the bin if it is cracked, warped, or no longer seats properly. Replace the ice maker assembly if jams, freezing, or production problems keep returning after defrosting and basic troubleshooting.