How to Remove a Samsung Ice Bin When It Won't Lift
If you’re searching how to remove samsung ice bin because it won’t lift, you’re not alone—jams in the freezer chute are a common headache. When ice expands or a latch locks, the bin can feel “stuck” even when it’s the correct model. The key is to stop forcing it and instead clear the exact points that hold the bin in place.
For more help, see our Samsung Ice Bin and Bucket: Remove, Free, and Unstick guide.
Why the Ice Bin Gets Stuck
Common causes of a jammed bin
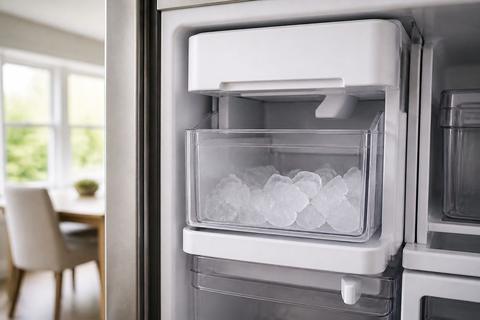
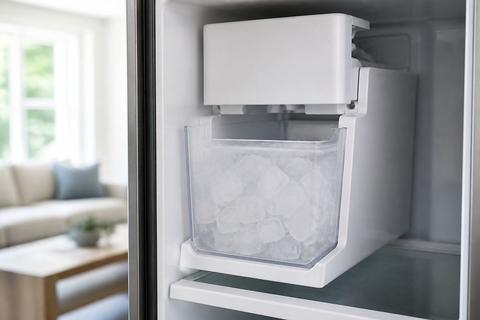
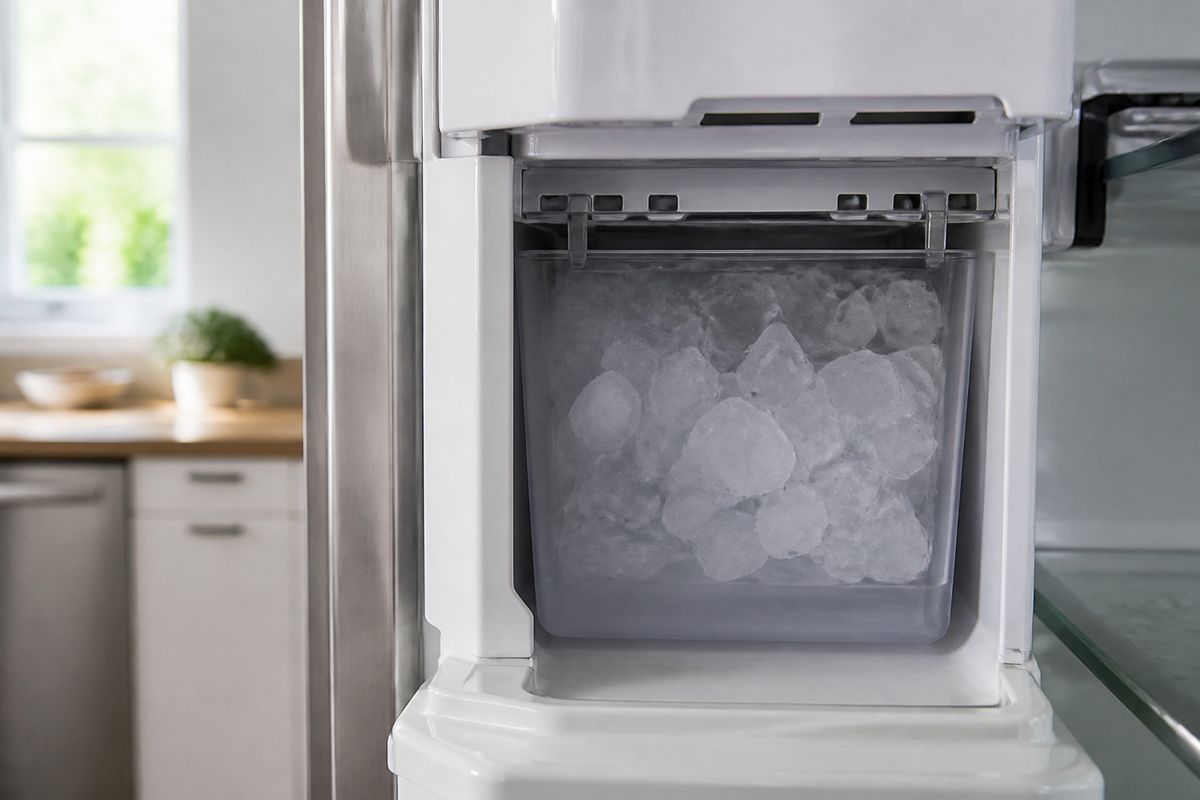
A Samsung ice bin usually won’t lift because something physically blocks its travel path: ice cubes bridging the chute, hardened frost on the rails, or a bin guide that has shifted out of alignment. Another common cause is a locked tab near the bin release points that doesn’t fully disengage. If the ice maker recently harvested and then stopped, the auger and chute area can also leave a frozen chunk that acts like a wedge. Forcing the bin risks cracking the bin housing and stressing the dispenser assembly, which can turn a simple jam into a bigger repair.
How ice buildup locks the bin in place
Ice buildup locks the bin by bonding it to the chute and rails with frozen water. As the auger pushes cubes forward, a small spill can freeze along the sides of the bin opening, then harden into a bridge. Once that happens, the bin cannot lift because the bottom edge and guide surfaces are essentially glued to the surrounding plastic. You can also get “ice stalactites” on the underside of the dispenser area that catch the bin lip during lifting. The goal is to thaw that bond before you try the release mechanism again.
When the dispenser area is misaligned
Misalignment can prevent the bin’s release points from lining up with the chassis. If the bin was partially inserted before the last harvest, or if the rails were disturbed during cleaning, the bin may sit slightly crooked—close enough to seem normal, but not aligned for lifting. Even a small shift can keep the release tab from fully clearing. Pay attention to whether the bin sits evenly left-to-right and whether the front opening looks level. If it looks skewed, stop and correct the bin’s position after clearing ice, not before.
Safe Ways to Open the Ice Bin
Power down and clear the dispenser area
Start by making the situation safe: stop ice movement and reduce the chance of stressing components. Turn the refrigerator ice maker to Ice Off on the panel (or unplug the unit for 1–5 minutes if you can’t access the control). Open the freezer door and remove any visible loose ice from the dispenser area. Then let the area sit briefly so surface frost softens. If you see an obvious ice bridge, don’t pry it—thaw it first using gentle warm air or controlled thawing (see the defrost section below).
Use gentle pressure instead of forcing it
When you try to lift, apply gentle, steady pressure only after you’ve addressed any visible obstruction. If the bin doesn’t move after a light upward pull, pause—forcing it is what commonly cracks the bin or bends the rail tabs. Instead, re-check whether you’re fully engaging the correct release points (some bins require lifting slightly while pressing a tab or pulling a handle). Work slowly: small movements can help break the ice’s bond once you’ve softened frost, but aggressive lifting should be avoided.
Check for hidden tabs, latches, or stops
Samsung bins often have one or more release points that aren’t obvious from the front. Look for a plastic tab, a latch near the top of the bin, or a stop on the rail that prevents lift until disengaged. Common technique: lift slightly while pressing the release tab (if your model has one) rather than trying to yank straight up. If the bin only lifts a fraction, that usually indicates a latch not fully cleared or a remaining ice wedge. Clearing that specific obstruction is more effective than repeating force.
Step-by-Step Removal Process
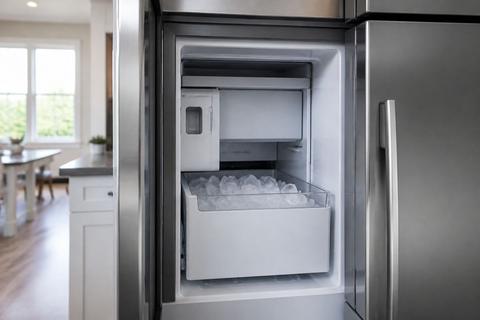
Open the freezer and locate the bin release points
- Open the freezer door fully and pull out any baskets or items blocking access to the ice dispenser opening.
- Switch the ice maker to Ice Off on the control panel (or power down the refrigerator).
- Visually inspect the bin rails and the top/side edges of the ice bin area to find the release tab(s) or the exact spots where the bin normally disengages.
- Clear loose ice by hand from the chute area so you can see the release point(s) without guessing.
Lift, tilt, and slide the bin out correctly
- Support the ice bin with both hands—place one hand on the front and one under the bin for even support.
- Disengage the release tab(s) if your model has them, then lift slightly to clear the stops.
- Tilt the bin just enough to reduce rubbing on the rails (small angle only), then slide it forward.
- If the bin is designed to lift out, lift and pull at the same time; if designed to slide after release, slide it out after the first lift clears the latch.
What to do if the bin only moves partway
- Stop and lower the bin back into place—partial movement often means a frozen ice bridge or one latch still engaged.
- Look for a gap where ice is holding the bottom lip of the bin: check around the chute opening and both rail sides.
- Thaw the stuck area (warm air from a hair dryer on low, held at a safe distance for short bursts, is effective for frost on rails and the auger area).
- Re-try lifting while engaging the release point(s) again—do not increase force, increase thaw.
Troubleshooting a Frozen or Stuck Ice Maker
Break up ice buildup without damaging parts
- After power-off/ice-off, remove the ice bin only if it becomes free; if it remains stuck, focus on thawing instead of prying.
- Use a plastic utensil or soft tool to loosen visible ice bridges in the chute—avoid metal tools that can scratch sensors or guides.
- If you can access the chute, break up reachable chunks gently so they clear the path for the next harvest.
- Keep the area clean as you work: remove melted water and loosened ice so refreezing doesn’t re-bind parts.
Defrost the area safely and completely
- Use a controlled defrost approach rather than pouring hot water. Power down the unit or disable the ice maker, then leave the freezer door open to let frost thaw gradually.
- For a faster controlled thaw, run a Forced Defrost cycle on many Samsung models: press and hold Freezer (or Power Freeze) and Fridge (or Lighting) together for about 8–12 seconds until the display goes blank and beeps, then press a button repeatedly until the display shows “Fd” and start the cycle.
- Allow enough time for the auger/chute area to thaw, then remove remaining loose ice with a towel.
Inspect the auger, guides, and drive coupler
- With the bin removed or fully thawed, look for an ice blockage around the auger path and chute entrance.
- Check the guides for hardened frost that could prevent the bin from seating properly and block ice ejection.
- If ice production is poor even after removal, inspect whether the auger can turn freely by hand (only if your model allows safe access and power is off).
- If the drive coupler or motor-driven components are jammed by ice, the correct fix is defrost/cleaning of the ice maker assembly—not bending parts to “make it fit.”
Cleaning and Resetting the Ice Maker
Clean the bin, chute, and surrounding components
- Wash the ice bin with warm soapy water, then rinse and dry fully.
- Clean the chute entrance and bin rails: remove fine ice and frost residue so the next harvest can move freely.
- Wipe nearby plastic surfaces so no cloudy ice film remains to re-freeze into a bridge.
- Dry everything completely—residual moisture on rails is what recreates the same jam.
Reset the ice maker after removal or service
- After cleaning and reassembly, switch the ice maker back to Ice On.
- Some Samsung models require a specific reset/test: on many French-door Samsungs, there’s a small blue Test button on the underside or right side of the ice bucket assembly—press and hold it about 10 seconds until you hear a chime, then let the unit run its cycle.
- Don’t expect instant ice—after any reset, the ice maker can take roughly 24 hours to refill and start producing.
- Discard the first one or two batches to ensure the system is cleared.
Prevent future freezing and clumping
- Ensure the freezer temperature is set correctly; verify it reaches 0°F (-18°C) for proper ice formation.
- After cleaning, confirm the bin seats fully and evenly on both rails—mis-seating encourages ice bridges.
- Avoid overfilling the dispenser area with leftover cubes; remove old clumped ice during routine cleanups.
- Keep airflow unobstructed in the freezer so the chute area doesn’t stay cold enough to frost-bond.
When Removal Means Repair or Replacement
Signs the ice maker assembly needs repair
If the bin can’t be lifted after a full defrost and you still see repeated jams, the ice maker assembly may have a mechanical or sensor issue. Fault codes like “5E” or “SE” (ice maker sensor) or a flashing ice-maker light often indicate a frost-clogged sensor or a stuck harvest that a defrost cycle should clear. If those errors return quickly after cleaning, the sensor, auger, or gear-driven components may be failing. Also consider repair if the auger won’t move smoothly after thawing or if ice production is consistently poor.
When to replace the ice bin or the full ice maker
Replace the ice bin if the plastic housing is cracked, a rail tab is broken, or the bin won’t seat securely even when thawed and cleaned. Replace more of the assembly if repeated freezing persists after correct defrosting and cleaning, especially when fault codes point to the ice maker sensor or harvest mechanism. If you find that the chute/rails re-freeze immediately and the auger path remains jam-prone, the full ice maker assembly may be the better fix than repeatedly thawing and reassembling.
When to call for Samsung refrigerator service
Call for service when you’ve thawed, cleared jams, cleaned the rails/chute, and the unit still won’t harvest or repeatedly triggers ice maker errors. Also call if you observe unusual grinding, a failure to complete a test/harvest cycle, or damage to sensor wiring or connectors. For models with integrated ice systems, technicians can inspect electrical controls and harvest timing without risking further damage. When in doubt, stop forcing the bin and get help rather than continuing to fight a recurring jam.
Frequently Asked Questions
Why won't my Samsung ice bin lift out?
Most often, the bin is stuck from ice buildup, a misaligned rail, a locked tab, or a jammed auger. Ice can freeze along the chute edges and “glue” the bin’s bottom lip in place, so lifting doesn’t work until the frost bond is thawed. Forcing it can crack the bin or damage the dispenser assembly. If the bin lifts only a small amount, that usually indicates a latch still engaged or a remaining ice wedge on one side.
Can I use hot water to free a stuck ice bin?
Avoid pouring hot water directly on the bin or freezer parts. The temperature shock can crack plastic, and the melted water can refreeze in a different spot. A safer approach is to power off or disable the ice maker, open the freezer door, and let the area defrost gradually. For faster thawing, use controlled warmth like a hair dryer on low held at a safe distance to melt frost on the auger and rails.
Do I need to turn off the Samsung refrigerator before removing the ice bin?
It is recommended to power the refrigerator off or disable the ice maker before removal so you can work safely and reduce the chance of damage. Switching to Ice Off prevents active harvesting while you handle the bin. Unplugging is acceptable if you can’t reach the ice control immediately. In any case, avoid removing the bin while the ice maker is actively trying to eject or dispense.
How do I know if the ice maker itself is frozen up?
If the bin is clear but ice production is poor, cubes are clumped, or the ejector is stuck, the ice maker or water path may be frozen. Look for frost around the chute entry and the area where ice should feed forward. If you run a test cycle and ice doesn’t dispense, thawing the ice maker area thoroughly is the next step. Sensor or harvest faults can also point to a frozen-up mechanism.
Will removing the ice bin reset the ice maker?
Removing the bin does not always reset the system. Some Samsung models need a dedicated ice maker reset procedure after cleaning, service, or replacement. A switch to Ice Off/Ice On may not be enough if the unit detected a jam. Use your model’s reset/test method (such as a Test button on the ice bucket assembly on many models) after cleaning and reassembly so the harvest cycle restarts properly.