Force Defrost a GE Refrigerator: Unfreeze Ice Maker Lines
If your GE refrigerator isn’t making ice and you suspect ice buildup in the water line, a ge refrigerator force defrost can be the fastest way to restore flow. When ice blocks the path, the ice maker may cycle but still produce nothing. The goal is simple: melt the frozen section so water can reach the ice maker again.
For more help, see our GE Ice Maker Defrost and Freeze-Up Fixes guide.
When a Force Defrost Is the Right Fix
Signs the ice maker line is frozen
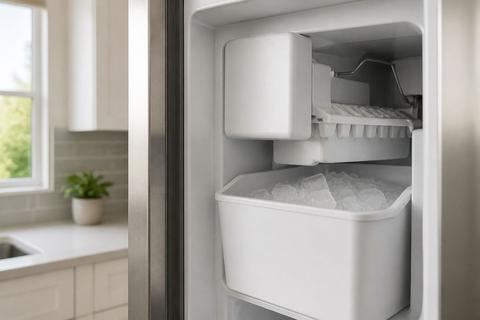
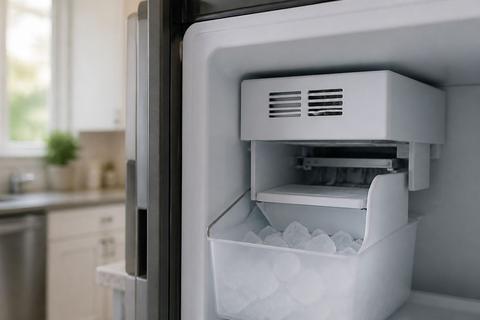
You’ll usually see clues inside the freezer before the ice maker fails completely. Look for frost on the wall near the ice maker water routing, heavy ice around the inlet area, or water that stops flowing from the ice maker chute. If the refrigerator dispenses water but ice production halts, the issue is frequently localized to the ice maker feed line rather than the main water supply. Another sign is intermittent ice: it makes a small batch, then stops as the line refreezes and blocks flow.
How a frozen line differs from a bad ice maker
A frozen line acts like a flow problem: the ice maker may attempt harvest, but the water inlet can’t supply water to freeze into ice. You’ll typically notice frost/ice near the tubing path or the ice maker inlet region. In contrast, a bad ice maker component (motor, sensor, or control) often shows consistent failure even when the line is thawed—no ice, no harvest movement, or repeated cycling with no water use. If you force defrost and the first ice batch returns after thawing, the ice maker hardware is likely working and the blockage was the root cause.
Common causes of ice buildup in GE refrigerators
Ice builds up when water can’t flow and temperature control allows localized freezing. The most common causes are a clogged fill tube, a water inlet valve that delivers intermittently, or low water pressure that leads to partial freezing inside the line. A freezer set too warm prevents consistent ice making and can lead to unstable freeze conditions in the feed path. Water-filter restrictions also contribute: a clogged filter starves flow, increasing the chance that water freezes in the saddle valve/tubing. Finally, a door seal issue can let warm air in, raising the likelihood of ice forming where water travels.
How GE Force Defrost Mode Works
What the mode does and does not do
GE force defrost temporarily heats the refrigerator’s evaporator area to melt frost that blocks airflow. That airflow restoration helps thaw components in the cooling system, including ice that may be freezing around the ice maker water line path. However, force defrost does not repair failed parts such as a bad ice maker motor, a failed water inlet valve, a broken fill tube, or a defective control board. If the ice maker won’t cycle after you clear the freeze-related blockage, you’ll need to troubleshoot the specific water path and components—not rely on defrost mode alone.
How to enter forced defrost on most GE models
On many GE refrigerators, forced defrost is initiated through the control display using the “enter” and “set” style service menu steps. Because GE model numbers vary, use your specific model’s tech sheet for the exact key sequence. In general, you:
- Locate the model-specific service/diagnostic instructions in the tech sheet (often behind the crispers or inside the refrigerator compartment door frame area).
- Access the diagnostic/test menu on the control panel by pressing the correct combination (commonly “Options” or “Settings” plus another key like “Freezer” or “Refrigerator,” depending on the model).
- Select “Forced Defrost” or “Defrost” and start the cycle.
If your unit has a dedicated “Test/Forced Defrost” option in diagnostics, follow that exact prompt; don’t substitute menu items.
Model differences and when to check the tech sheet
GE uses different control boards across product lines, which means the button sequence and even the terminology in menus can change. Some models start a forced defrost from diagnostics, while others require a specific button press sequence or a hidden test mode. If you can’t find “Forced Defrost” in the menu after entering diagnostics, stop and check the tech sheet for the correct steps—trying random combinations can leave the refrigerator in an unintended service state. Also note that the tech sheet will state whether the mode targets defrost for the refrigerator section only or the system as a whole, which affects where ice will melt.
Step-by-Step: Thaw the Ice Maker Line Safely
Unplug the refrigerator and clear the ice bin
- Unplug the refrigerator from the wall outlet to stop the ice maker from cycling while you thaw the line.
- Remove the ice bin and set it on a towel so any meltwater doesn’t splash onto the freezer floor.
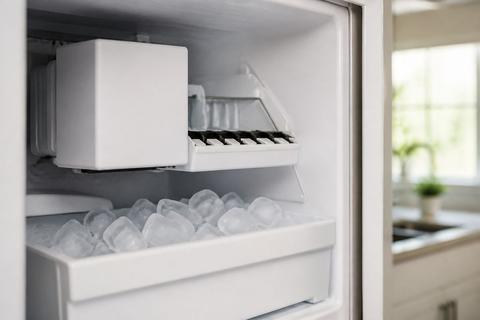
- If you can access the ice maker inlet area safely, clear any frost that’s loose using a soft cloth—do not chip at sealed plastic parts or tubing.
- Leave the freezer door closed as little as possible to reduce temperature swings.
This prevents electrical risk and keeps meltwater contained while you thaw the exact path that’s blocked.
Use gentle heat to thaw the water line
- Aim gentle heat at the frozen tubing region (near the ice maker inlet/line routing), not directly at electrical components.
- Use a hair dryer on low heat with steady airflow from several inches away, or use a warm towel applied to the area.
- Pause frequently so the thawed water can drain and the line can open; stop when water can flow freely.
Avoid high heat and open flames. Plastic components and wiring insulation can deform or damage quickly when exposed to intense heat.
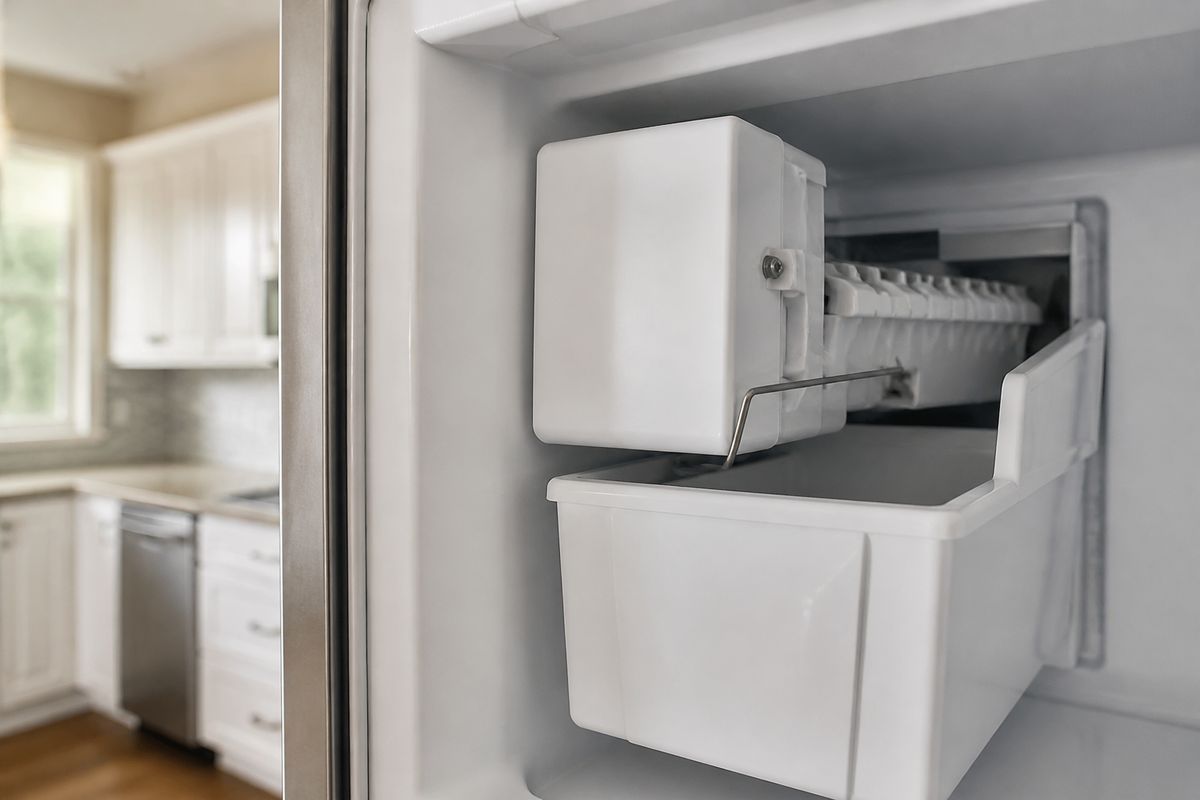
Inspect the fill tube and inlet valve for blockage
Once the frozen section melts, check where the blockage often originates. The ice maker fill tube can clog with mineral scale or frozen water residue. If the fill tube is blocked, even a fully thawed line may refill slowly or not at all. Also inspect the inlet valve area for ice packed around the valve inlet; if ice is trapped there, it will freeze again quickly. Remove only what your model allows you to access safely—if you don’t see a clear path, stop and move to the next troubleshooting steps rather than forcing parts apart.
Restart the fridge and test the ice maker
- Plug the refrigerator back in.
- Return the ice bin to its normal position so the ice maker sensors read correctly.
- Allow the ice maker to go through its cycle. Many ice makers take time to refill and harvest after a thaw because the first batch needs fresh water flow.
- Once ice starts producing again, watch the chute area for normal filling behavior rather than repeated failed fills.
This confirms the thaw restored water access and that the ice maker can resume its normal timing.
If Forced Defrost Does Not Solve It
Check for a clogged fill tube or frozen inlet valve
If the line remains frozen or ice never returns after defrost, focus on the direct water pathway. A clogged fill tube restricts water reaching the ice mold, even when the surrounding area warms. If the inlet valve area refreezes quickly, it can indicate ongoing water supply issues (low flow, restricted filter, or valve performance) rather than a one-time freeze event. Thawing must be followed by flow restoration: clear obvious ice from the inlet region and then address water restriction causes if the line is freezing again immediately.
Look for airflow, temperature, or door seal problems
Airflow and temperature determine whether water lines freeze repeatedly. If the freezer temperature is too warm, the ice maker won’t maintain stable ice-making cycles; if it’s unstable due to poor airflow, localized freezing occurs at the feed path. Also check the door seal: a leaking gasket lets warm air enter the freezer, increasing frost where water moves. Verify that air vents inside the freezer aren’t blocked by food packages and that the fan area isn’t obstructed—restricted airflow can recreate the same freeze pattern even after successful defrost.
When the ice maker assembly itself needs replacement
Defrost and thawing only address freeze-related blockages. If you’ve cleared ice from the feed path and water still doesn’t result in ice production, the issue may be mechanical or electronic. Common failure points include a faulty ice maker motor/gear assembly, a failed ice maker sensor, or a defective water inlet valve that won’t open under control. In those cases, the ice maker may repeatedly attempt harvest without dispensing water or ice. When troubleshooting points to a component-level fault, replacement of the ice maker module is often the correct repair rather than repeated forced defrost cycles.
Prevent the Ice Maker from Freezing Again
Keep freezer temperature in the safe range
GE ice makers need stable cold conditions to cycle correctly. Set the freezer temperature to the recommended range—around 0 to 5 degrees F—so water freezes efficiently and the feed line doesn’t sit in a marginal temperature state that promotes repeat freezing blockages. If the freezer is warmer than intended, ice production becomes inconsistent and localized ice can form in the line routing. Make one temperature adjustment at a time, then allow the freezer to stabilize.
Replace weak water filters on schedule
A clogged or weak water filter starves the ice maker, reducing flow and increasing the chance that water freezes inside the feed line. Replace the water filter on schedule; a common rule is within about 6 months, depending on your model and usage. When you replace the filter, run a few water dispense cycles to purge air and restore steady flow. After filter replacement, ice production often returns because the inlet valve can deliver water properly.
Verify water pressure and kinks in the supply line
Low water pressure leads to incomplete fill cycles and encourages freezing. Check that the household water shutoff is fully open and inspect the water supply tubing for kinks behind the refrigerator. Also confirm there’s no crushed section at the inlet connection. If you recently moved the refrigerator or repositioned cabinets, tubing may have shifted. Restoring steady pressure reduces the risk of freezing in the ice maker water line.
Clean the ice maker area and avoid overfilling
Ice maker areas collect frost and mineral residue, which can contribute to fill issues. Keep the ice maker compartment clean and clear of loose debris so it can harvest ice normally. Avoid overfilling the ice bin or blocking the chute with packages that push toward the ice maker access area. If the ice maker housing or inlet area has visible mineral buildup, address it with proper cleaning steps for your GE model so scale doesn’t narrow the fill path.
What to Do on Other Refrigerator Brands
Why Samsung, Whirlpool, and LG thawing steps can differ
Different brands implement defrost and diagnostics differently. Samsung, Whirlpool, and LG may not have an identical “forced defrost” menu item, and the key sequences or service-mode behavior can vary by model year. Some brands target the freezer evaporator, others target a specific thermistor-controlled defrost routine, and some use a reset/diagnostic combination rather than a named forced defrost mode. Because the goal is the same—melt the path that feeds the ice maker—the thawing method may change even if the underlying symptom is identical.
Which parts are similar across brands
The components that cause freeze-related ice maker failures are broadly similar across major brands: the ice maker water inlet, fill tube, line routing near the evaporator, and the valve that allows water to enter during harvest. Temperature control and airflow are also common contributors. In practice, thawing steps typically involve safely warming the same line routing area and then confirming water flows to the ice mold. That keeps the troubleshooting focused on blockage and flow, regardless of brand.
When brand-specific instructions matter
Brand-specific service menus and safe-thaw procedures matter when you need to enter diagnostics, run a manual harvest/defrost cycle, or access parts without damaging seals and sensors. If you thaw incorrectly (too much heat or wrong component exposure), you can damage plastic housings or electrical connectors. When your symptoms persist after thawing, follow the brand’s exact service steps for checking the water inlet valve, line path, and ice maker module so you don’t miss a critical component test.
Safety Tips Before You Start
Avoid open flames and high heat
Thawing must be controlled. Do not use open flames to melt ice and do not blast the area with high heat; plastic parts and insulation can be damaged quickly. If using a hair dryer, run it on low heat, keep it moving, and keep a safe distance from tubing and any electrical connectors. Warm towels are slower but safer and can reduce the risk of overheating delicate components.
Protect flooring and electrical components from water
Meltwater will drip during thawing. Put towels on the freezer floor and around the ice maker compartment so water doesn’t spread across shelves or electrical areas. Keep the refrigerator unplugged while thawing to eliminate electrical shock risk. Avoid saturating wiring, and don’t let thawed water pool near vents or control boards.
Know when to call a technician
Call a technician if you’ve thawed successfully but ice production still doesn’t start, or if you find evidence of component failure such as a non-responsive inlet valve, broken ice maker parts, or repeated freezing despite correct temperature and filter settings. Also contact a professional if the water line is difficult to access, if you need to remove sealed panels, or if you suspect a refrigeration/defrost system fault beyond the ice maker feed line.
Frequently Asked Questions
What does forced defrost do on a GE refrigerator?
Forced defrost temporarily warms the evaporator area to melt frost and ice that may be blocking airflow or freezing the ice maker water line. On many GE refrigerators, this restores airflow and changes local temperatures enough to clear ice buildup that prevents water from reaching the ice maker. It helps when the problem is freeze-related and the feed line is obstructed by frost or ice in the cooling system.
How long should I defrost a frozen ice maker line?
It depends on how much ice has built up, but gentle thawing usually takes several minutes to 20 minutes. Use low heat and thaw gradually, pausing to let meltwater drain. Stop once water can flow freely and the feed path is no longer blocked by ice. If ice remains solid after your initial thaw, you may need to continue warming in shorter bursts rather than applying intense heat.
Can I use a hair dryer to thaw the ice maker line?
Yes, but only on low heat and from a safe distance. Keep the airflow moving and avoid overheating plastic parts or wiring insulation. Use the hair dryer to target the frozen tubing region near the ice maker inlet path, not electrical control areas. If you notice any melting, warping, or unusual smell, stop immediately and switch to a warm towel approach.
Why does my GE ice maker keep freezing up?
Common causes include a clogged fill tube, poor freezer temperature control, a weak water inlet valve, low water pressure, or a door seal problem. Mineral buildup and restricted water filters can also starve flow, leading to freezing in the feed line. When the same freeze pattern repeats, it means the underlying cause—temperature stability, airflow, or water delivery—is still present.
Will force defrost fix a broken ice maker?
Not always. Force defrost can solve freeze-related blockages, but it will not repair a failed motor, sensor, valve, or control board. If the ice maker still doesn’t produce after the line is thawed and water is flowing properly, you likely have a component failure that requires targeted testing and possibly replacement of the ice maker assembly or related water valve.