Samsung Ice Maker Overfilling Wet Ice: How to Fix It
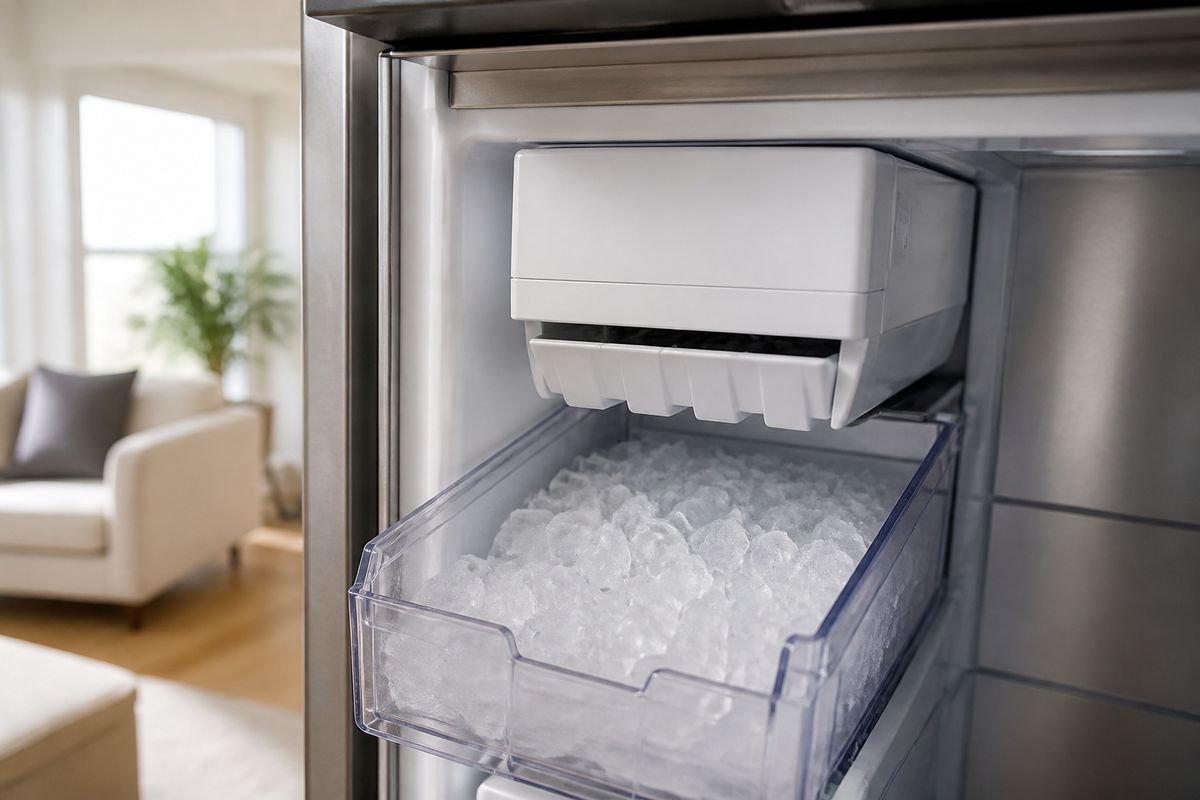
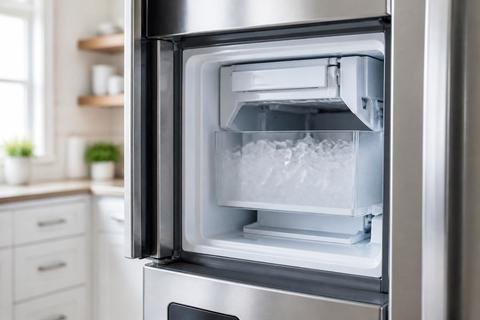
If you’re seeing samsung ice maker overfilling wet ice, you’re probably finding slushy clumps in the bin, ice that looks partially melted, or a dispenser area that’s collecting water. This is more than an annoyance—continuous overfilling can lead to freezing jams and water damage. The good news: most causes trace back to the fill system (too much water or water where it shouldn’t be).
For more help, see our Samsung Ice Maker Water Problems: Leaks, Overfill, and No Water guide.
Start With the Most Likely Causes
Why wet ice usually means too much water is entering the mold
Wet, slushy, or fused-together cubes almost always come from the ice mold receiving excess water or not completing the harvest cycle cleanly. Start by checking whether your freezer is cold enough and whether the ice maker is stopping the fill at the correct level.
- Set the freezer temperature to 0°F (-18°C).
- Look for ice clumps around the mold area or fill cup that prevent proper freezing.
- If the ice cubes are formed but wet, focus on the fill/stop control (valve seepage or an ice-level/sensor issue).
How a leaking fill valve can mimic an ice maker failure
A leaking inlet (fill) valve can trick your ice maker into adding water even after the cycle ends. The result is a mold that builds too much water, producing wet ice and overflow.
- With the bin removed, inspect the ice maker mold area for fresh water or moisture after the fill should be complete.
- Check for a slow drip at the water inlet to the ice maker when the refrigerator is running its ice cycle.
- If you notice ongoing seepage, replace the water inlet valve (not just the bin or tray).
When the issue is a clogged drain or ice buildup instead
A restricted drain or internal ice buildup can force meltwater and melt/refreeze cycles that look like “wet ice.” In this scenario, water is entering the system but the thaw/melt path isn’t clearing.
- Remove the ice bin and look for ice bridges, blockages, or frost buildup around the ice maker assembly.
- Inspect the drain area for visible clogging or standing water.
- If you find heavy frost, you need a defrost/thaw before the ice maker can behave correctly.
Check the Water Supply and Fill System
Inspect the water line for kinks, leaks, or loose fittings
A kinked or loose water line can change flow rate and create uneven filling, which can lead to slush and overflows. Leaks also create moisture that refreezes into messy ice.
- Pull the refrigerator slightly forward and inspect the water line behind it for kinks or crushed sections.
- Tighten loose fittings (hand-tight is not enough—use the correct tool so the connection seats properly).
- Look for wet spots along the line and at the connection to the ice maker inlet.
Test the inlet valve for dripping or slow seepage
The inlet valve should stop flowing cleanly when the ice maker finishes filling. If it keeps dripping, you’ll get wet cubes and rising water levels in the mold.
- Start a harvest cycle so the ice maker is actively using water, then watch the valve area after the fill should stop.
- Look for visible drips or a wet valve body.
- If it drips or seeps, replace the inlet valve assembly.
Verify water pressure is in the recommended range
Water pressure that’s too high can push extra water into the mold before the control stops the cycle. Too low can cause incomplete harvesting and strange fill behavior.
- Use a water pressure gauge on the household supply (or at the refrigerator supply line if accessible).
- Adjust only at the home supply/pressure regulator level—do not restrict the line with improvised clamps.
- If pressure is outside spec, correct it at the source, then re-check ice behavior after the next cycle.
Inspect the Ice Maker Assembly
Look for a cracked ice tray or damaged fill cup
Physical damage changes how water is held and can cause persistent wet ice and overflow. A cracked tray, warped component, or damaged fill cup can also leak during filling.
- Remove the ice bucket and inspect the ice tray/mold area for cracks or deformation.
- Check the fill cup/tube region for cracks or misalignment.
- Replace any damaged ice maker parts—don’t patch cracks with adhesives.
Check the shutoff arm, sensor, or ice level mechanism
If the ice maker cannot “sense” the correct fill level, it may keep filling. Faults in the shutoff arm/sensor mechanism frequently cause overfilling even when water supply is normal.
- Inspect the shutoff arm for binding, obstruction, or bent alignment.
- Check the sensor/ice level mechanism for frost buildup that blocks movement.
- If the control isn’t stopping the fill, you may need a sensor/module replacement.
Make sure the ice maker is level and seated correctly
If the ice maker is tilted or not seated properly, water can pool and overflow before freezing. This is common after cleaning, moving the refrigerator, or bin removal/installation.
- Ensure the refrigerator itself is level using a bubble level on the top front edge.
- Remove and re-seat the ice maker components so the mold and fill chute sit straight.
- Reinstall the bin fully so it engages the ice-level mechanism correctly.
Fix Wet Ice Caused by Overfilling
Adjust the fill level if your model allows it
Some Samsung models allow adjusting the ice fill level. If the fill is set too high, the mold will get extra water and produce wet ice.
- Locate the ice maker fill level adjustment (often on the ice maker control area or ice maker body).
- Set the level to the factory/normal position, then reduce one step if your model permits fine tuning.
- Discard the first batch after the adjustment to clear any partial-fill cycles.
Clear frozen water lines and remove ice blockages
Frozen supply paths can create irregular filling: water pressure releases in bursts, or meltwater backs up, leading to overflow and slush.
- Turn off the ice maker on the dispenser panel (Ice Off) before working near the ice maker.
- Remove the ice bin, clear visible ice bridges with warm (not hot) water, and wipe the area dry.
- Thaw any frozen sections of the fill tube/line until flow resumes normally.
Defrost a frozen fill tube safely without damaging parts
Frost in the fill tube can force water into the mold at the wrong time. A safe defrost restores proper fill timing without overheating plastic parts.
- Use Forced Defrost if your model supports it: press and hold the Freezer (or Power Freeze) and Fridge (or Lighting) buttons together for 8–12 seconds until the panel goes blank and beeps.
- Press the appropriate button(s) to reach “Fd”, then start the defrost cycle.
- If you must use a hair dryer, use low heat and keep it moving to melt frost around the auger/chute area only.
Stop Water Dripping or Leaking Into the Bin
Clean the dispenser area and door seal
Water that ends up in the ice bin area can come from a dispenser splash or a door seal that allows warm air in, creating melt/refreeze patterns.
- Clean the dispenser spill area, chute, and any accessible drain routes with warm water and dry thoroughly.
- Inspect the door gasket for gaps, tears, or residue that prevents a full seal.
- Clean the gasket surface and remove anything stuck in the seal channel that blocks contact.
Replace a worn water inlet valve or filter housing
If water is leaking into the bin area repeatedly, a worn inlet valve or water filter housing can be the source. Even a small seep creates repeated wet ice and overflow conditions.
- Replace the water inlet valve if you see dripping/seepage during fill.
- Replace the water filter housing/adapter if it leaks around the connection.
- Use correct OEM-style parts for your exact Samsung model to ensure proper sealing.
Confirm the refrigerator is not tilted forward
A forward-tilted refrigerator can redirect water toward the ice maker and create consistent bin wetness. This is a simple physical cause with a clear fix.
- Check the refrigerator’s level front-to-back with a bubble level.
- Adjust the front leveling feet until the unit sits level (or slightly back per manufacturer preference).
- After leveling, run one ice cycle and watch for the water pattern to stop accumulating.
Prevent Overflowing and Repeat Problems
Replace the water filter on schedule
A clogged or overdue filter changes flow conditions and can contribute to fill/harvest irregularities. It’s not always the direct cause of wet ice, but replacing it prevents recurrence.
- Replace the water filter according to the Samsung schedule on your filter label or the refrigerator’s indicator.
- Use the correct filter type for your specific model (wrong filters can restrict flow).
- After replacement, discard the first one or two ice batches to clear any trapped air and carbon fines.
Use the ice maker’s test and reset functions
After repairs, sensor issues, or filter changes, a controlled test cycle ensures the ice maker is running properly and stopping at the right time.
- Turn the ice maker off, then back on to reset the cycle.
- On many Samsung refrigerators, press and hold the small blue Test button on the underside or right side of the ice bucket assembly for about 10 seconds until you hear a chime.
- Let the unit complete the test fill/harvest cycle and observe whether the fill stops normally.
Monitor temperature settings and freezer airflow
Stable freezer temperature and airflow are required for consistent freezing. If airflow is blocked or temperature drifts, cubes fuse together and appear wet even when fill volume is correct.
- Keep the freezer at 0°F (-18°C) and the vents unblocked inside the freezer compartment.
- Ensure items aren’t blocking the internal fan or vents near the back wall.
- If you see repeated frost buildup around the ice maker area, address defrost behavior before adjusting fill parts again.
When to Repair or Replace the Ice Maker
Signs the ice maker module has failed
If water supply and lines are good and the ice maker still overfills, the ice maker module may be failing—especially when it cannot properly stop the fill or harvest.
- Look for consistent overfilling after a full thaw/clear of ice buildup.
- Watch for abnormal ice production patterns: nonstop fill attempts, fused wet cubes, or failure to harvest correctly.
- Check for Samsung error codes such as “5E” or “SE” (ice maker sensor) with a flashing ice-maker light, which points to sensor/frost or harvest issues.
When a valve, line, or control board needs professional repair
Some parts require exact diagnosis or specialized tools. If you suspect the control board, wiring, or a hard-to-reach line leak, professional service prevents recurring faults.
- If error codes persist after Forced Defrost and cleaning, the control board or sensor wiring may be faulty.
- If multiple components test bad (valve + sensor behavior), professional troubleshooting is the fastest route.
- If the leak comes from behind panels or from connections you can’t access safely, stop DIY and schedule service.
How to decide between DIY fixes and service
Use a simple decision rule: if the cause is physical/cleanable, DIY is reasonable; if it’s electrical, persistent, or parts keep failing, service is the better choice.
- DIY: clear ice bridges, thaw frozen fill paths, reseat level/assembly, and replace an accessible filter.
- DIY only if the part is straightforward to replace safely (like a valve) and you can verify correct operation afterward.
- Service: persistent leaking/overflow with new parts installed, repeated error codes (e.g., 5E/SE), or any sign of water damage behind panels.
Frequently Asked Questions
Why is my Samsung ice maker making wet or slushy ice?
Wet or slushy ice usually means the mold is getting too much water, the fill tube is partially blocked, or water is seeping in after the cycle. A leaking inlet valve is one of the most common causes.
Why is my Samsung ice maker overfilling the tray?
Overfilling usually points to a faulty water inlet valve, high water pressure, a misaligned fill tube, or an ice maker control issue that does not stop the fill cycle soon enough.
Can a clogged water filter cause wet ice?
Yes. A restricted filter can reduce flow at times, but wet ice is more often linked to fill control problems, valve seepage, or frozen water paths. Replacing an overdue filter is still a good first step.
How do I know if the ice maker is leaking or just melting ice?
If the bin has water droplets, icy clumps, or repeated refreezing, the issue is likely water entering the ice maker or dripping from a valve or tube. If cubes are normal at first and later fuse together, freezer temperature or airflow may also be involved.
Should I turn off the ice maker if it keeps overflowing?
Yes. Turn it off and stop the water supply if possible to prevent water damage, then inspect the valve, fill tube, and ice maker assembly before using it again.